Detailer's Domain The Source for All Your Car Care Needs

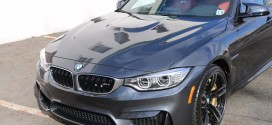
Related Articles

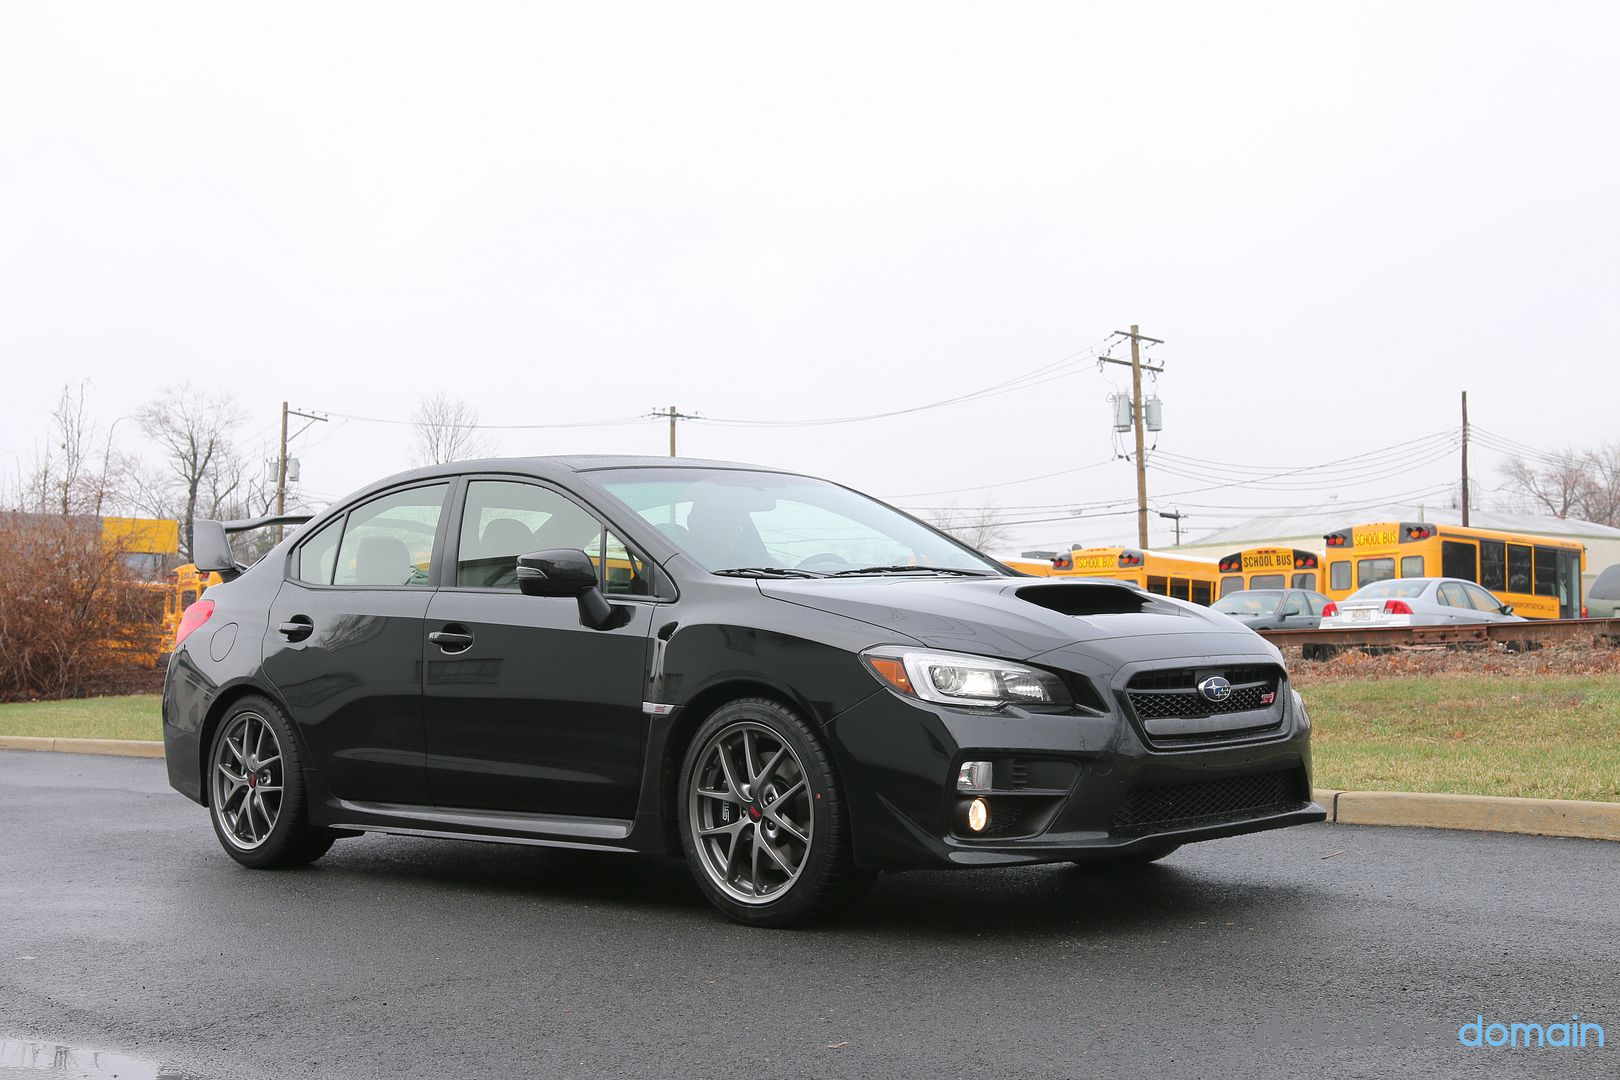
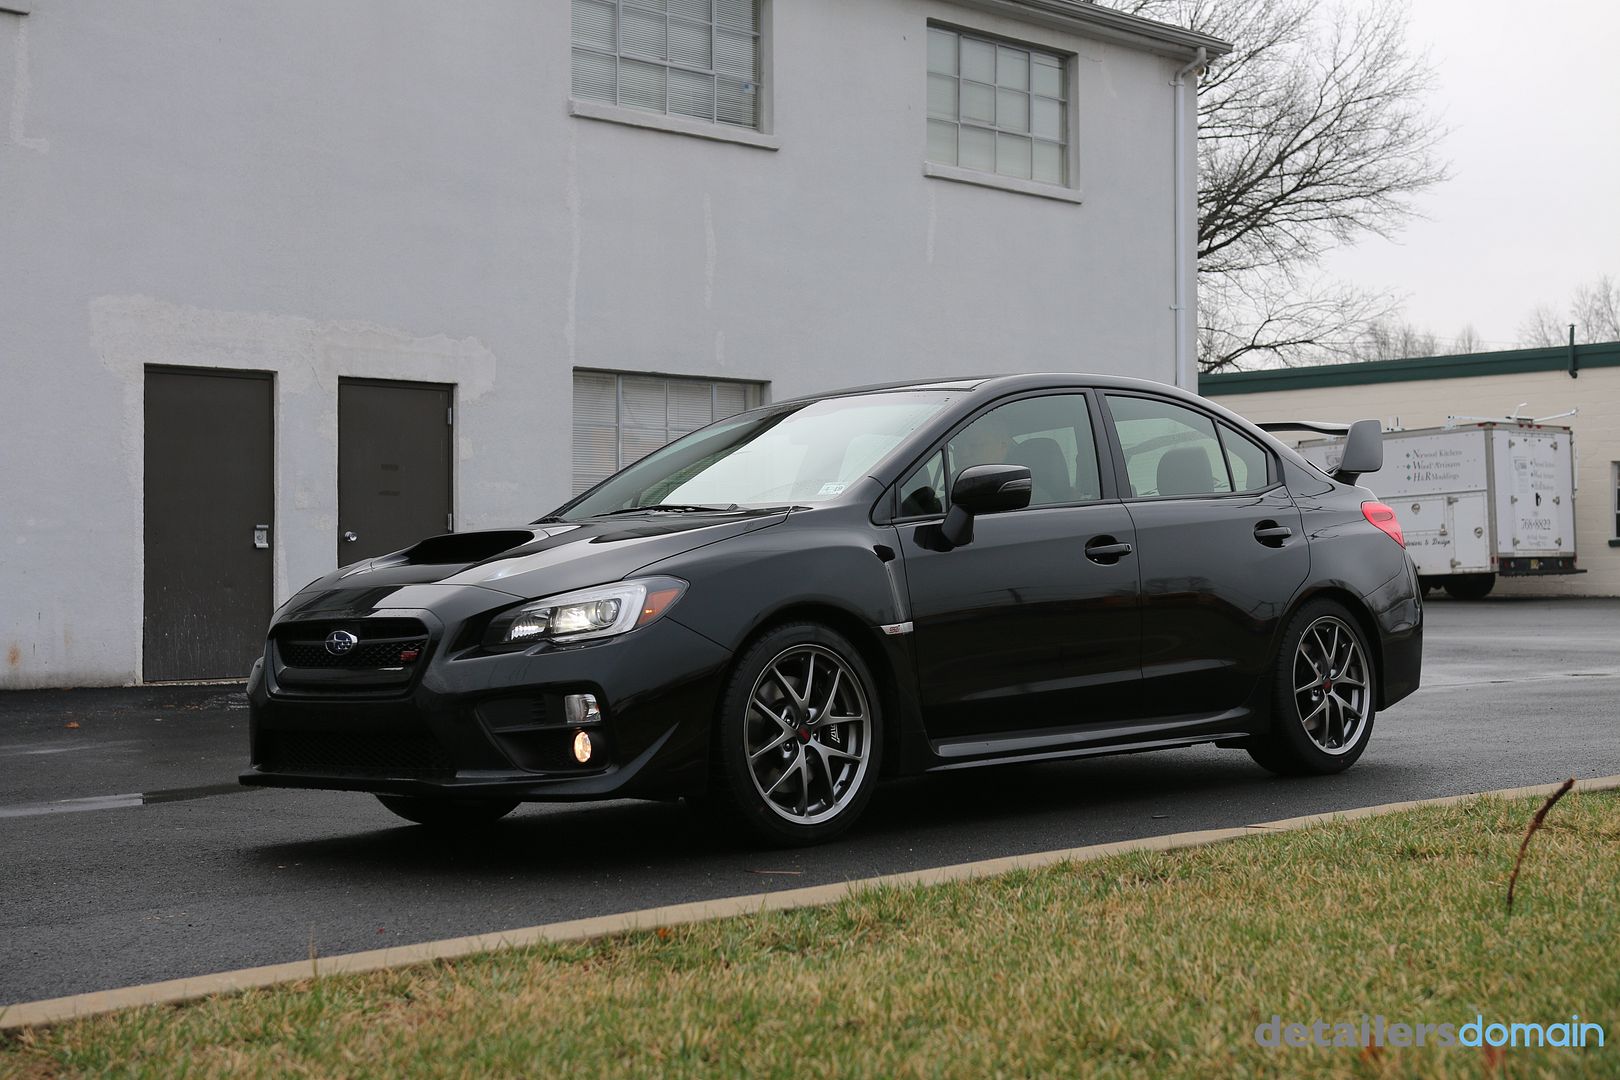
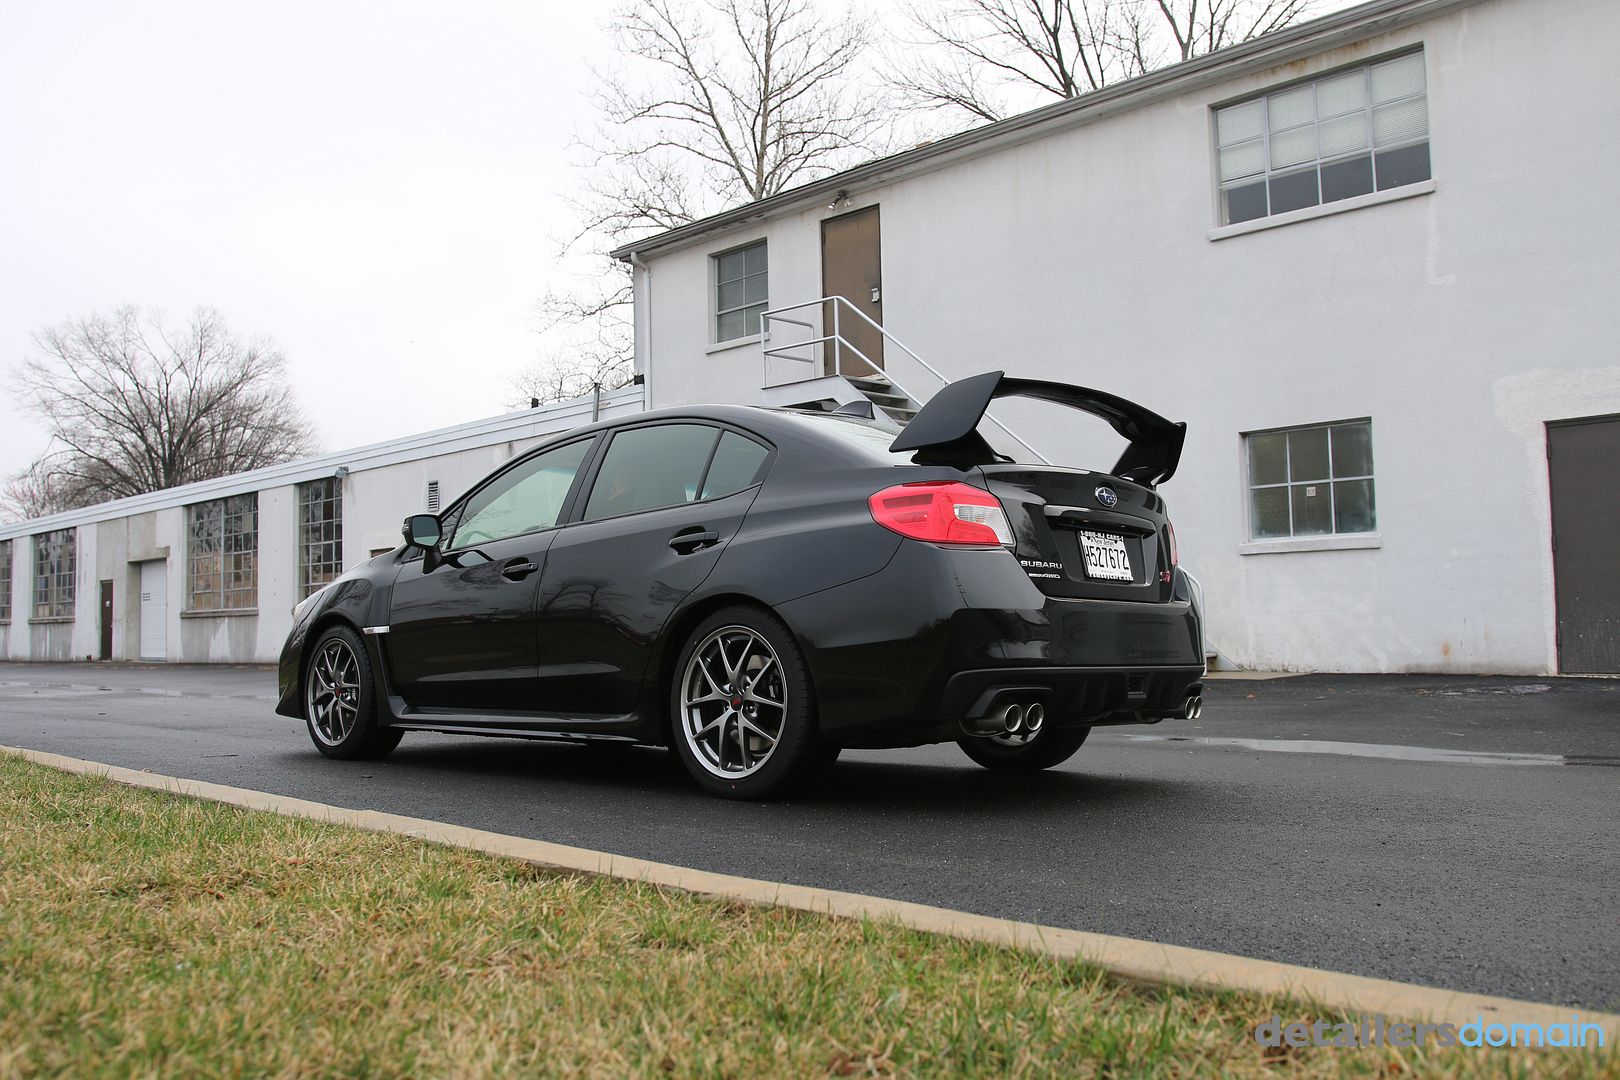
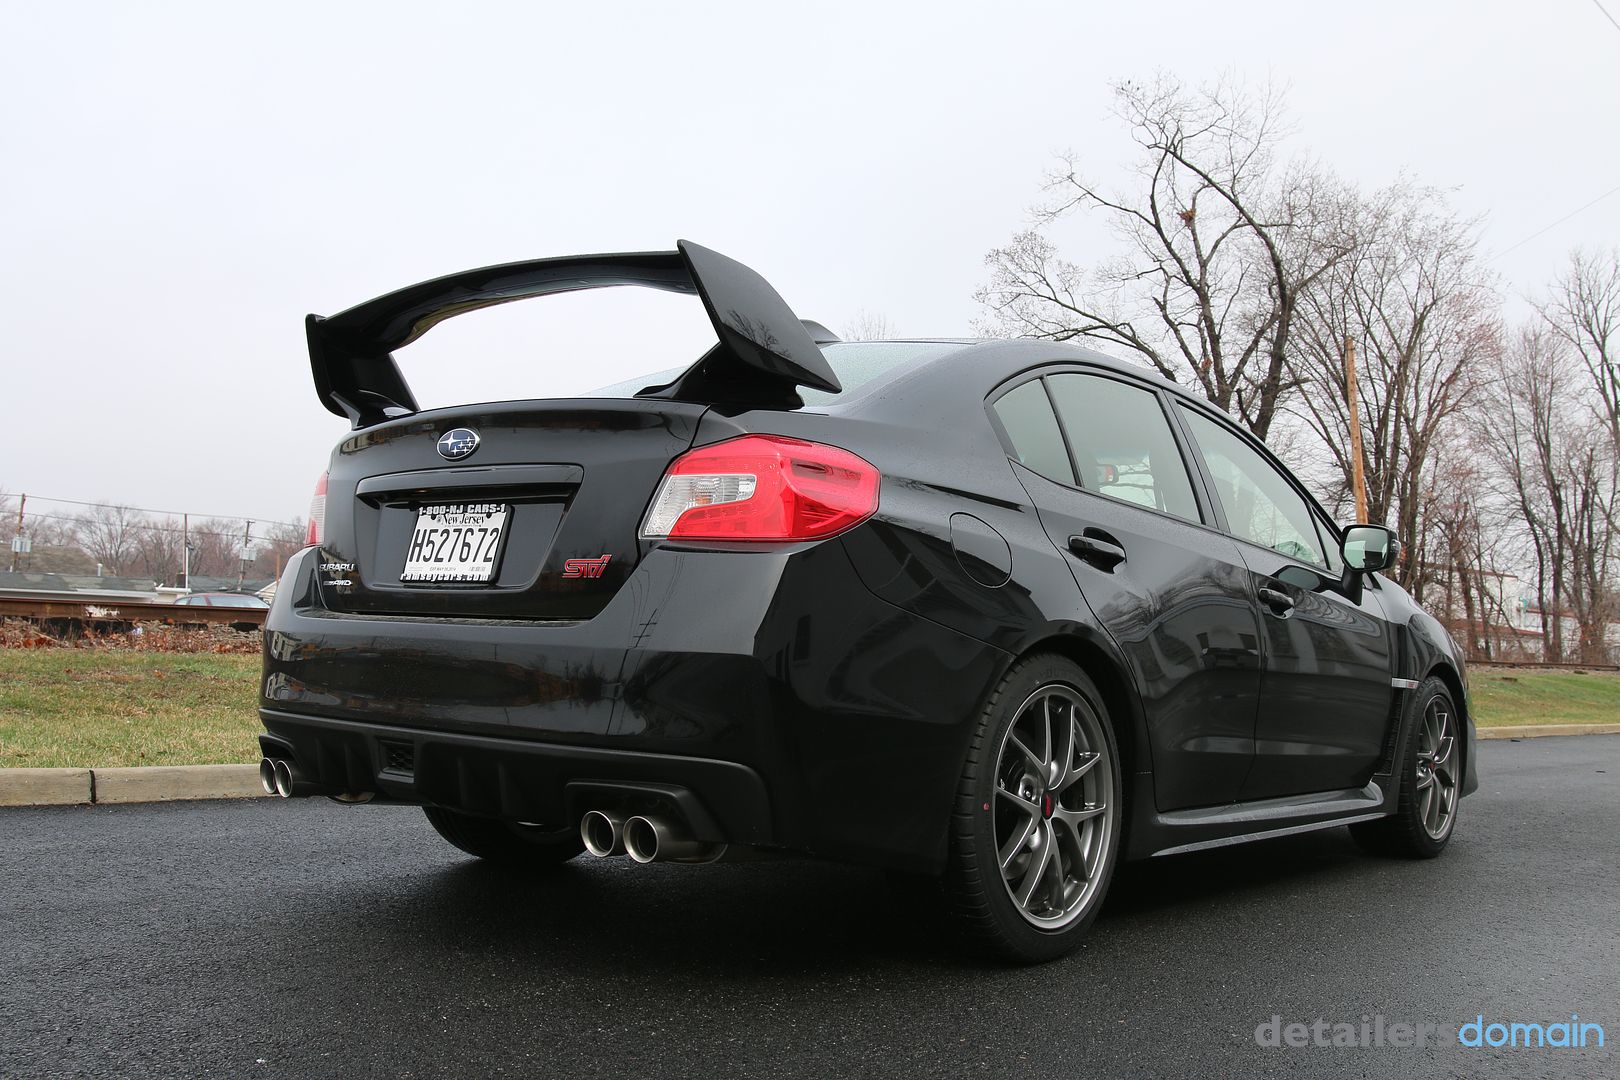
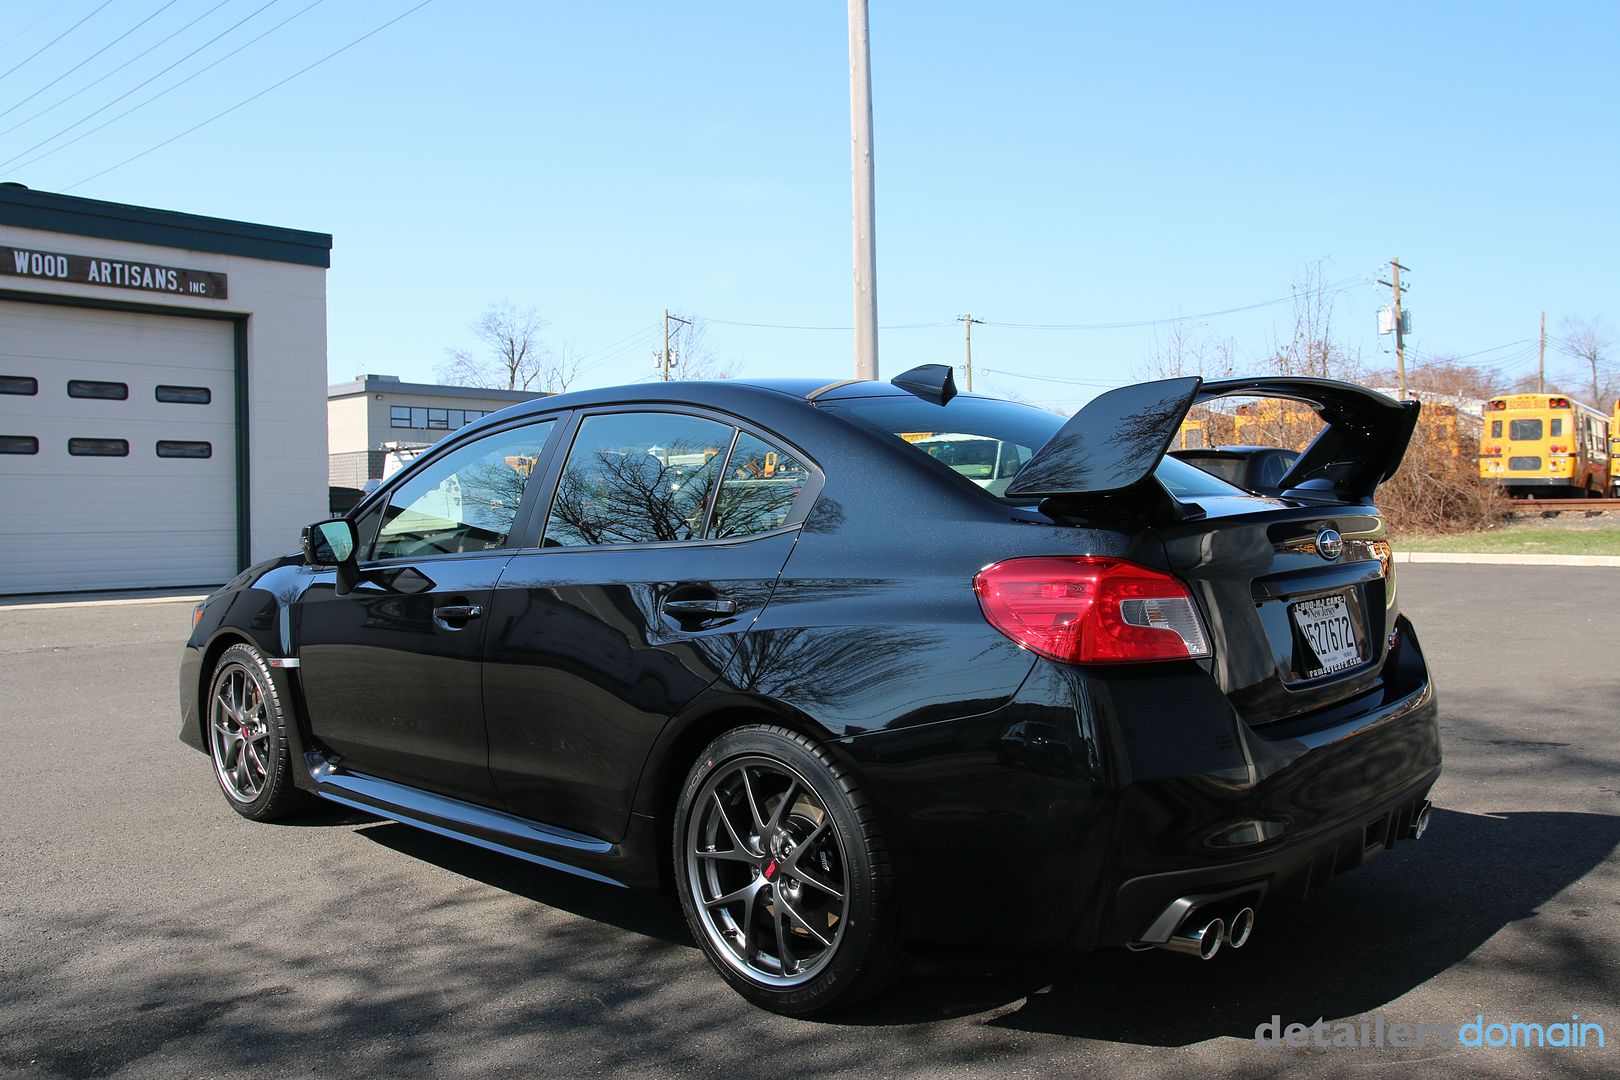
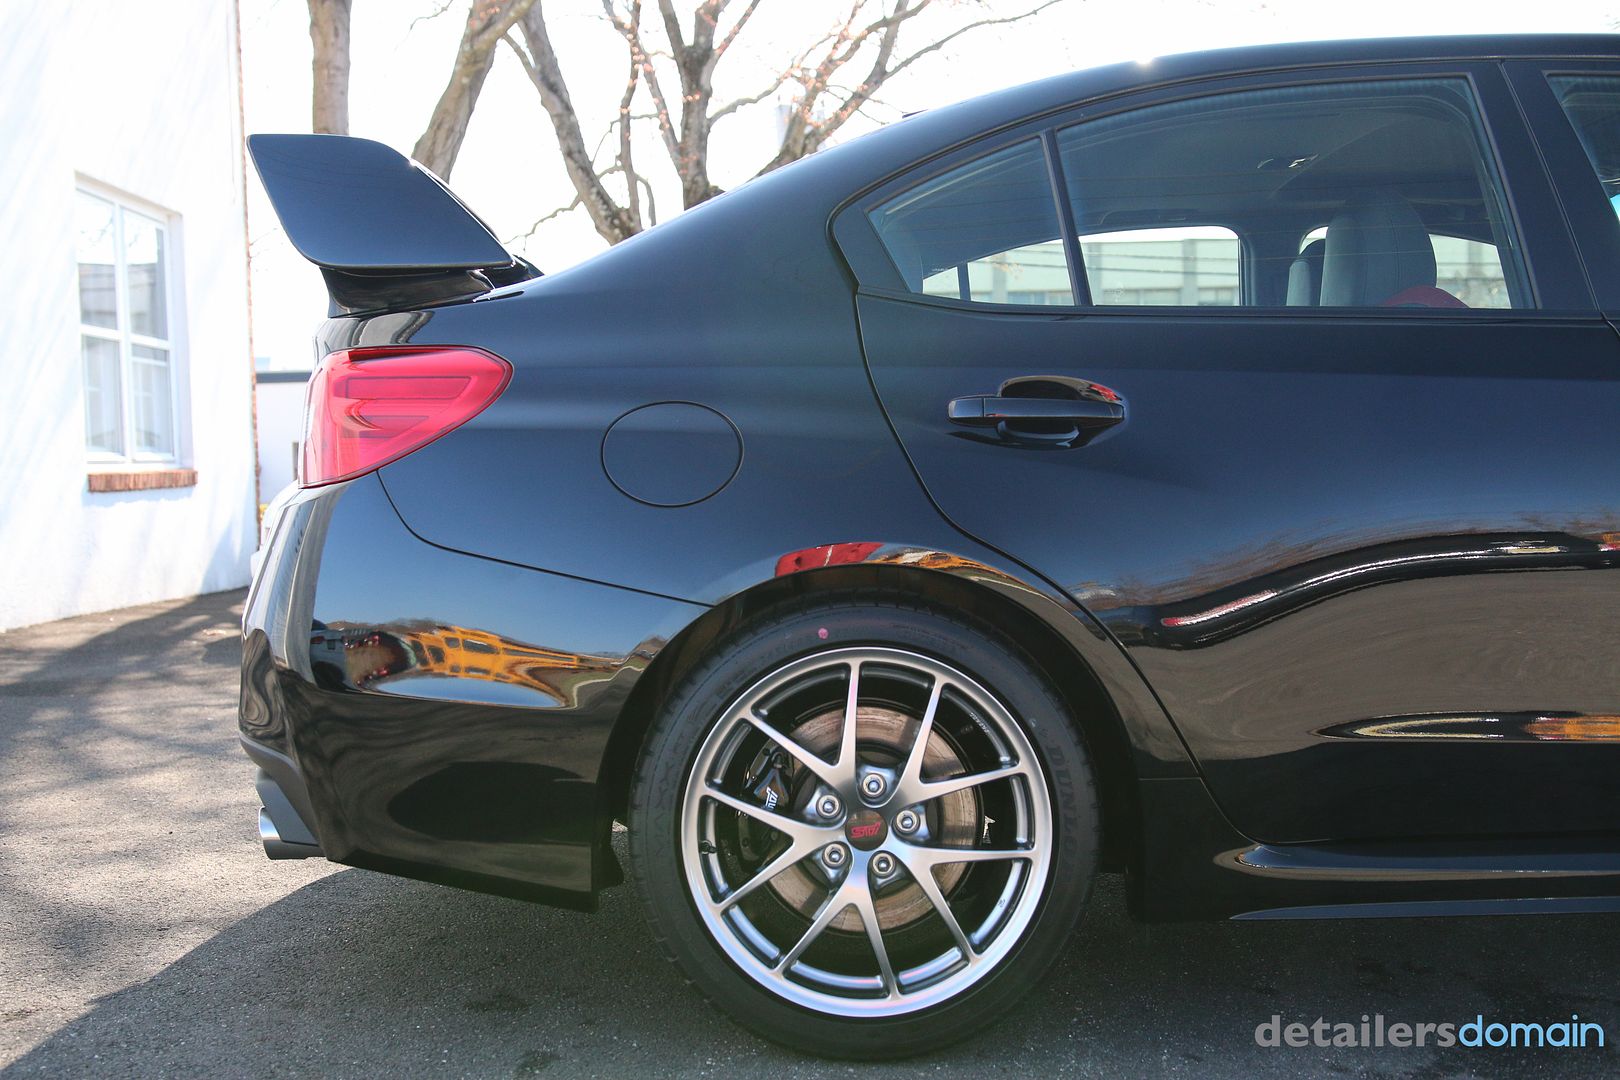
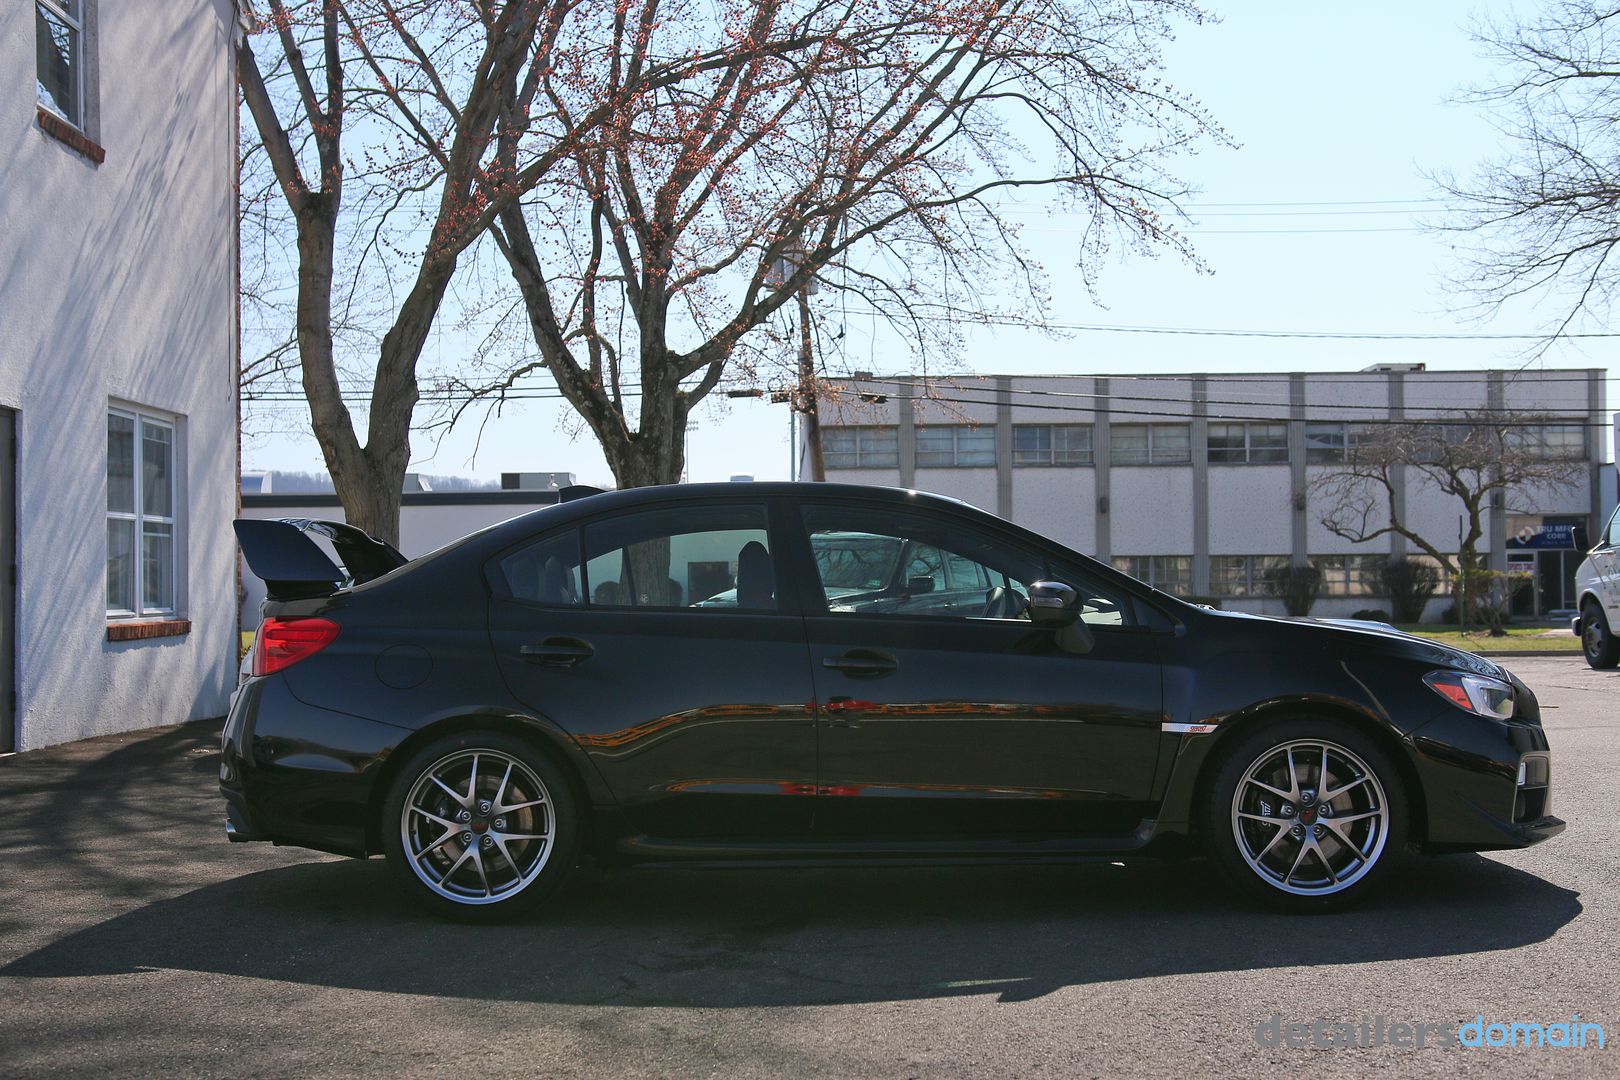
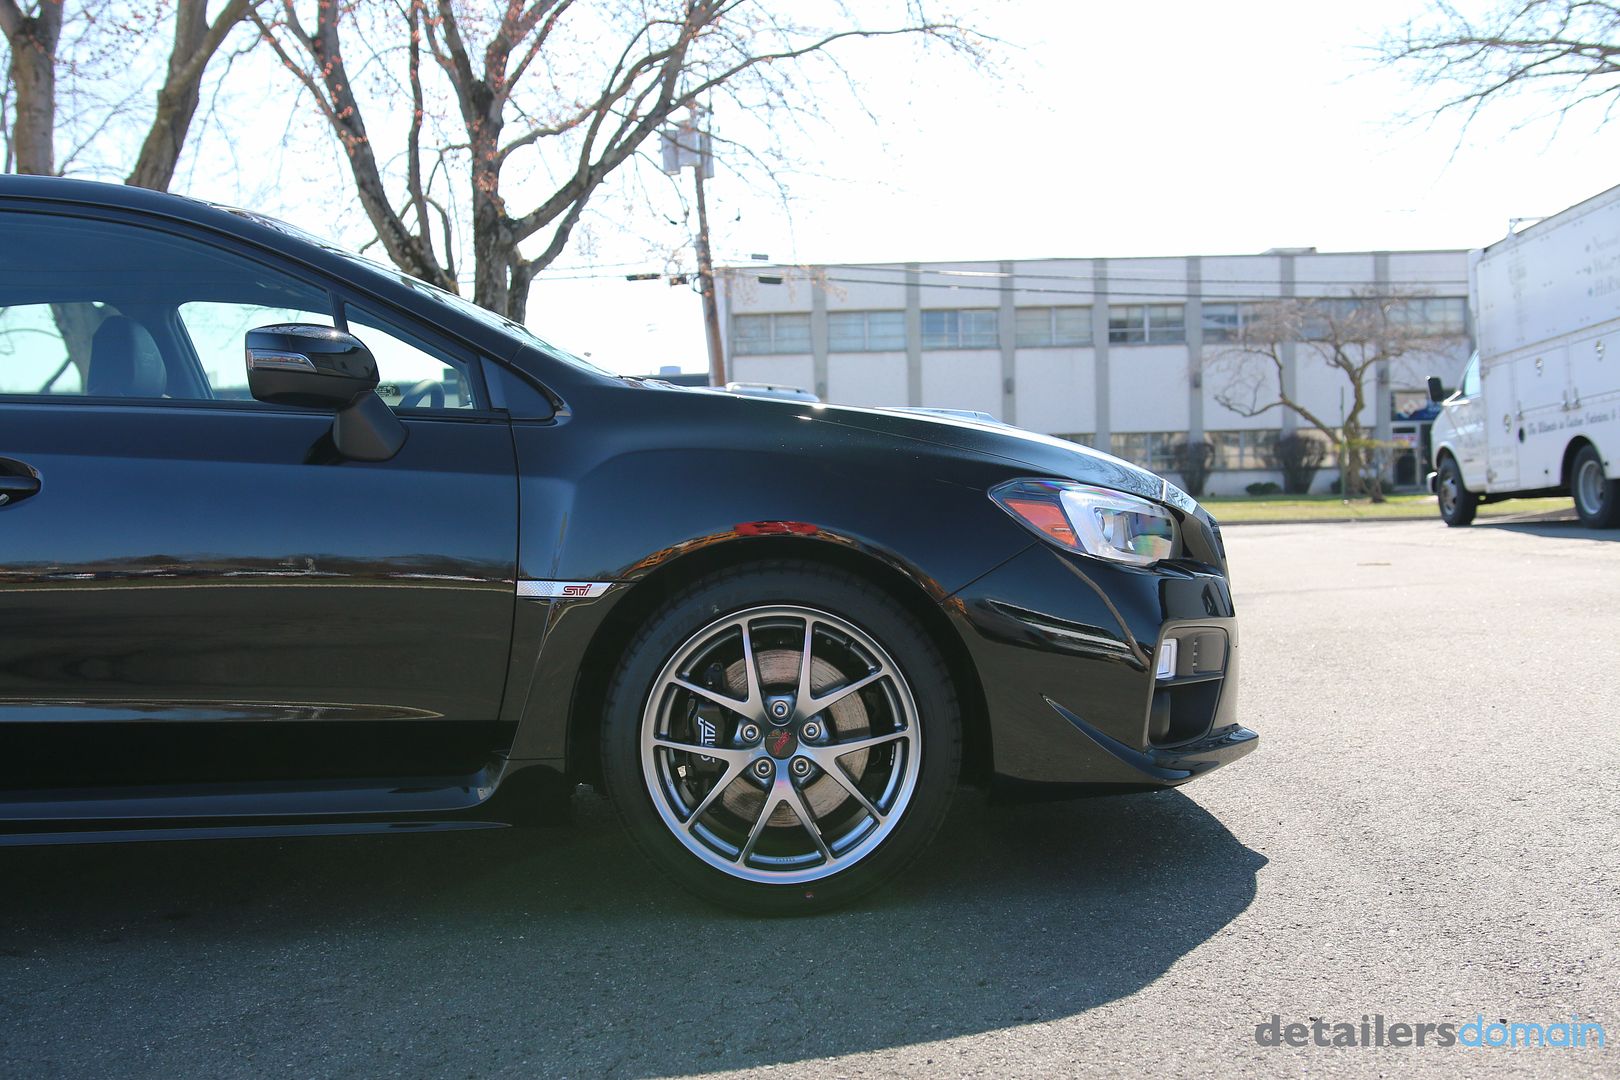
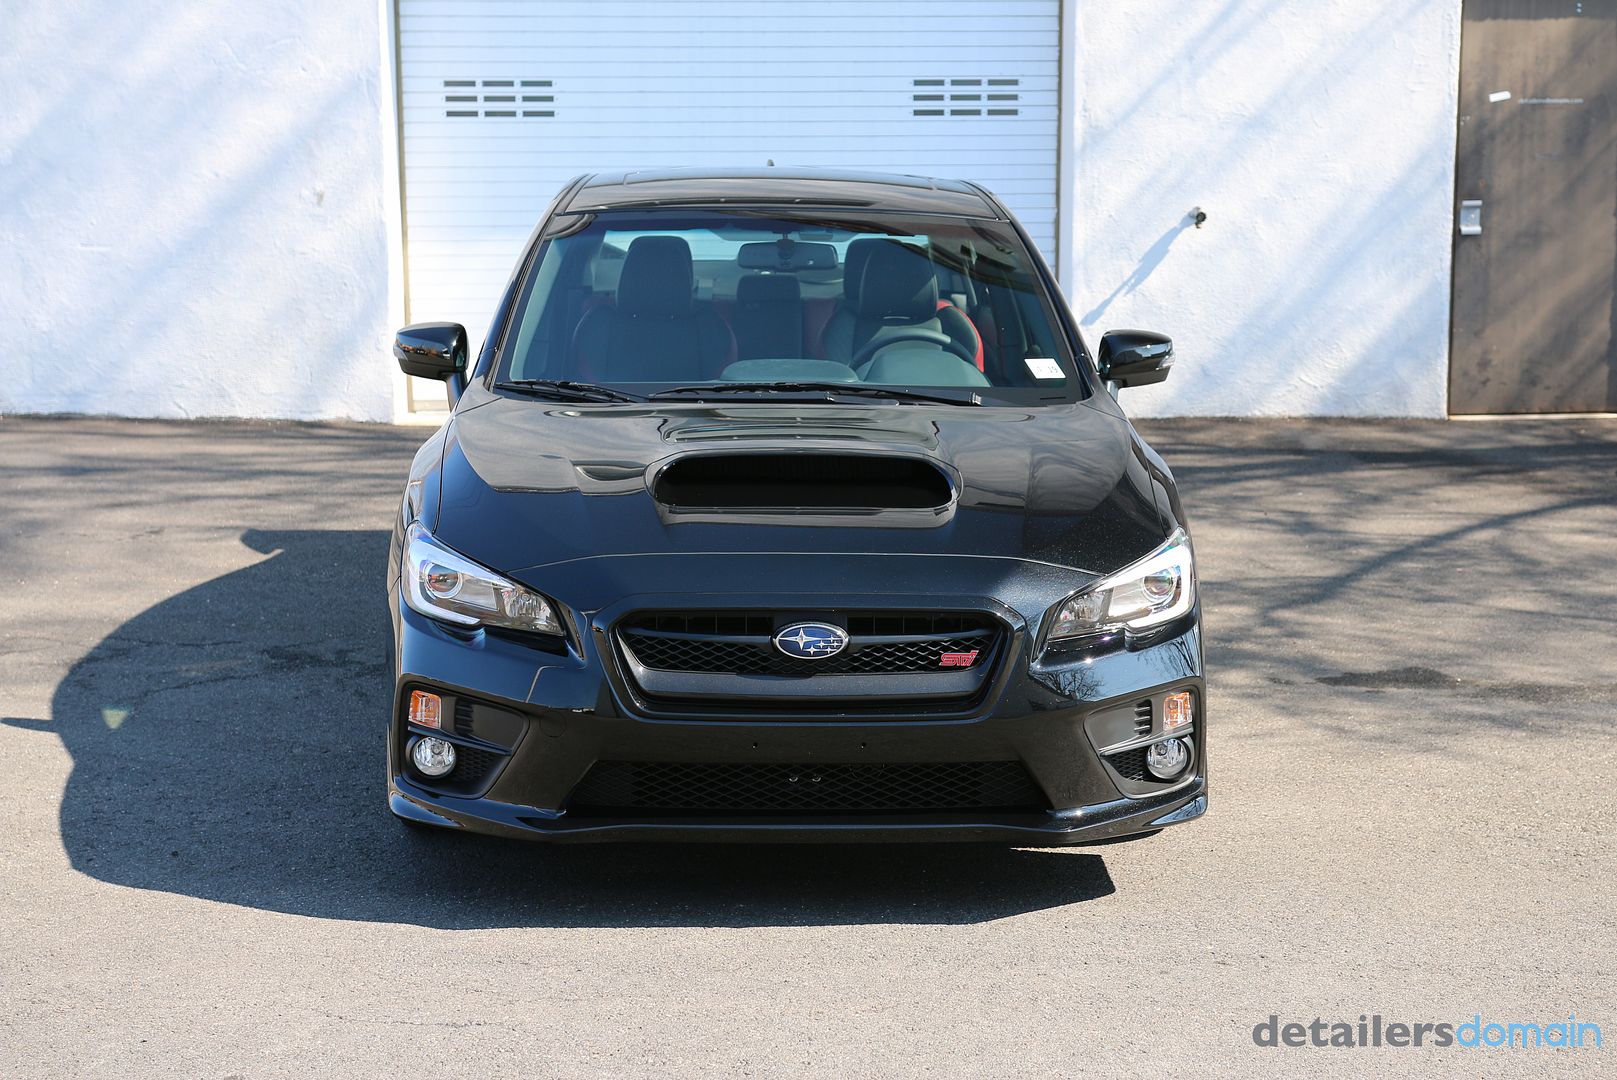
2015 Subaru STI – paint correction and Opti Coat
A very good customer of ours picked up his new Subaru STI, at delivery he already noticed that it was in pretty bad shape, but he knew he was coming in for a new car prep and Opti Coat so all was well.
That being said I’m still surprised at how dealers just don’t understand how to deliver a car. Why not train your crew to do it right?
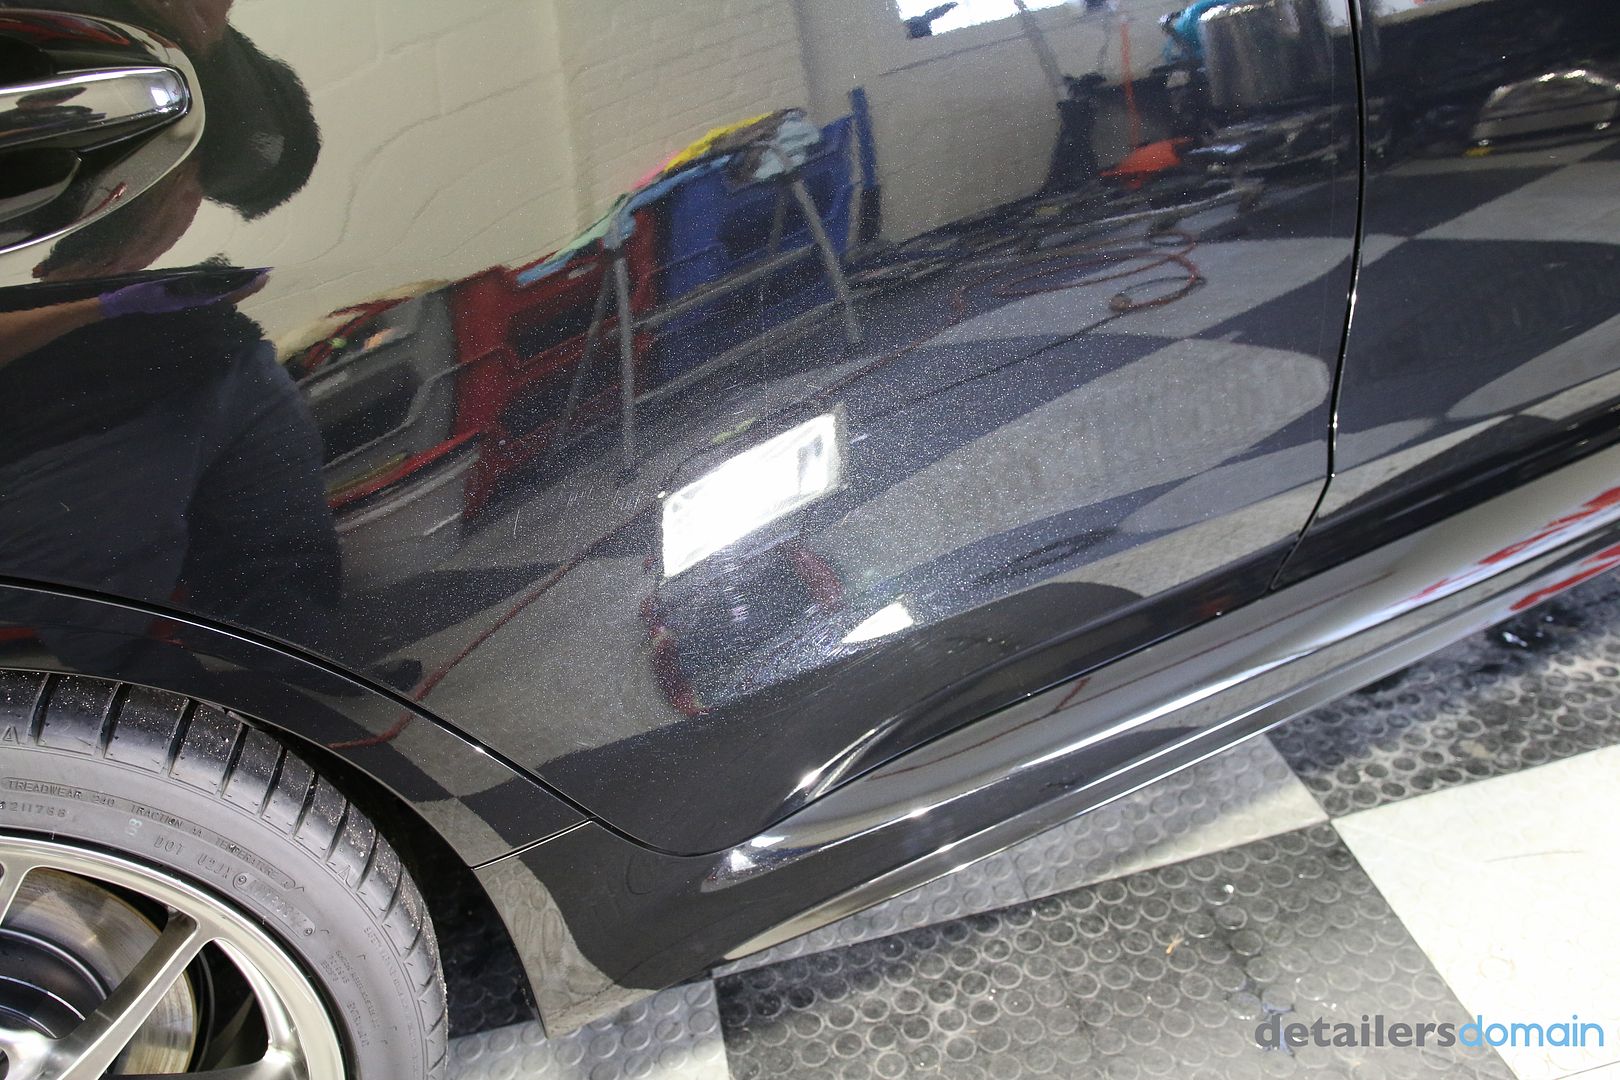
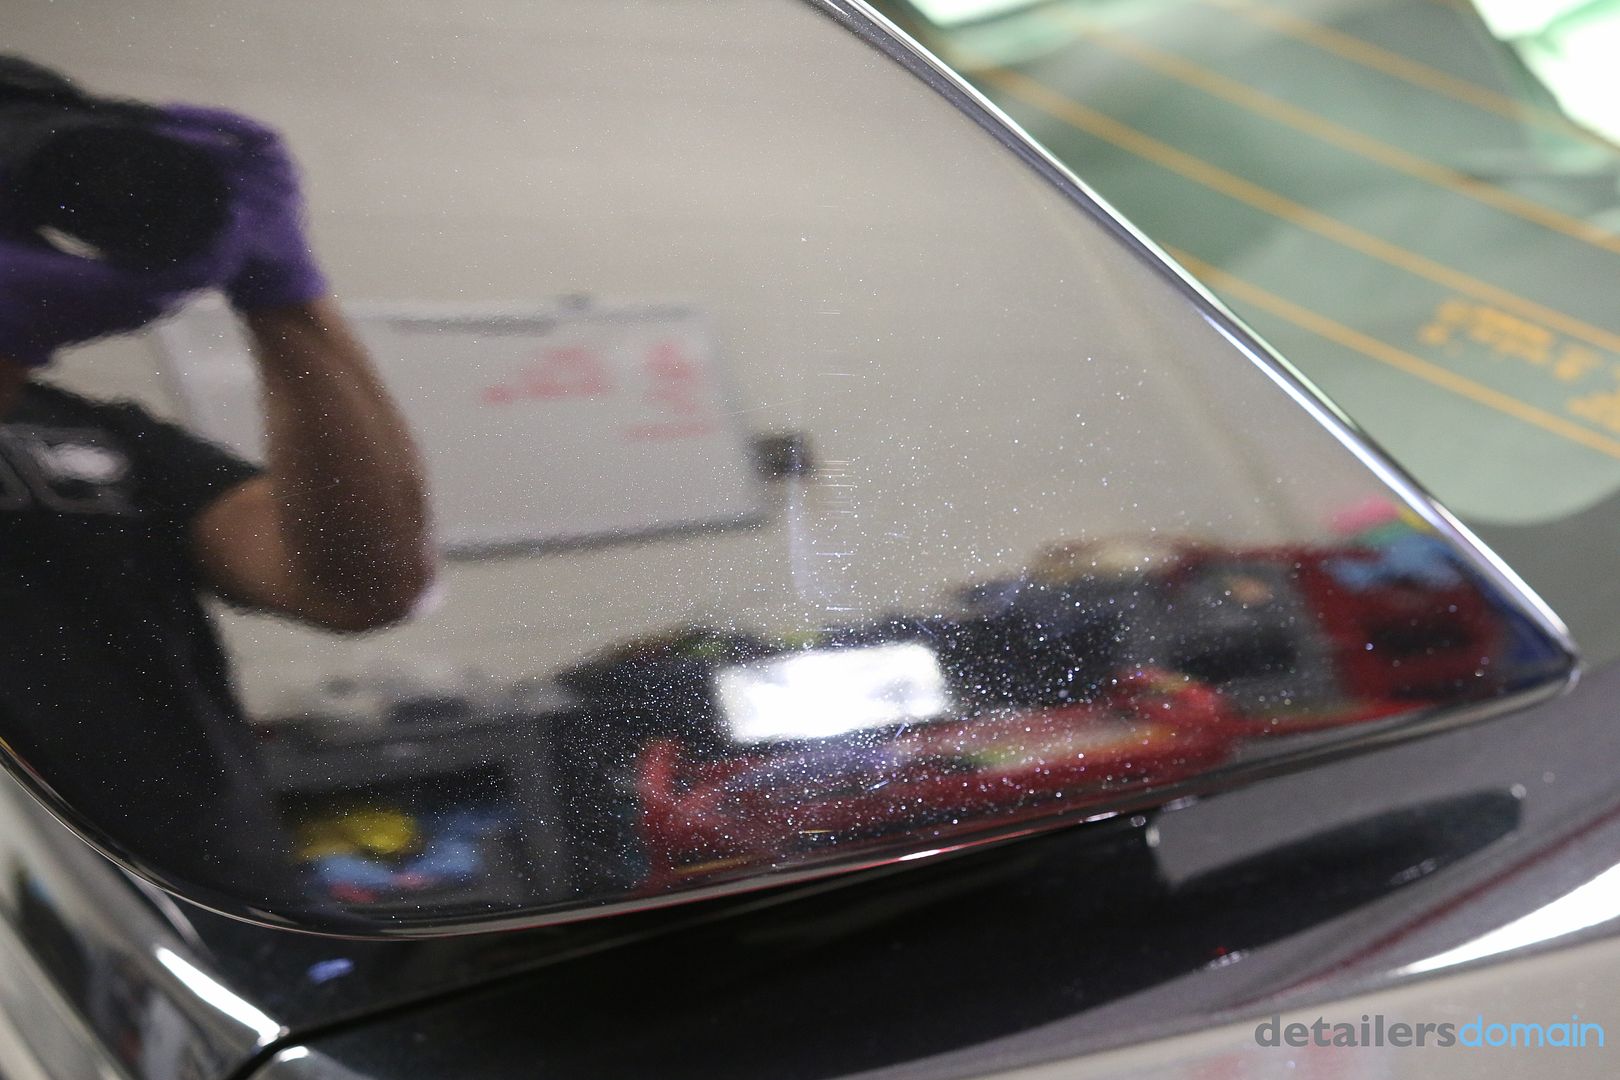
Exterior
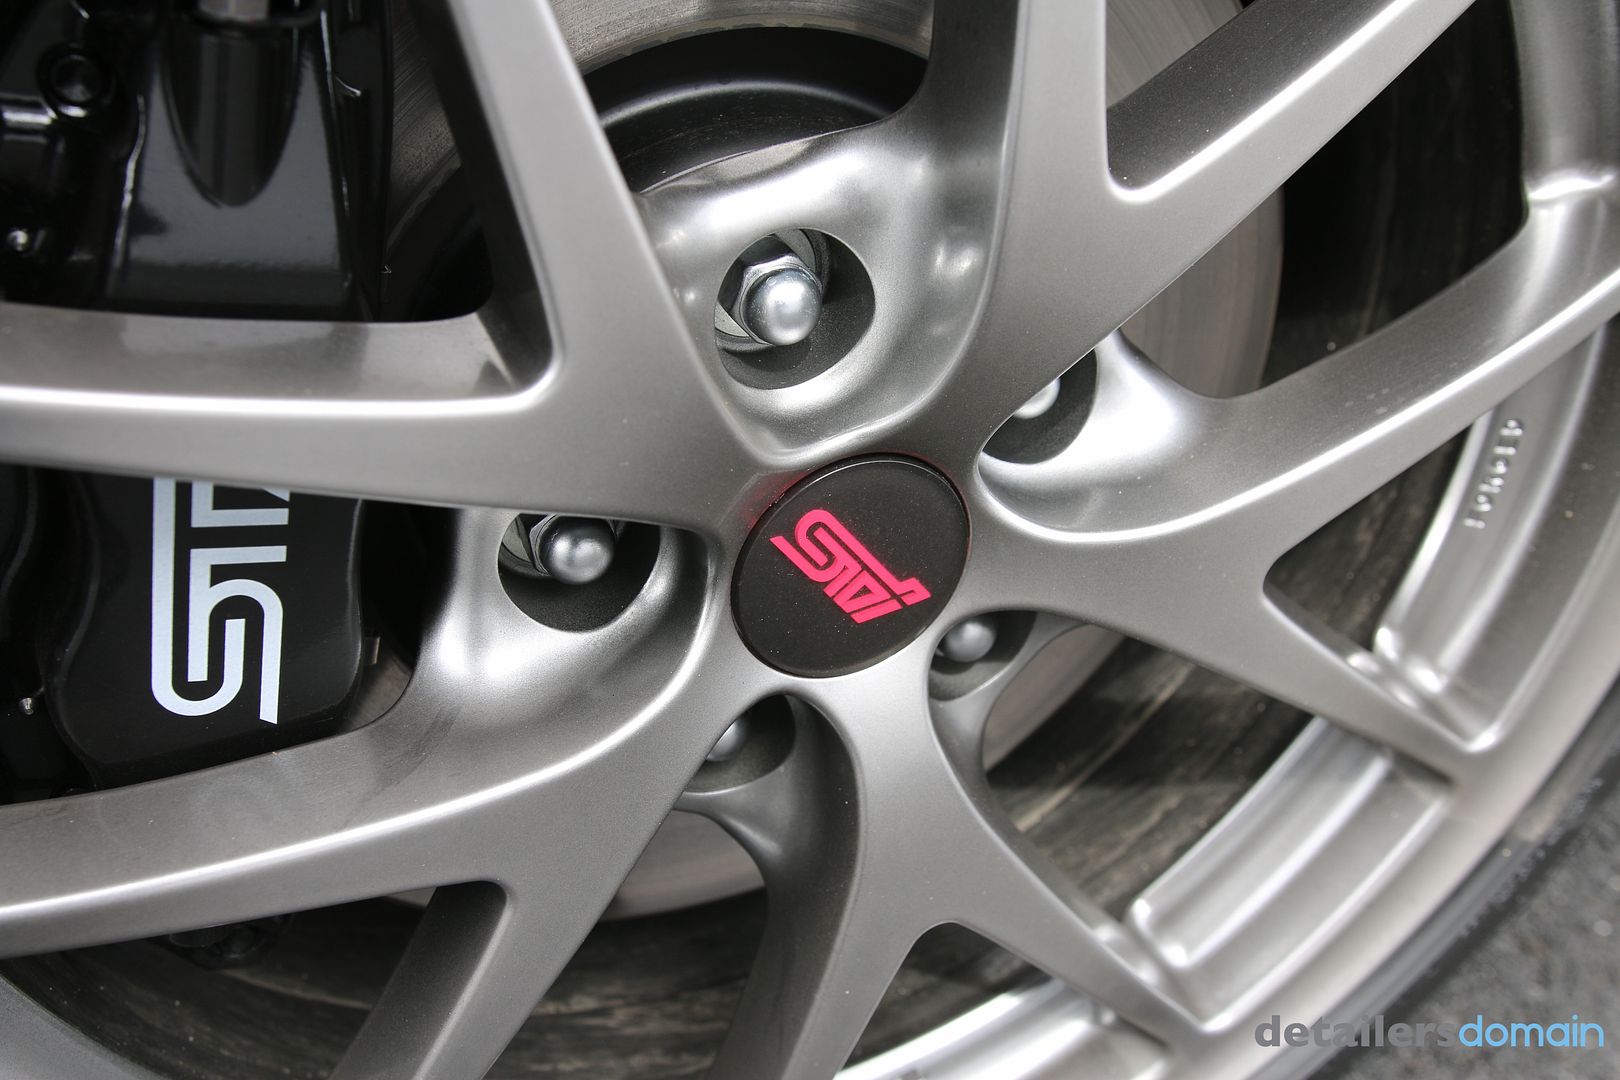
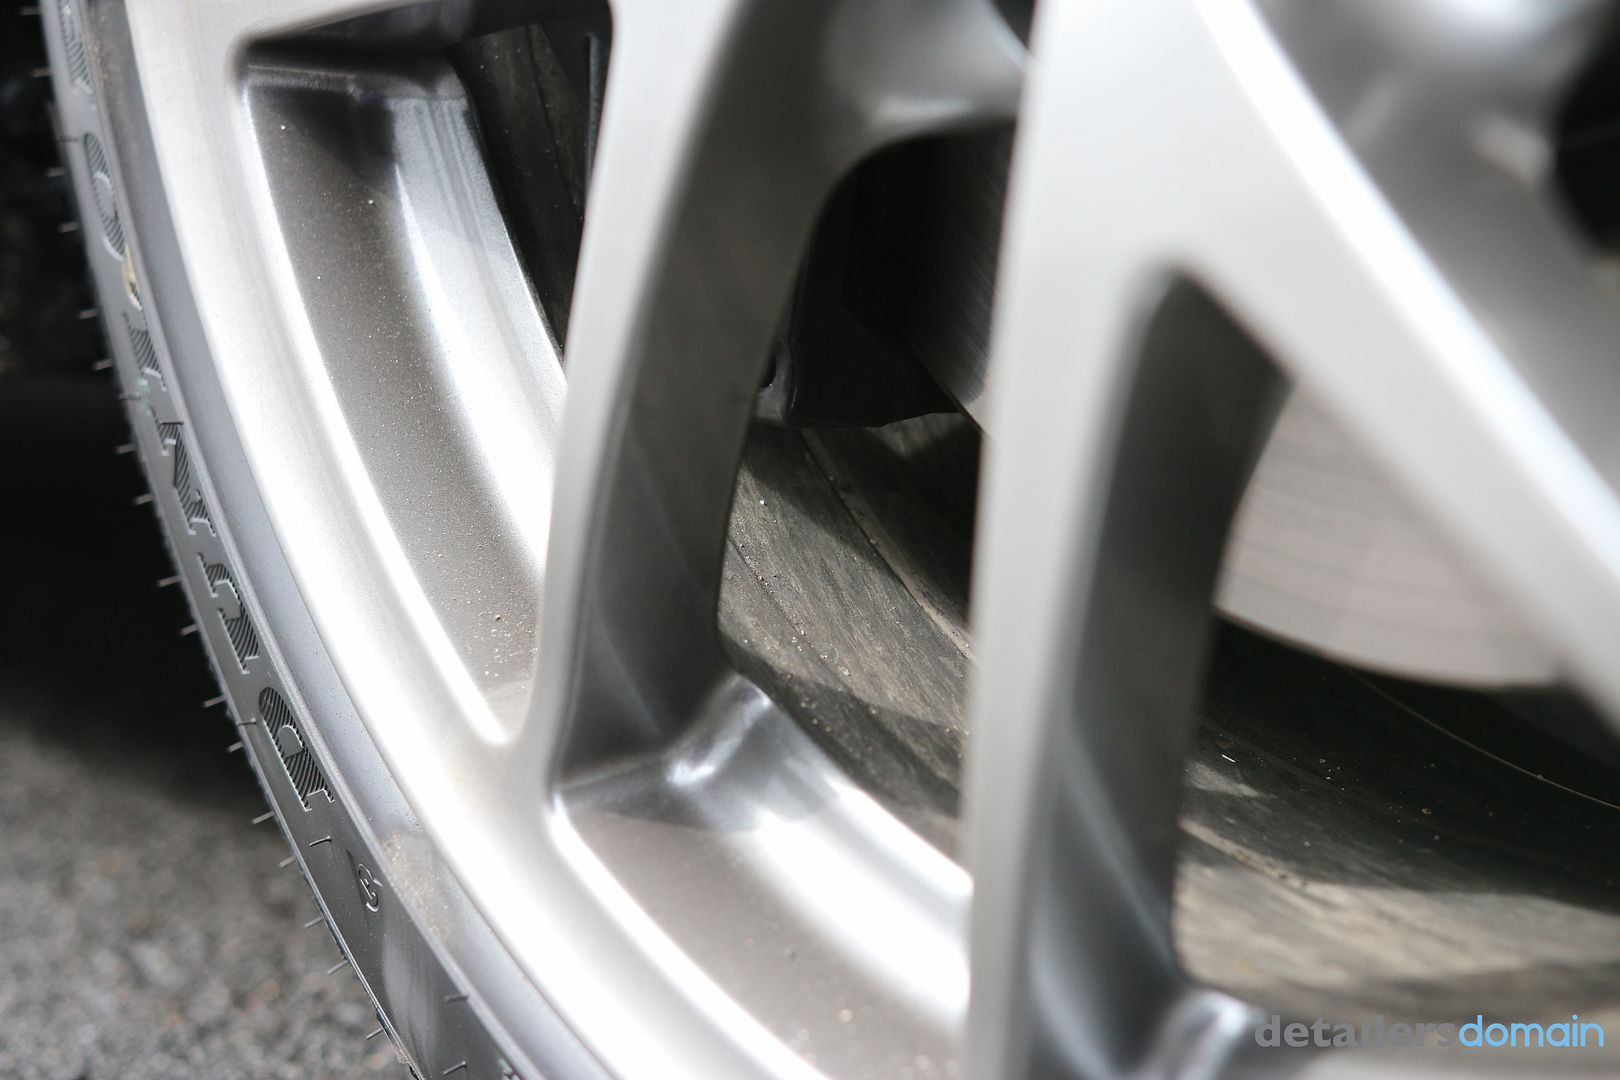
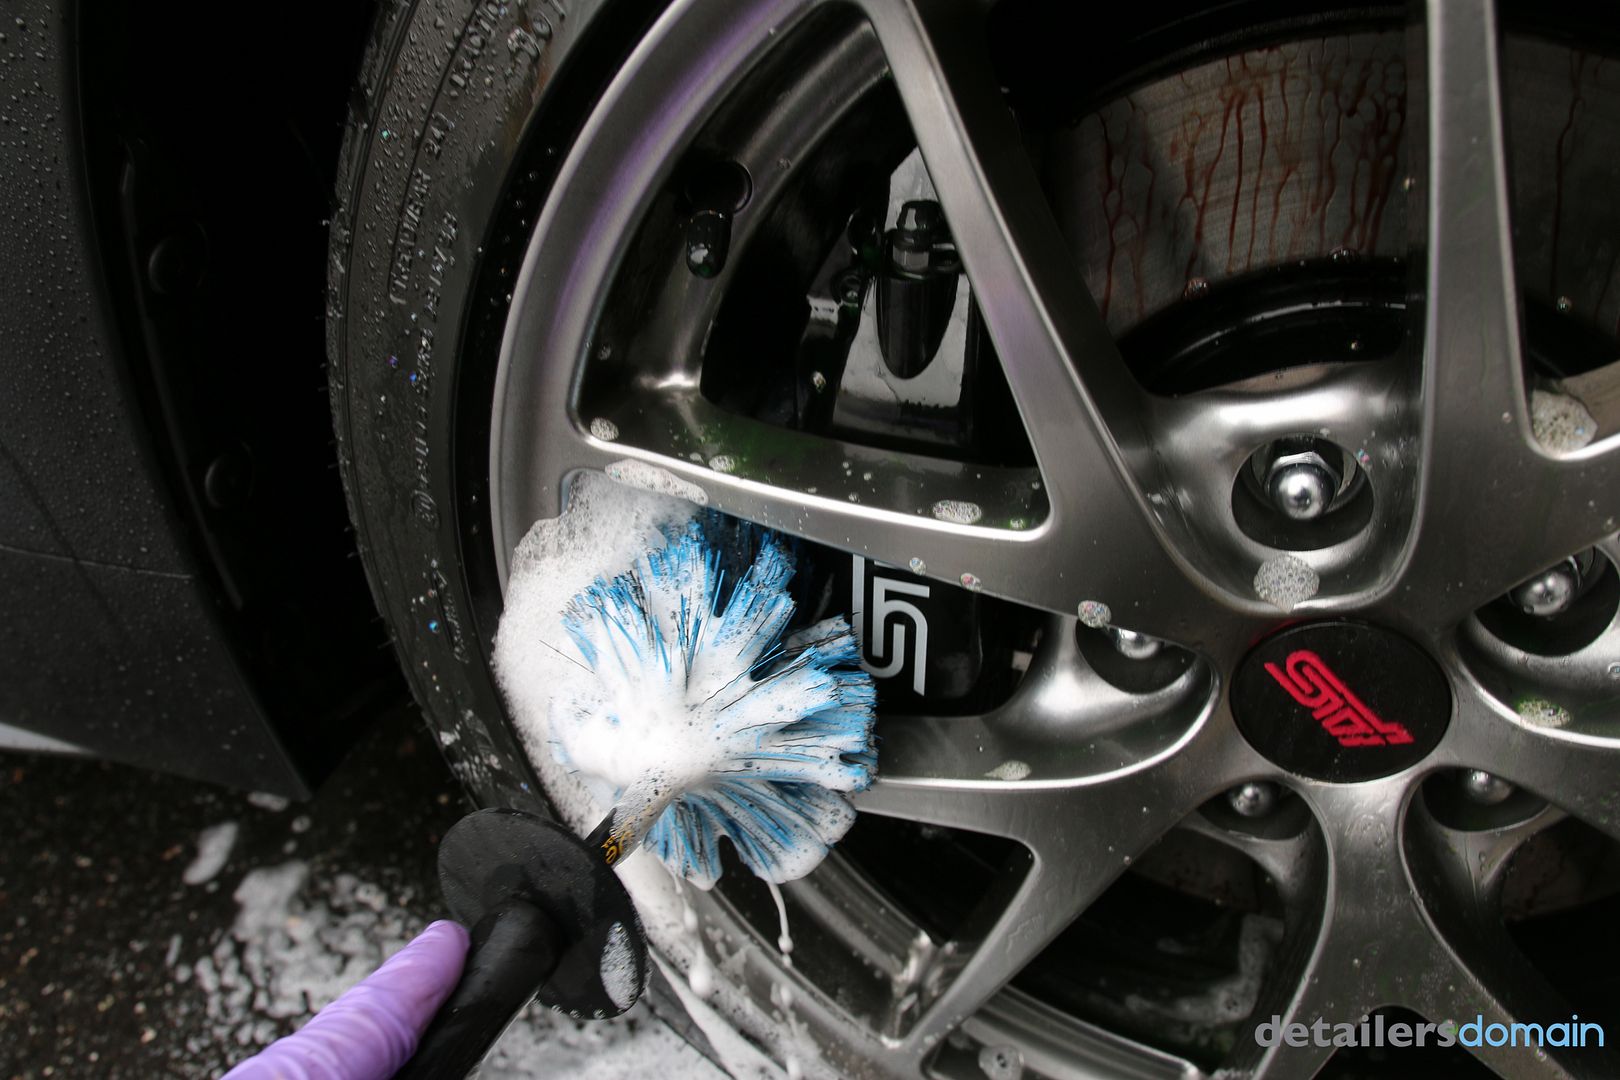
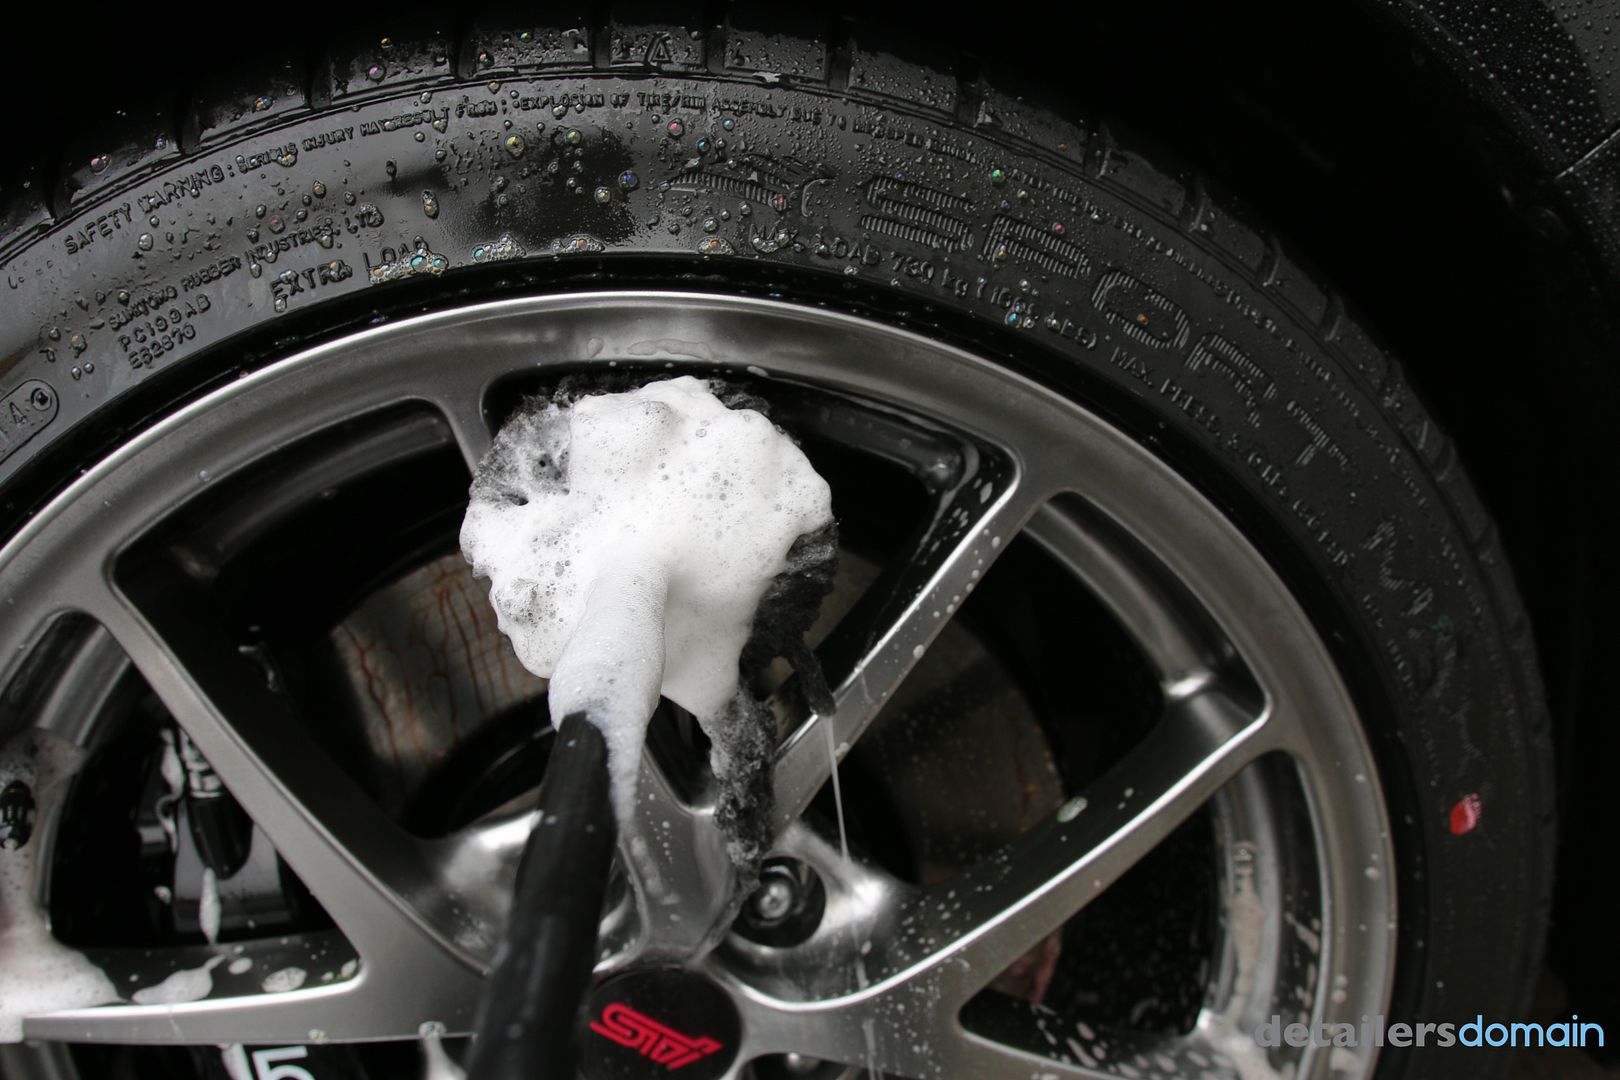
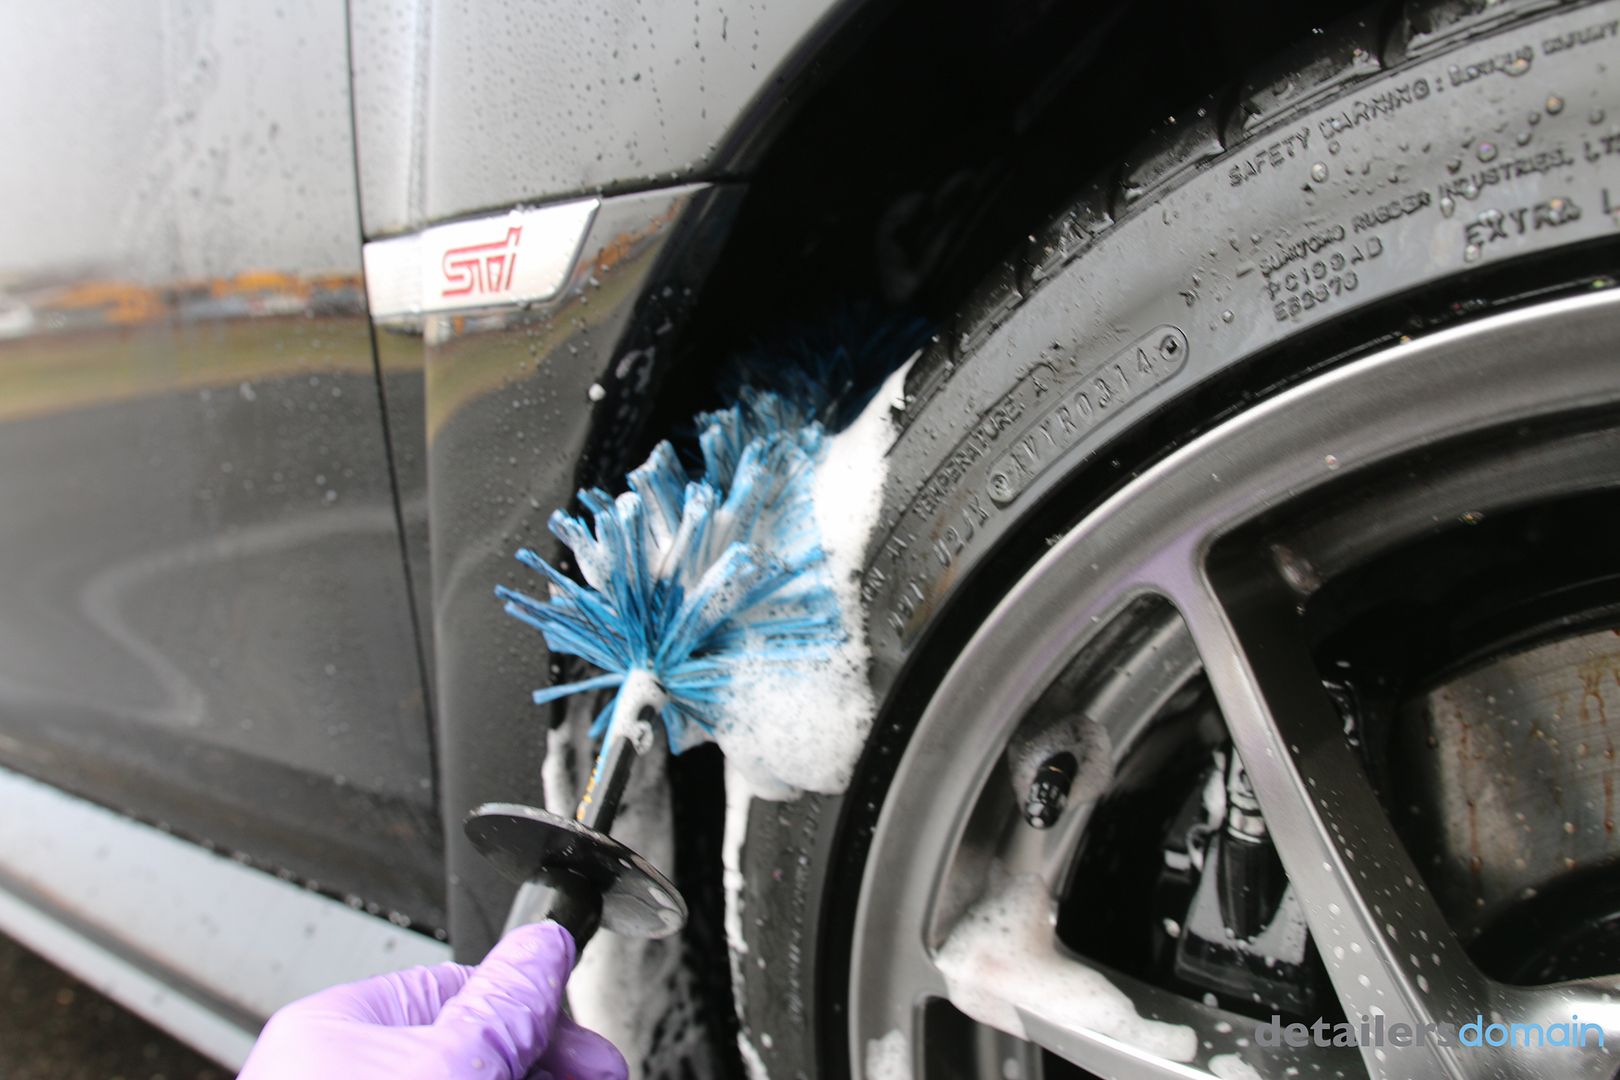
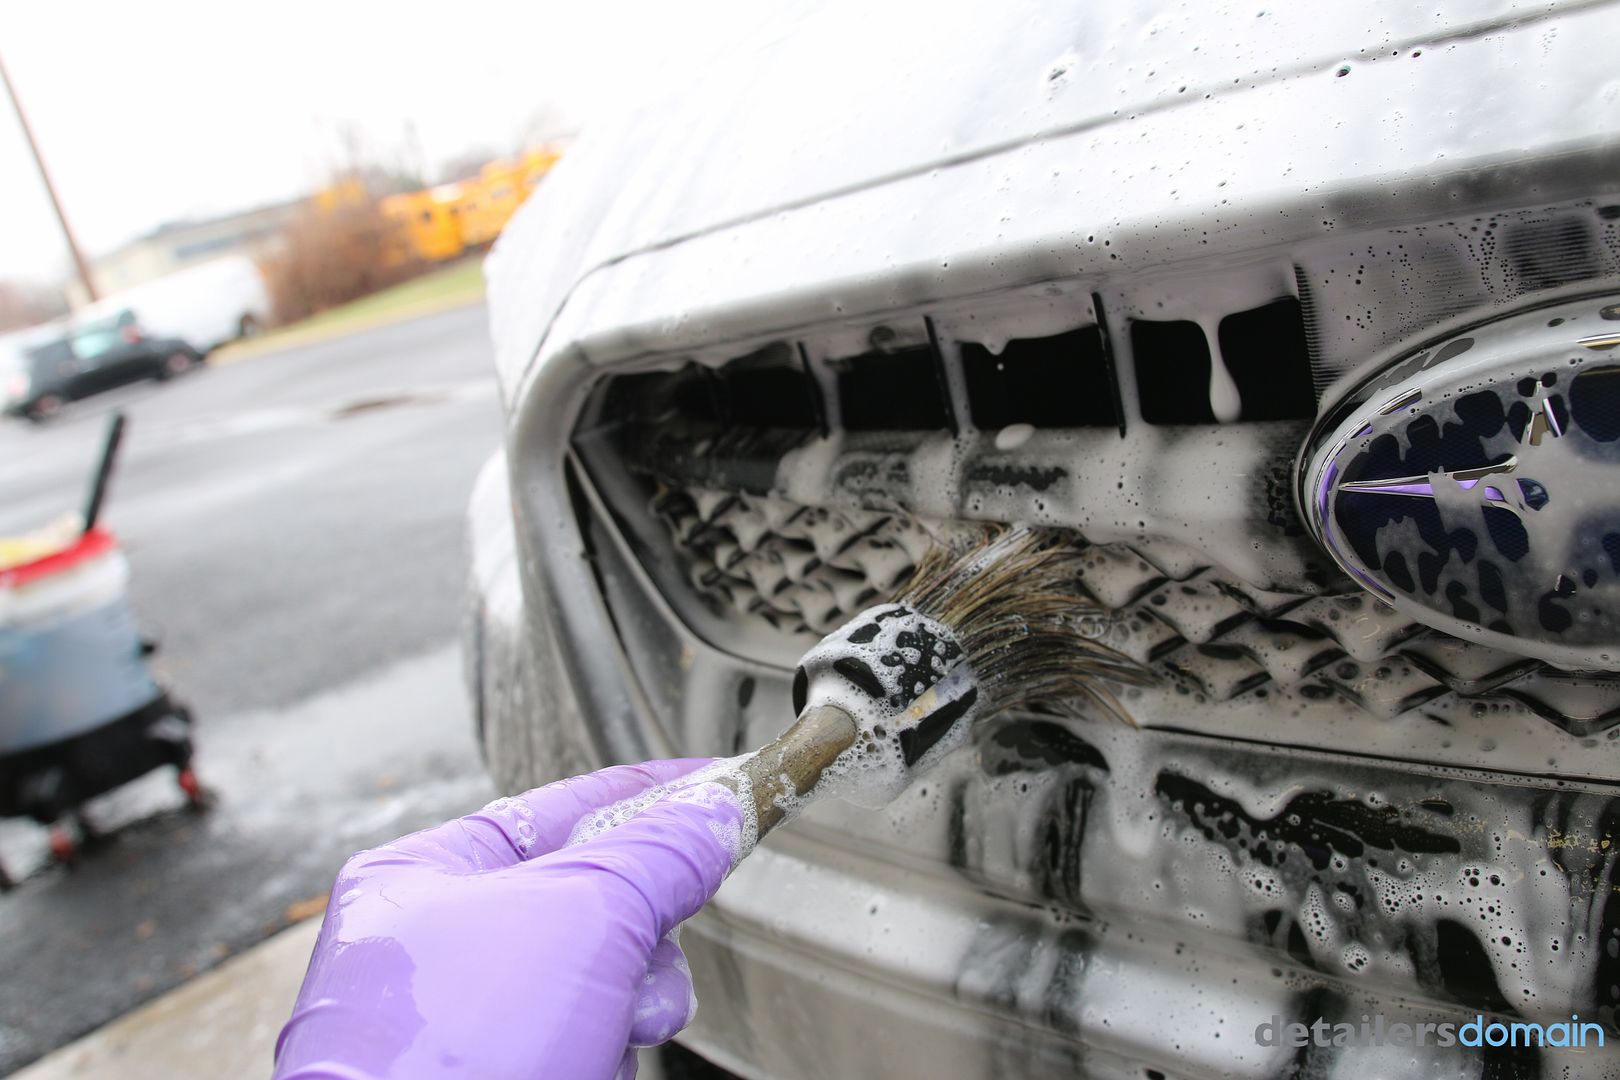
– Wheels were prepped with Sonax Wheel Cleaner and cleaned up with various brushes
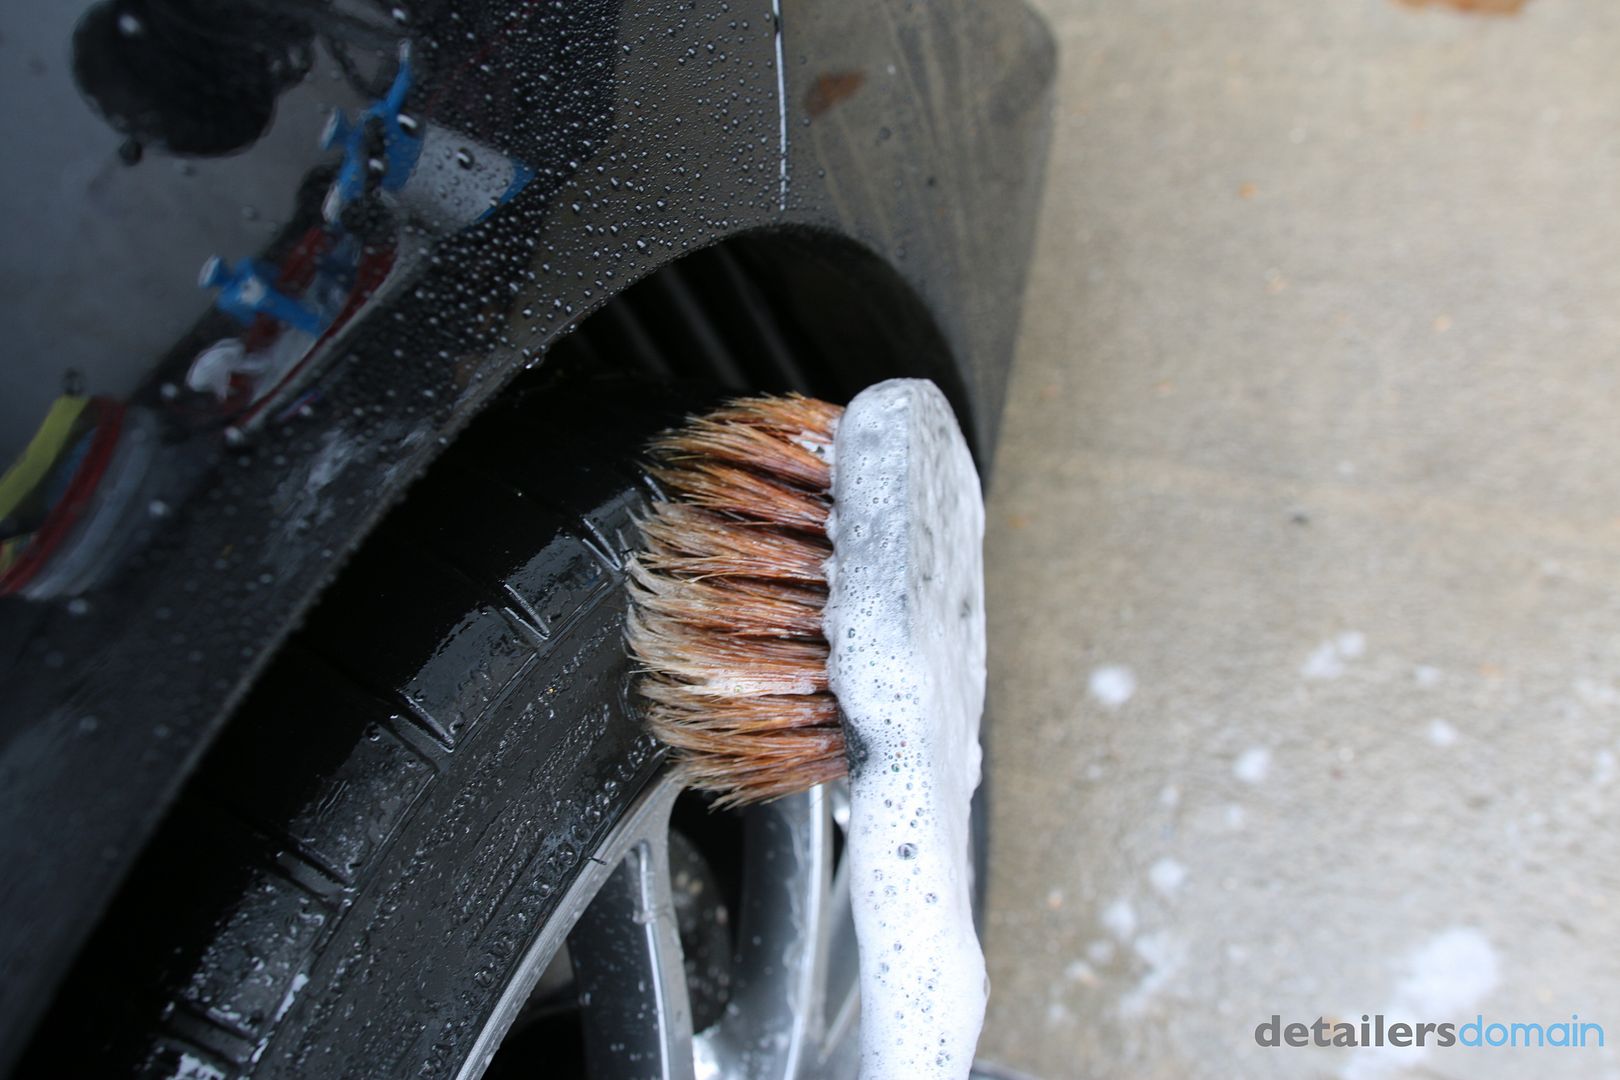
– Tires were spritzed down with Adam’s All Purpose Cleaner and washed down
– Wheel wells were cleaned up
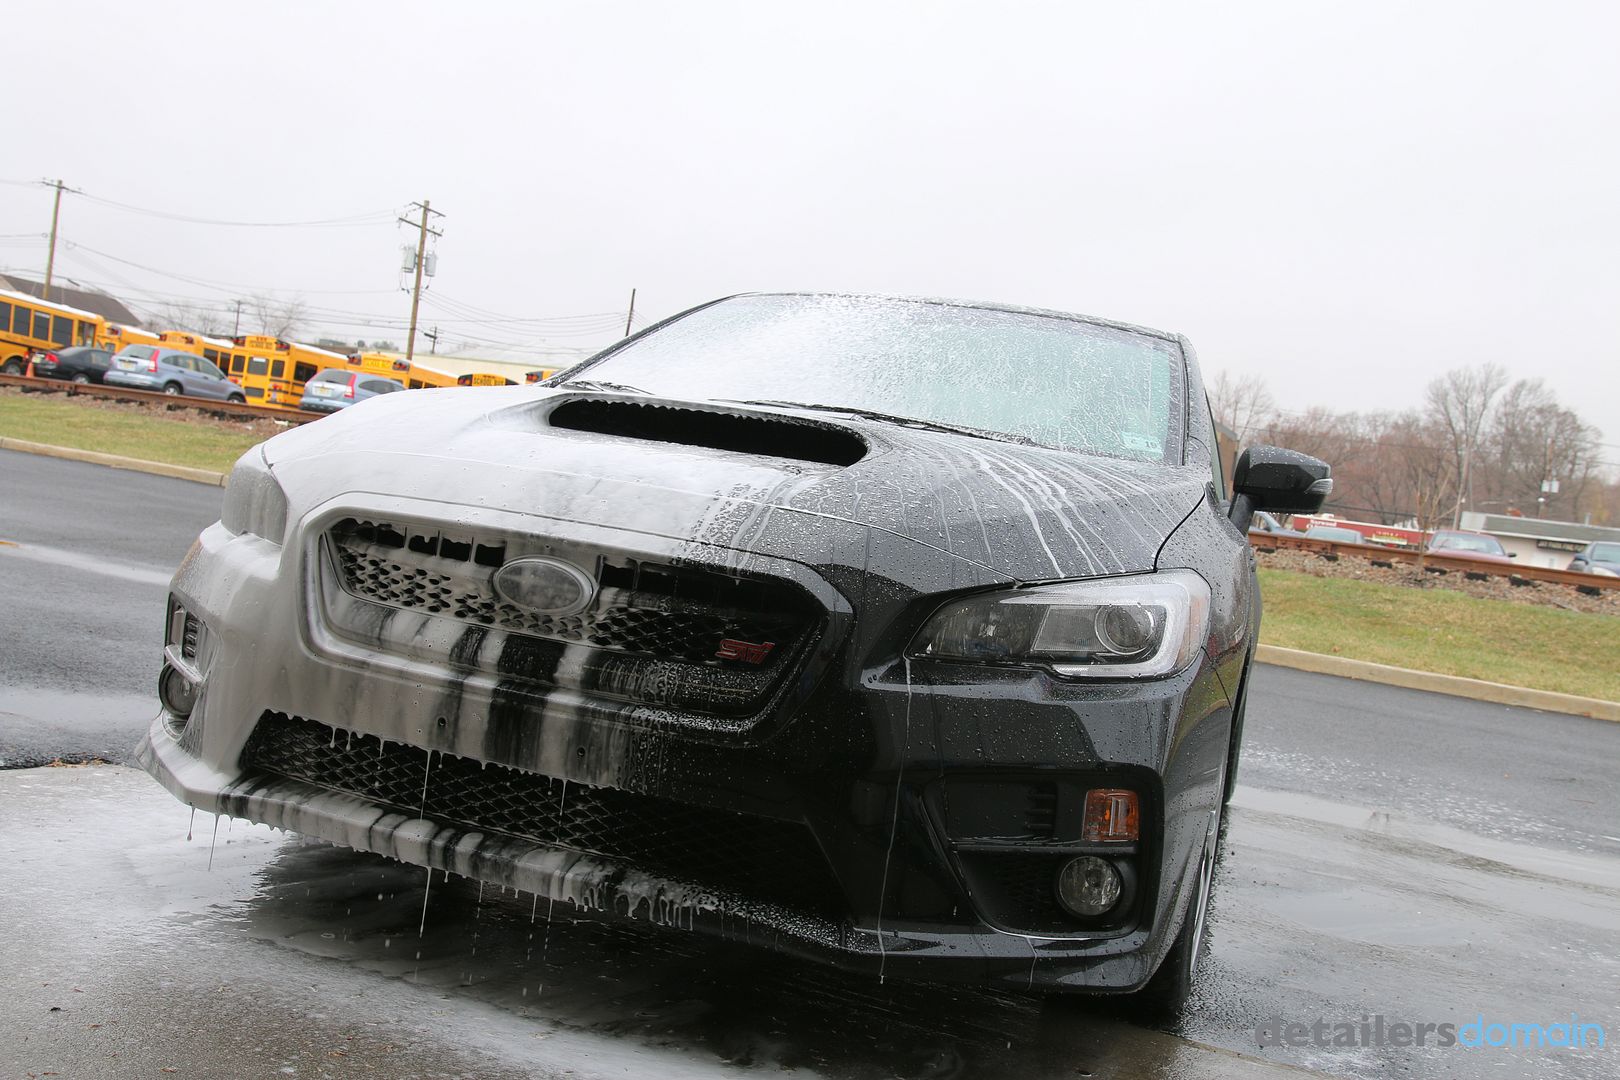
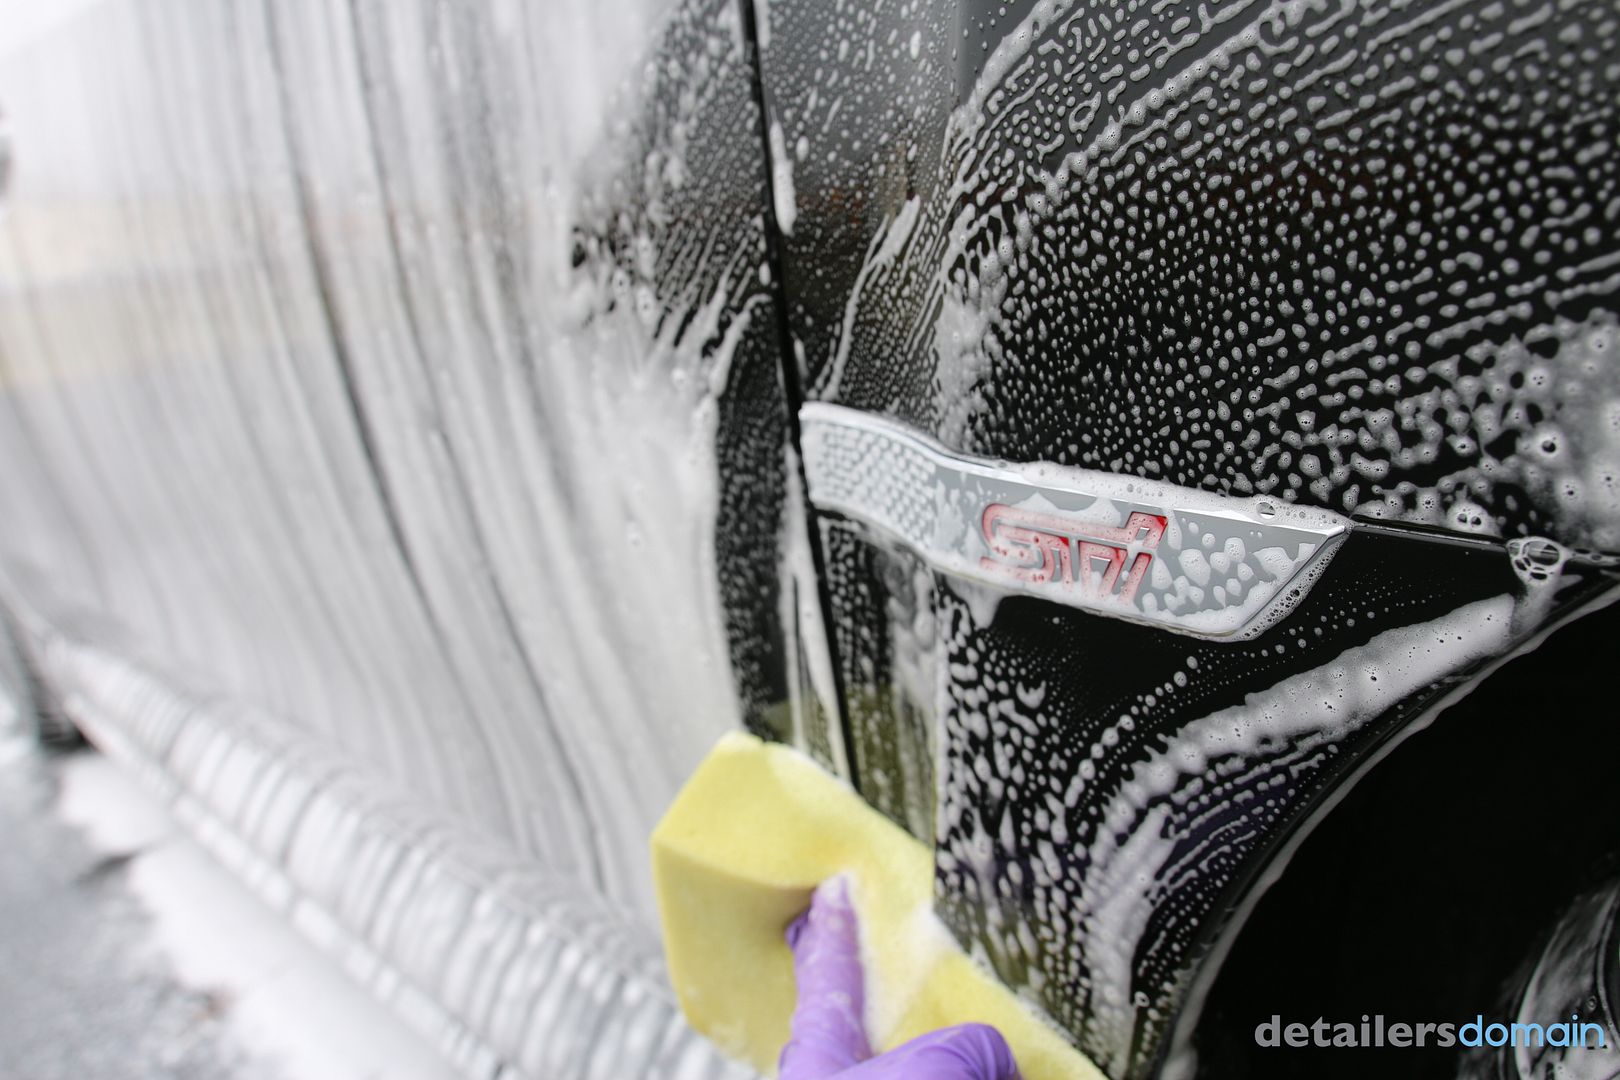
– Washed with Adam’s Car Wash
– Decon with Auto Finesse Iron Out
– Wash down and rinsed
– Door jambs were cleaned up
– Nano Scrub AutoScrub
– Dried
– Tires dressed
– Masking
– Paint Measurement
– Compound – Adam’s Paint Correction Polish and Meguiar’s M100
– Final Polish – Sonax Perfect Finish 4/6
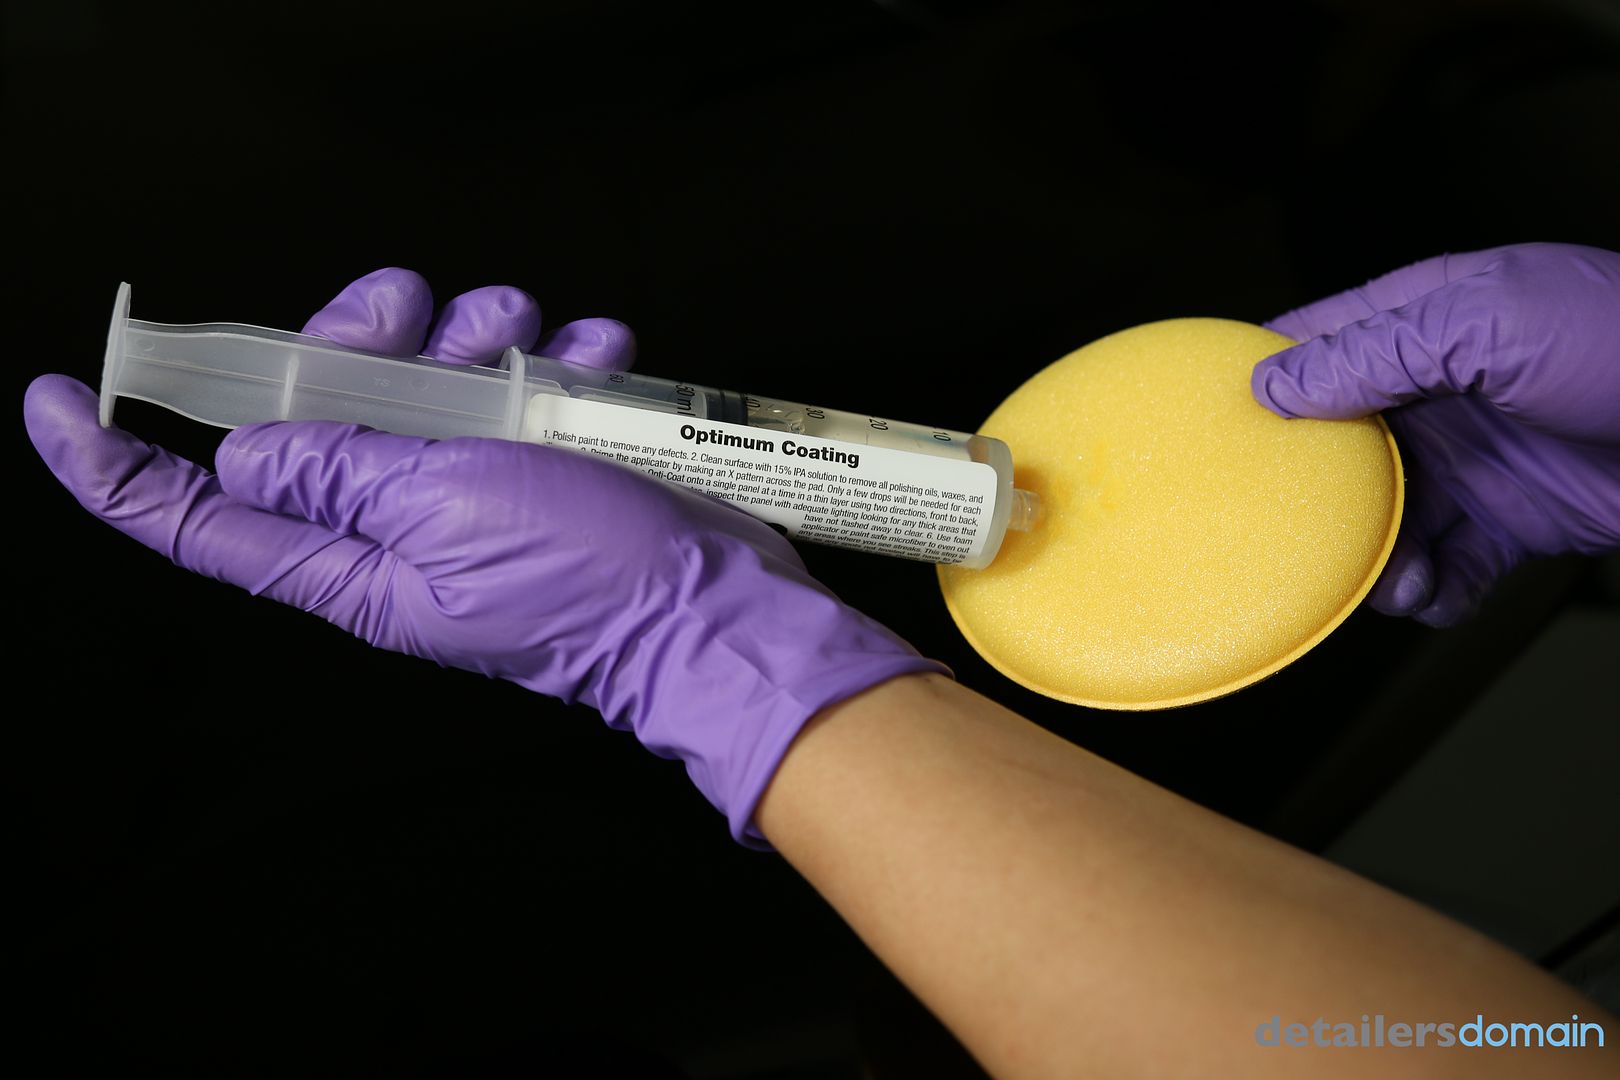
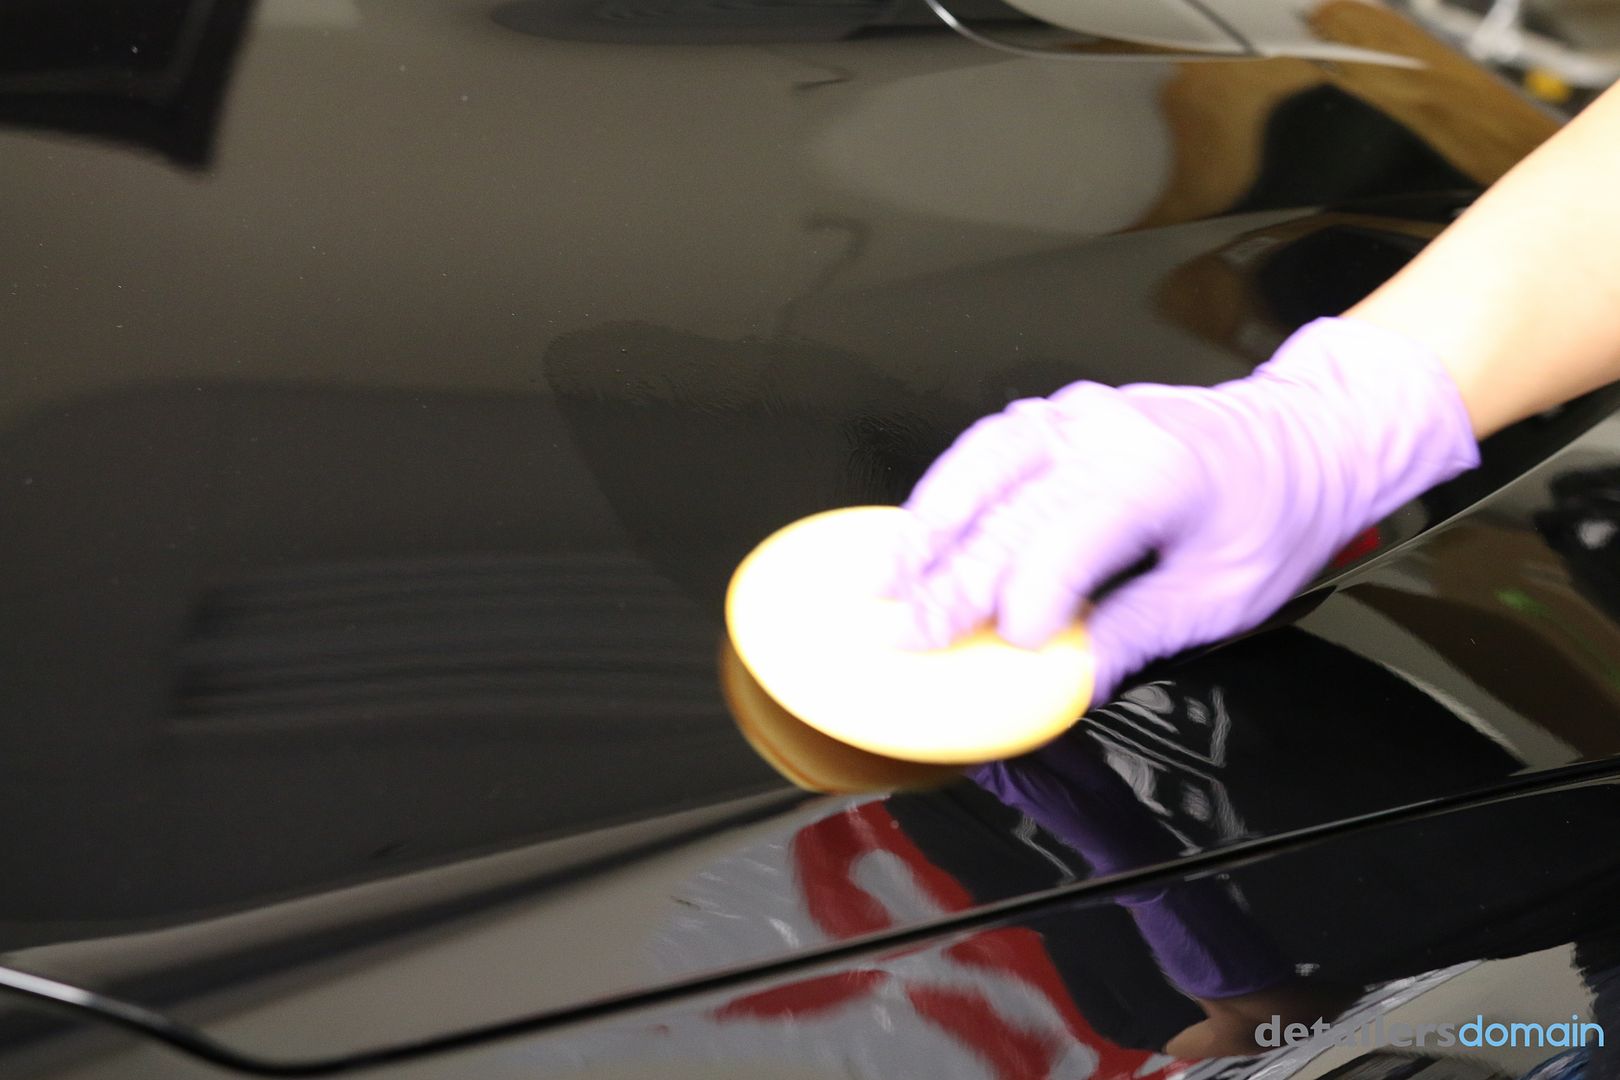
– Last step – Opticoat
– Inspection with Fenix, Brinkmann, and natural sunlight
– Wheel wells were cleaned – polished – Opti Coat
– Rubber and Plastics Treated
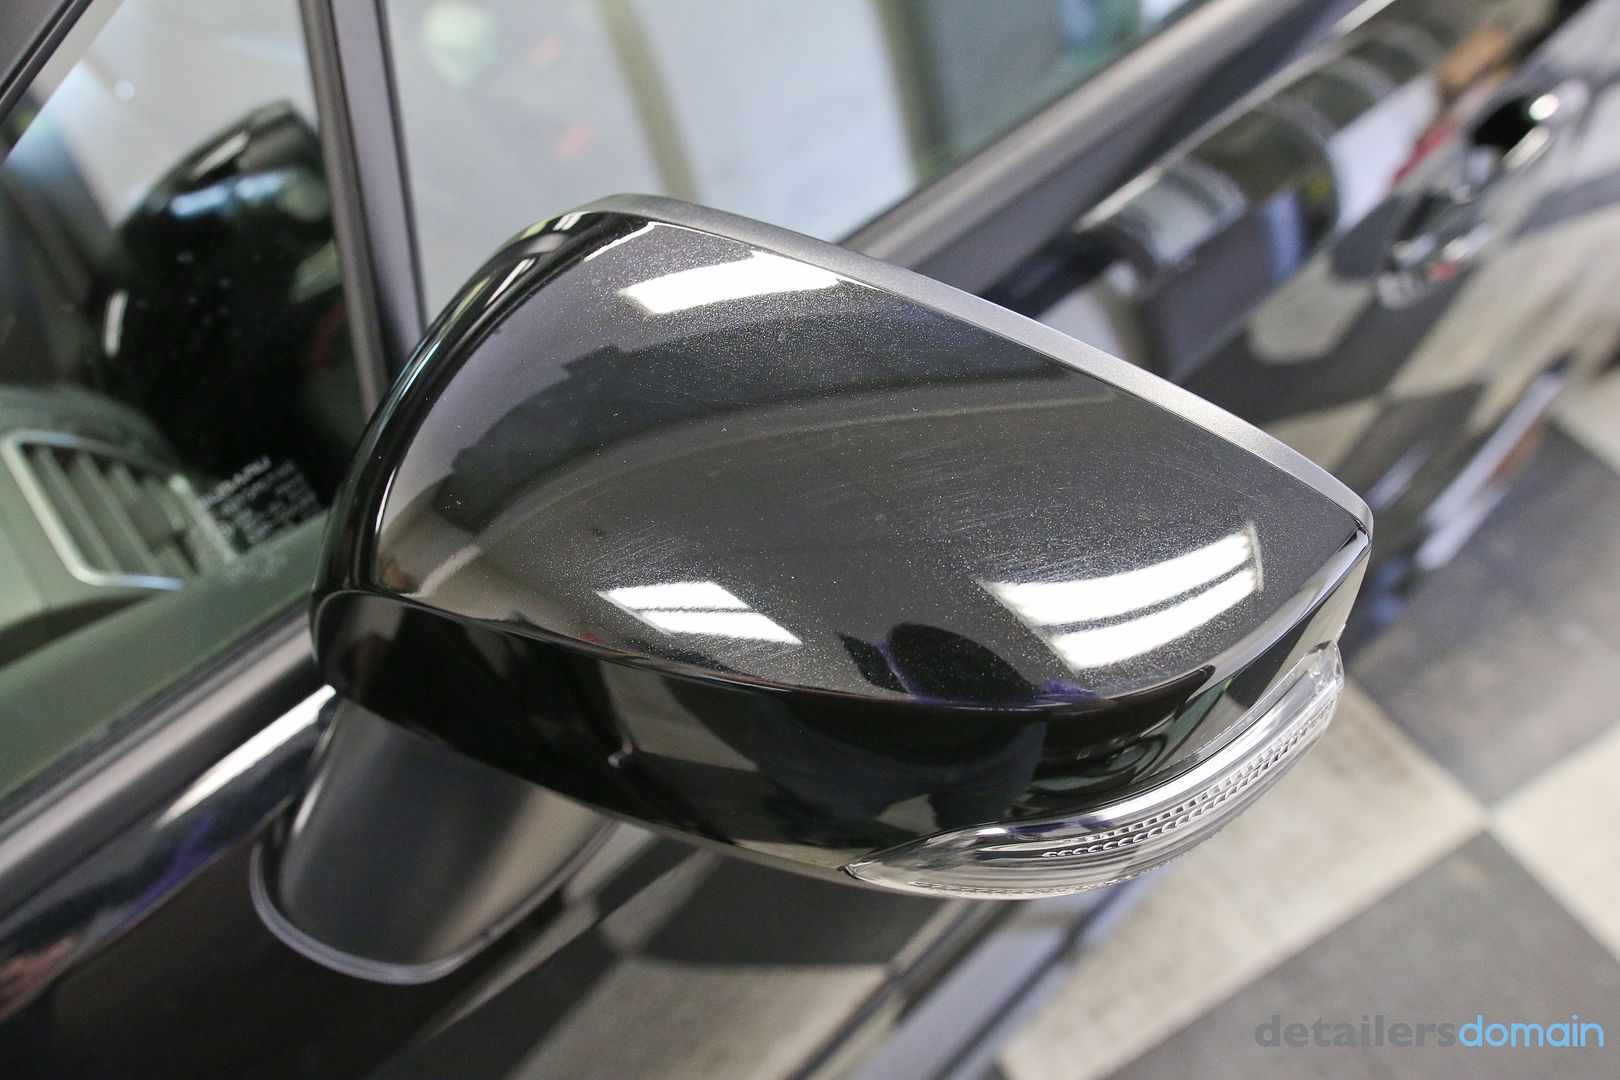
– Exterior windows and mirrors cleaned and sealed
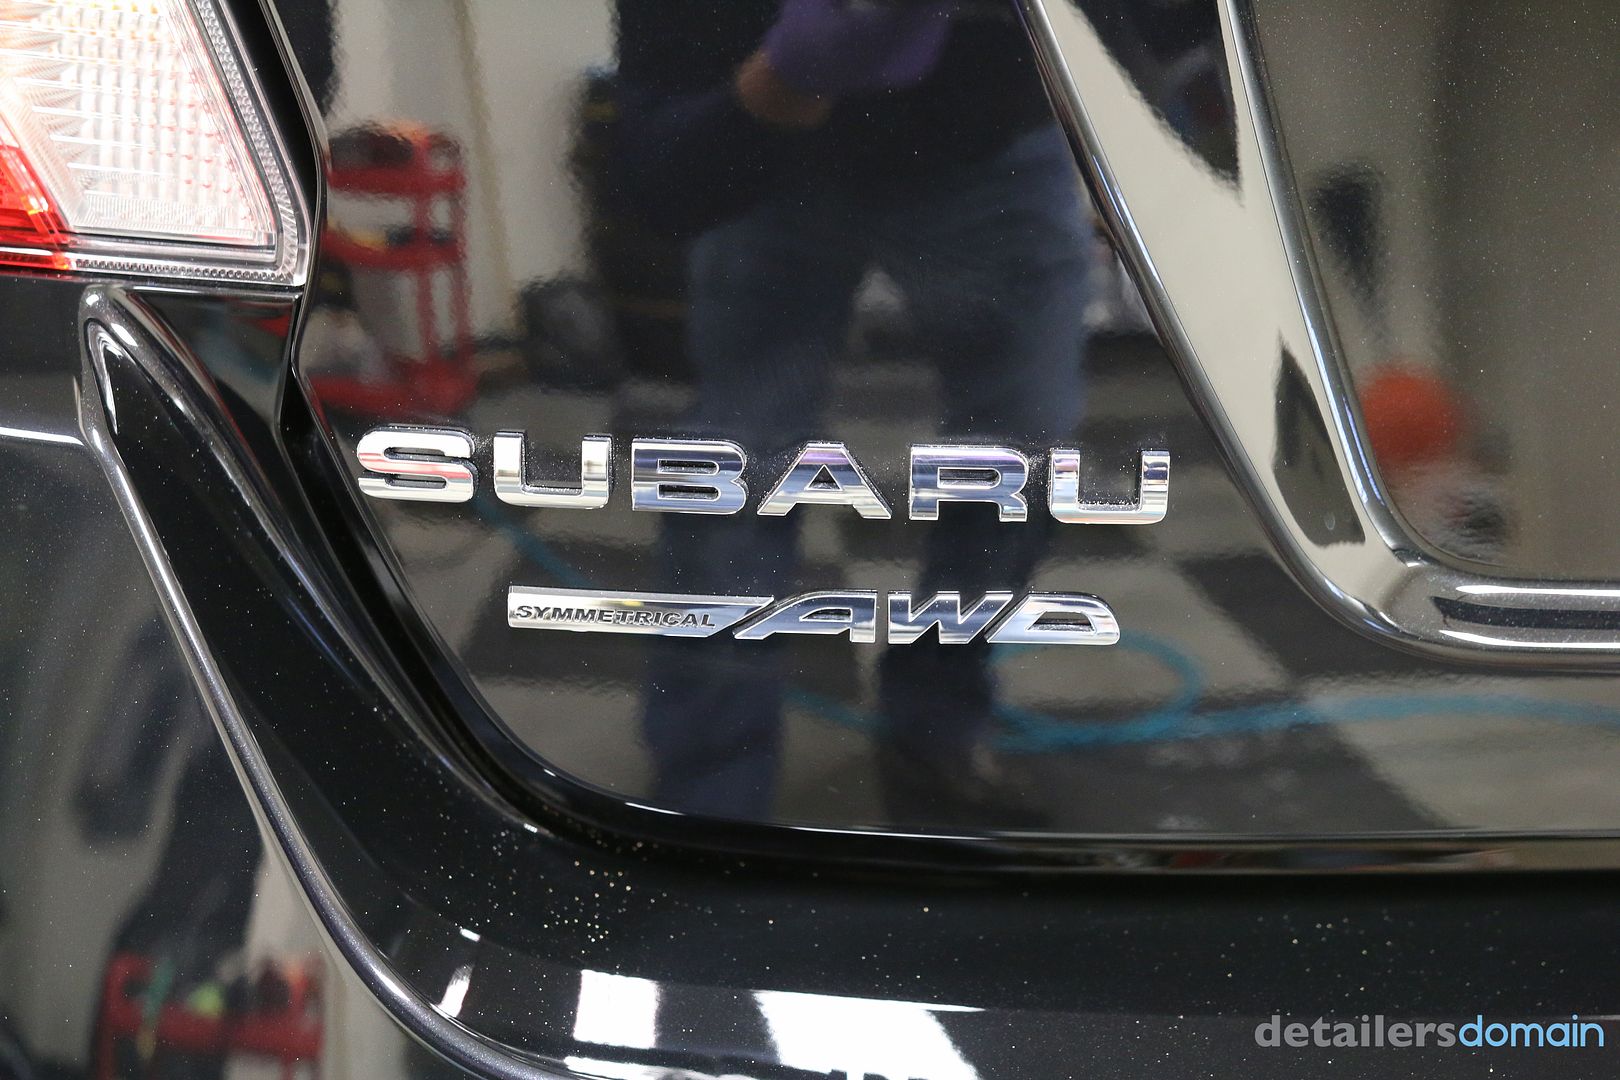
– Exhaust tips cleaned
– Windows were auto scrubed, cleaned, and sealed
Products used:
Adam’s Car Wash
Auto Finesse Iron Out
Stoner’s Tarminator
Auto Finesse Oblitarate
Sonax Multi Star
Sonax Full Effect Wheel Cleaner
NanoSkin AutoScrub System
Adam’s Paint Correcting Polish
Meguiar’s M100
Sonax Perfect Finish
Opti Coat
Optimum Bond Tire Gel
Auto Finesse Crystal Glass Cleaner
Tools used
Uber Wool Wash Mitt
Uber Quick Detail MF Towels
Uber All Purpose MF Towels
Rupes LHR75E
Rupes BigFoot LHR 21ES Random Orbital Polisher
Rupes BigFoot LHR 15ES Random Orbital Polisher
Flex XC3401VR
Uber Buffing Pads
Meg’s MF Cutting Pad
Defelsko Paint Meter
Fenix TK35
Kranzle Pressure Washer
Uber Foam Canon
2 Grit Guard Buckets with Caddies
Adam’s Firehose Nozzle
Metro Air Force Blaster
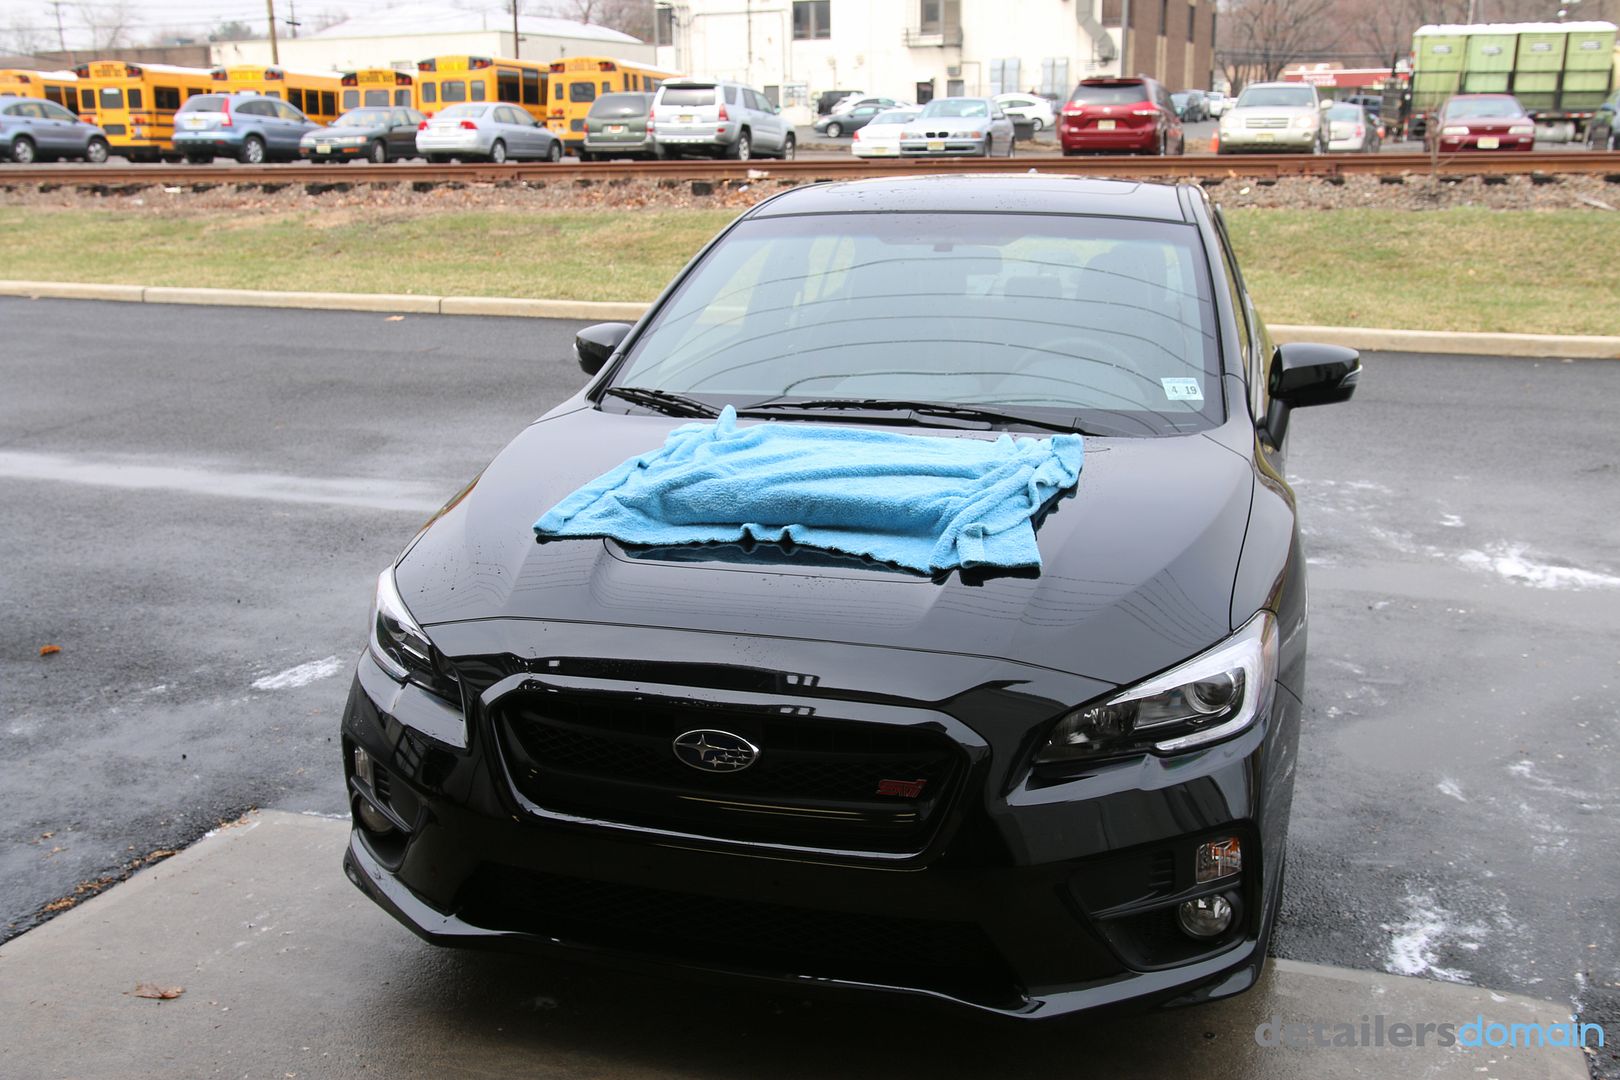
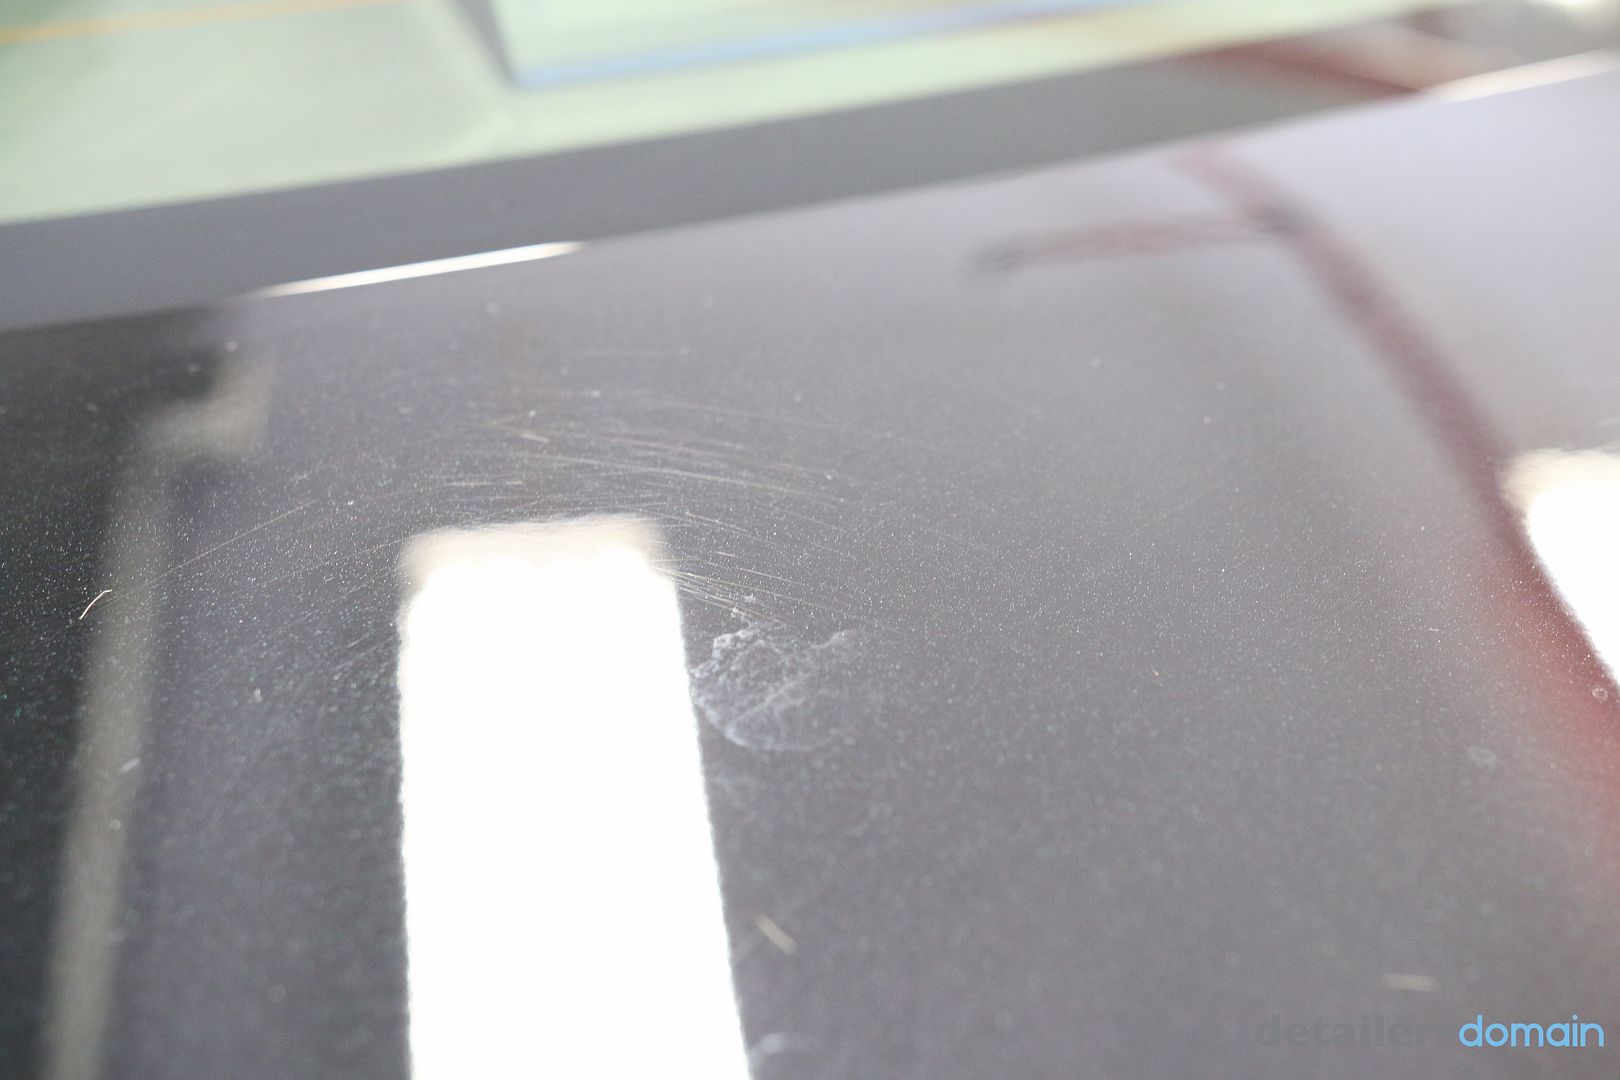
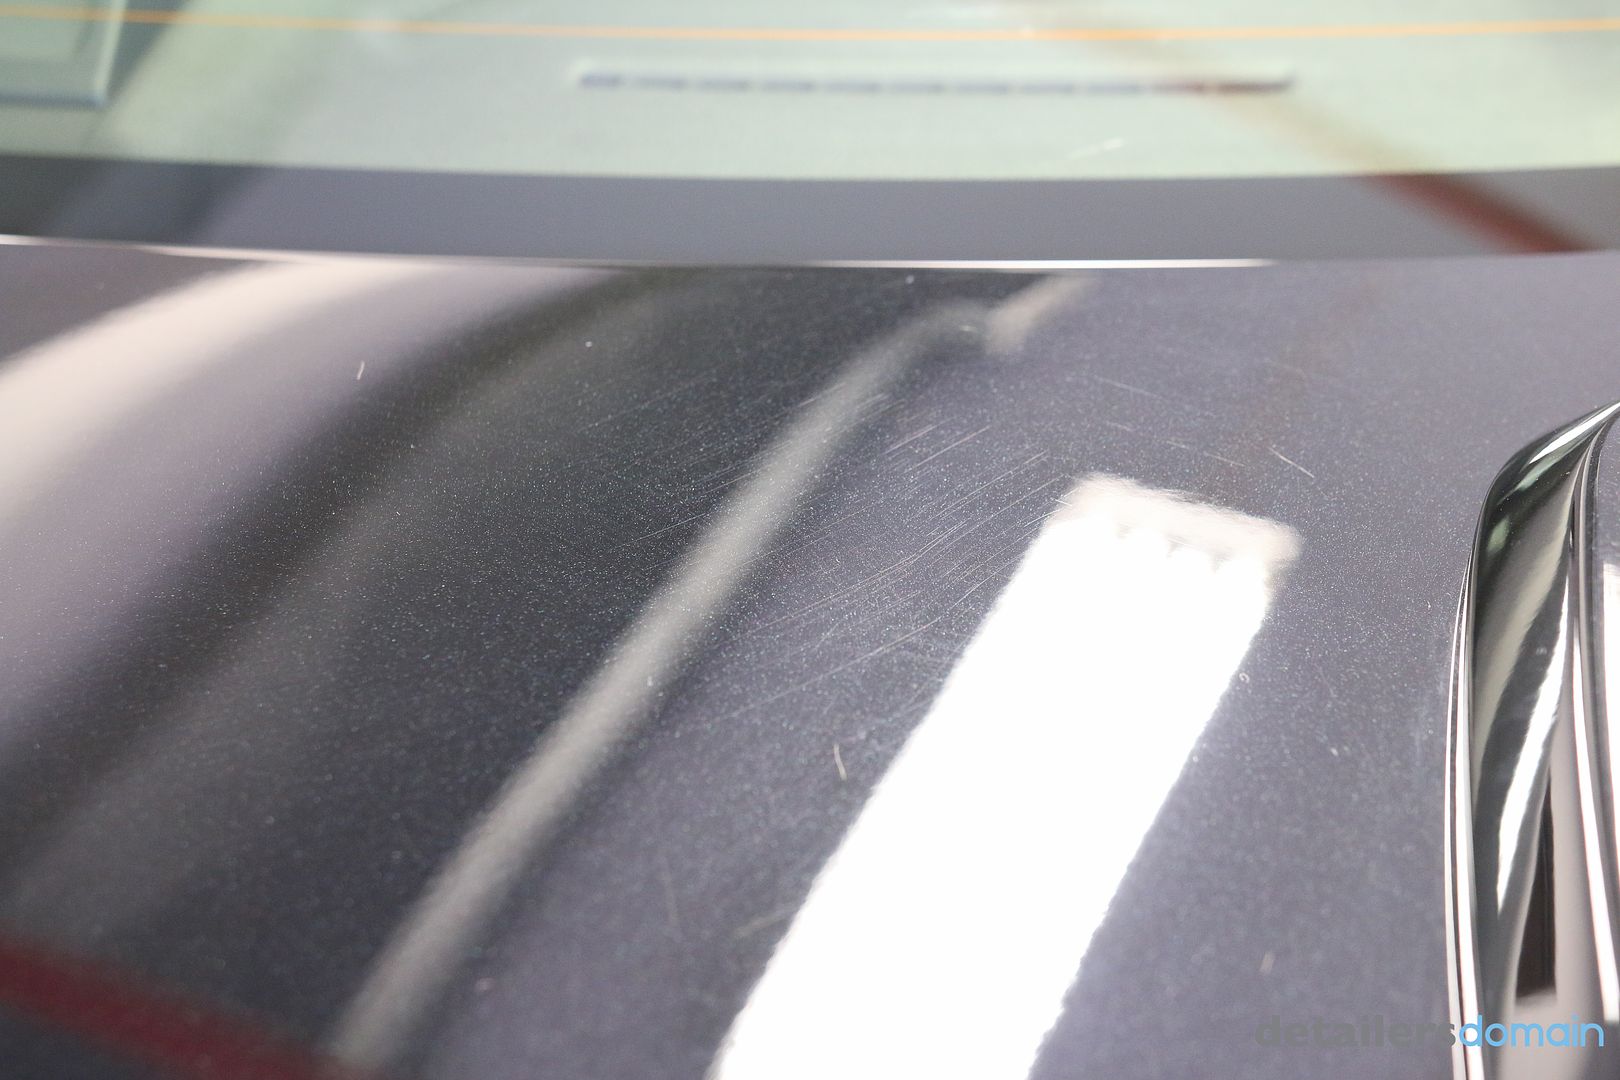
Before
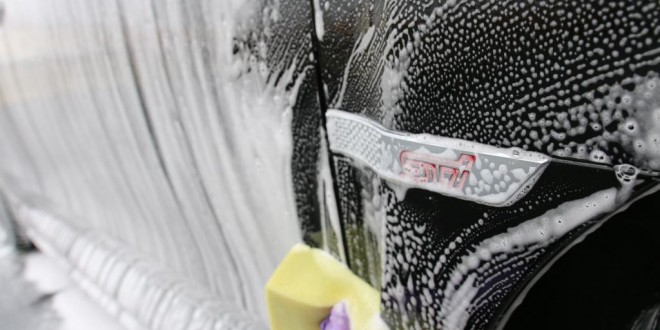
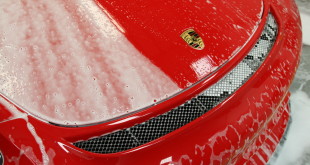
Prep – wheels, tires, wheel wells cleaned up – car washed, decon’d, and clayed.

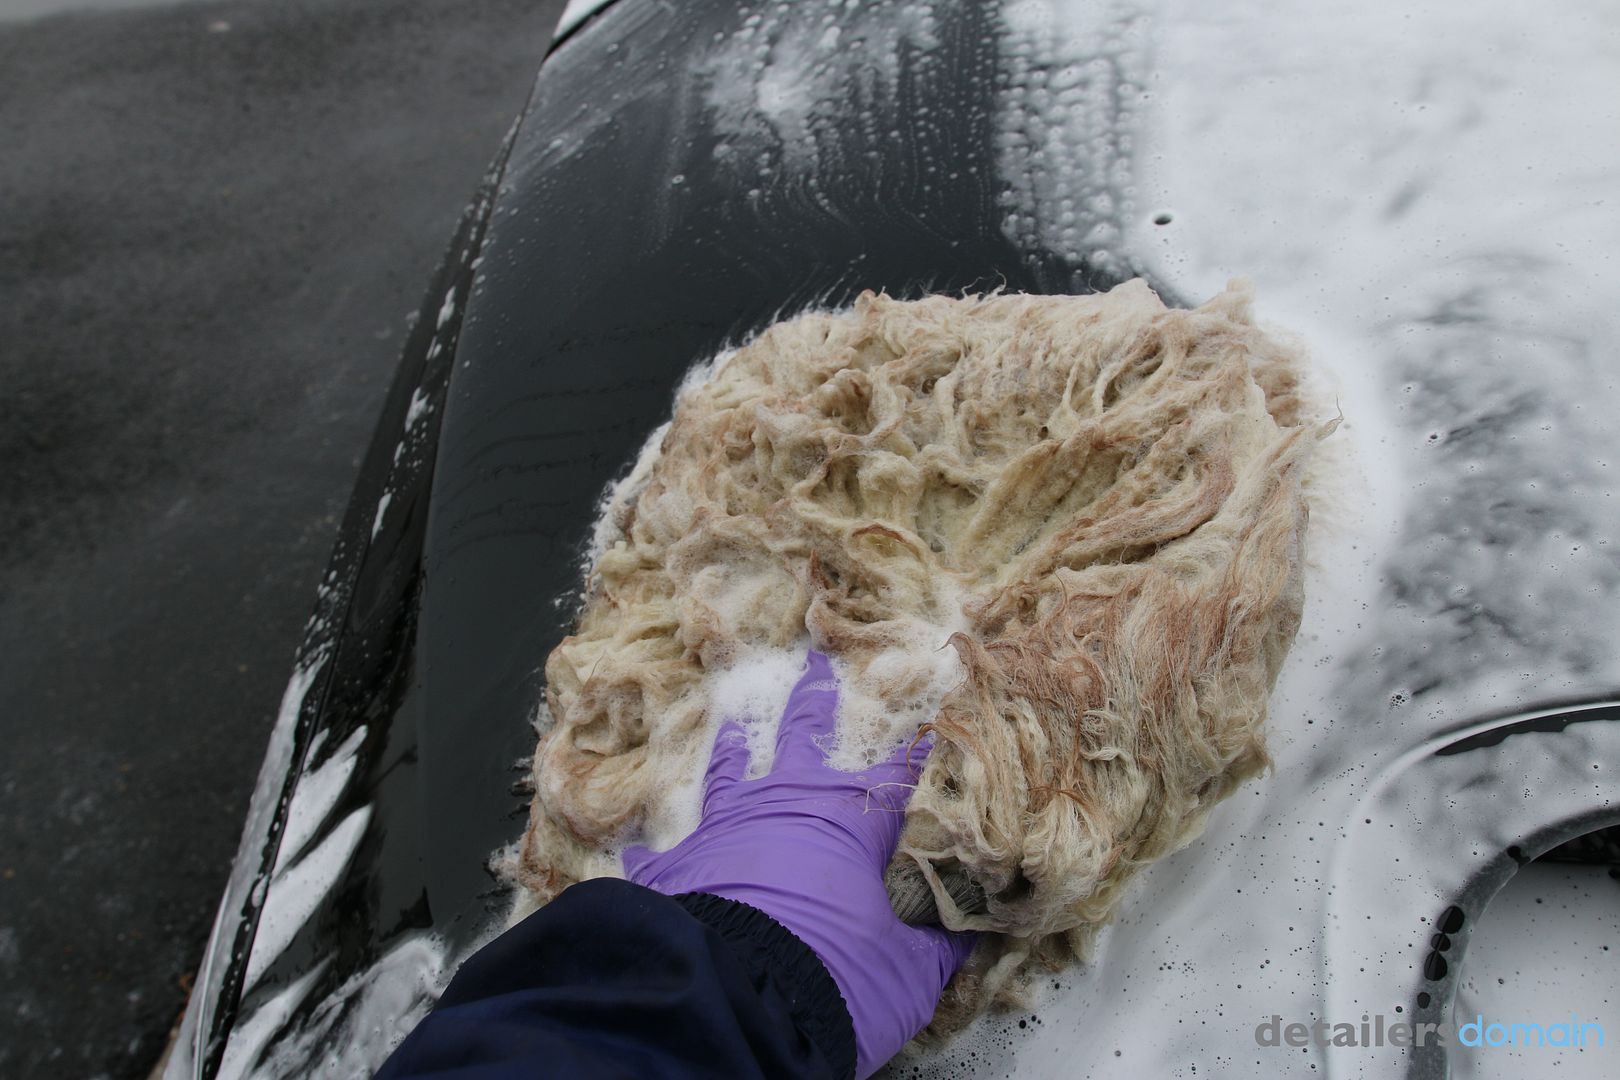
Using the Uber Wool Wash Mitt for the tops and the Uber Yellow Wash Sponge for the bottom of the car. We do this to prevent dirt getting into the mitts and potentially scratching the paint.
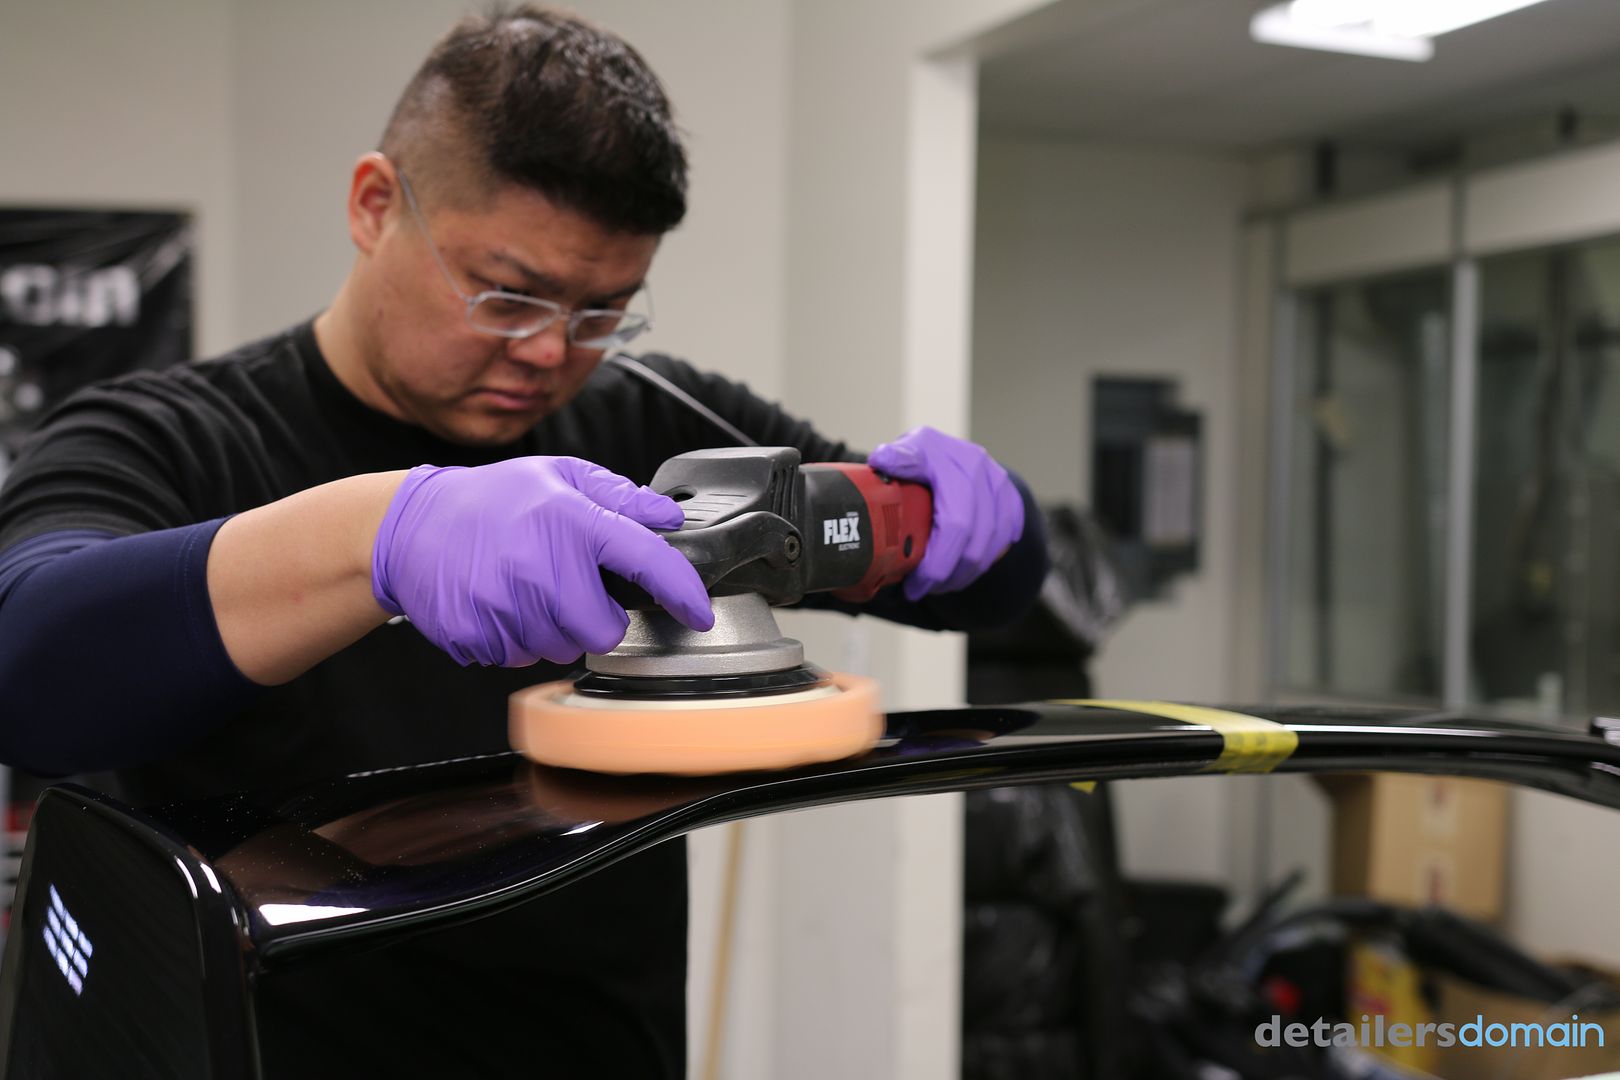
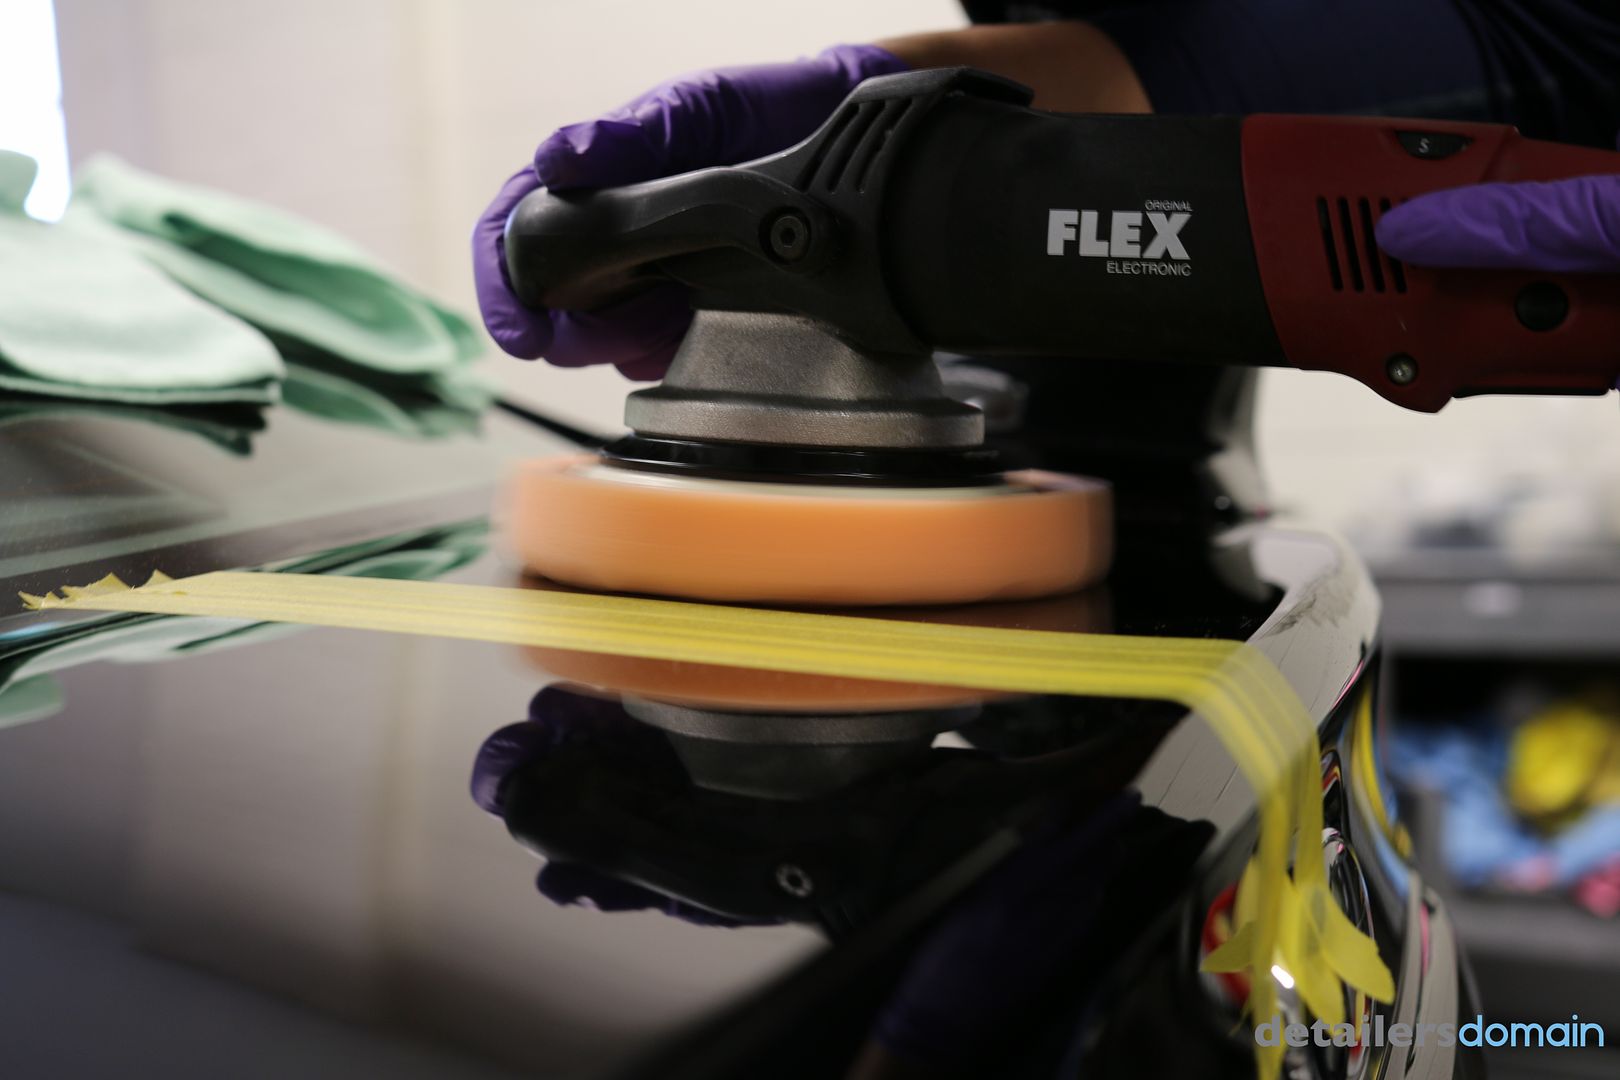
Paint correction
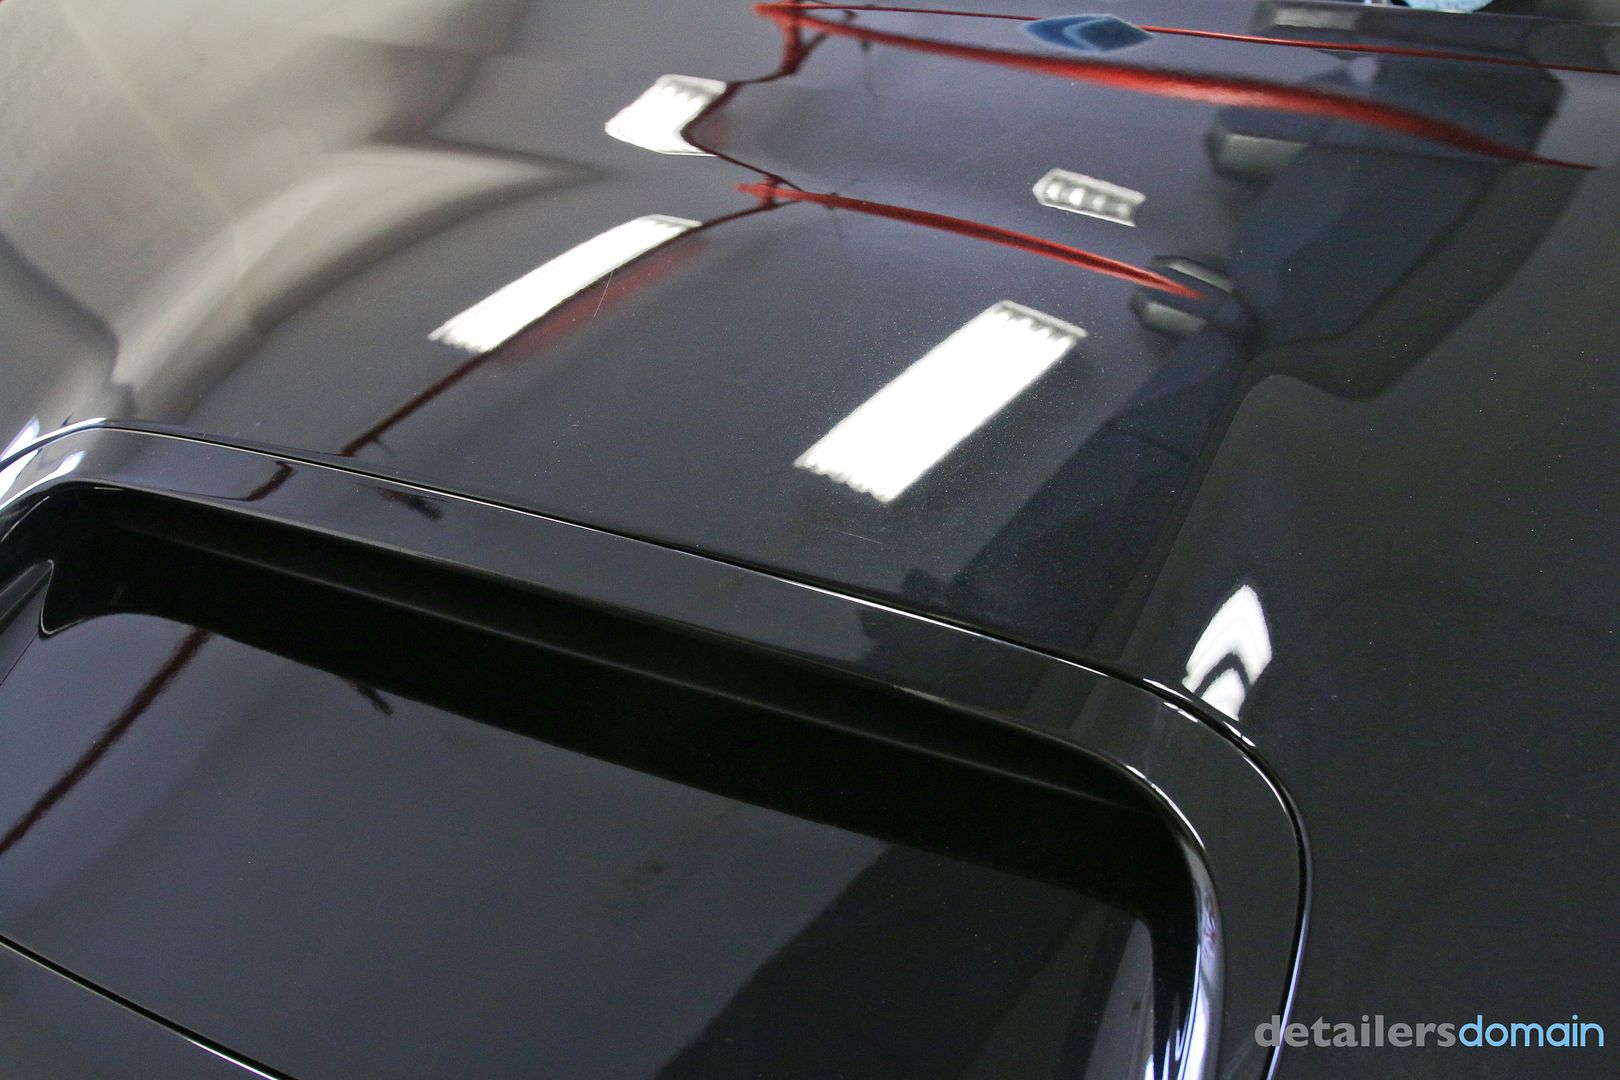
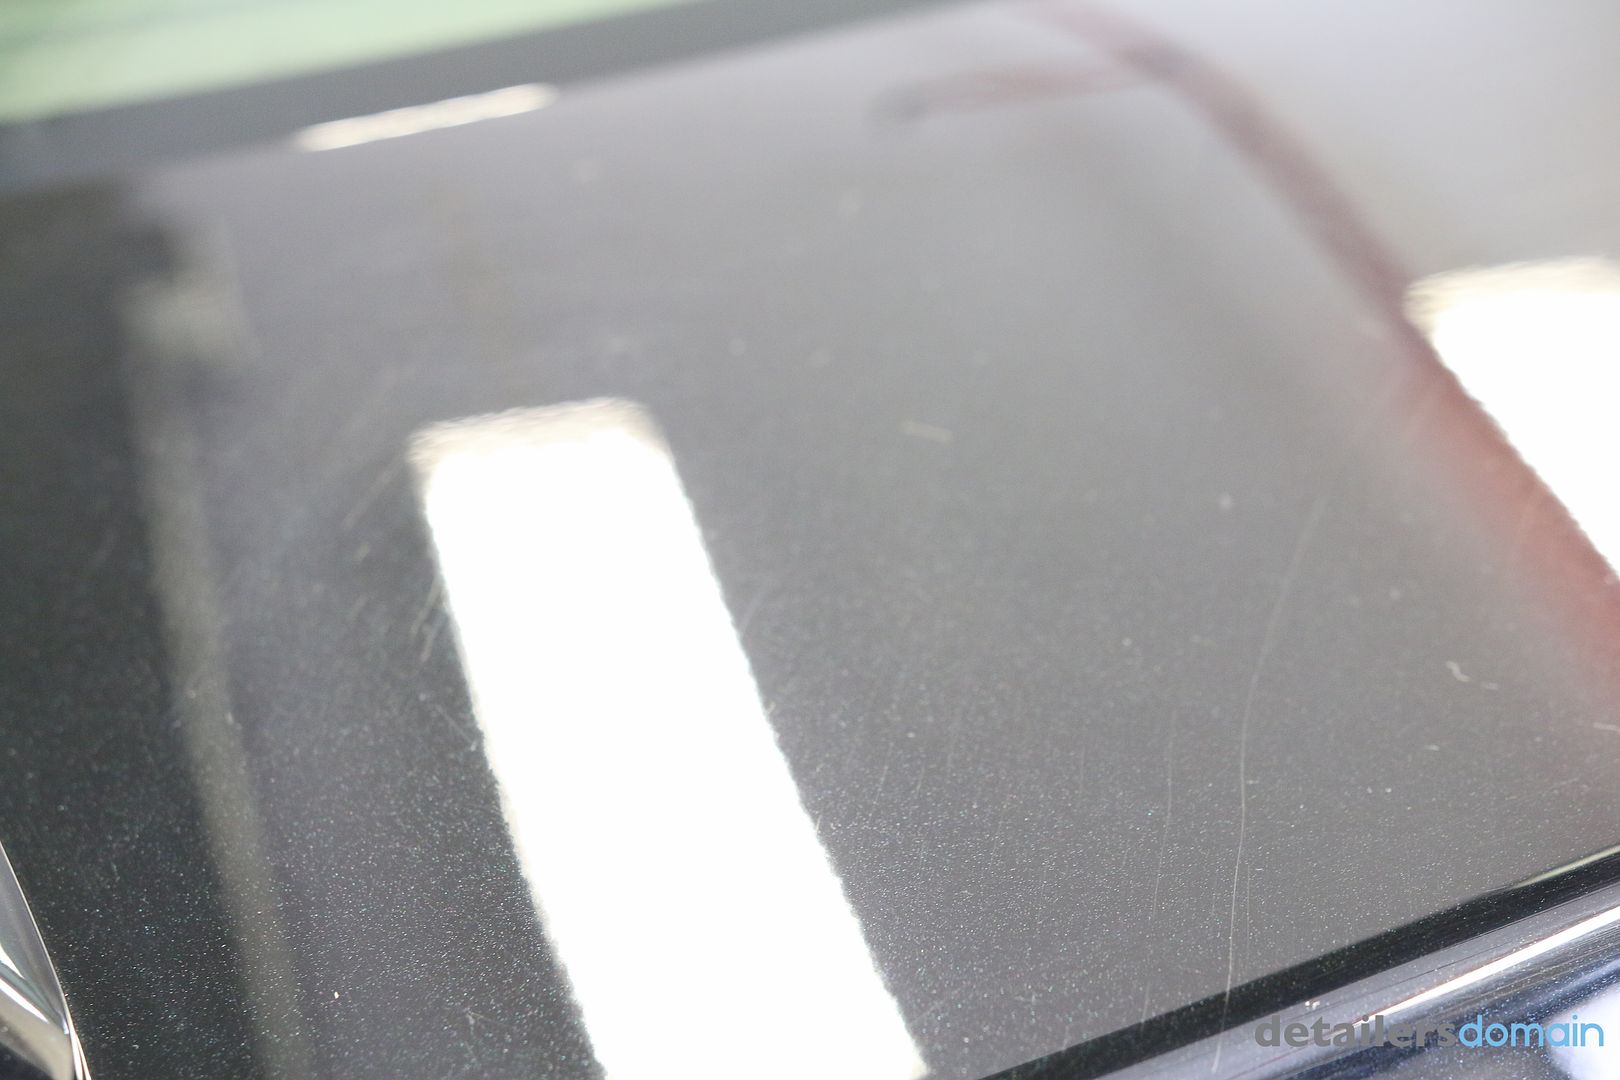
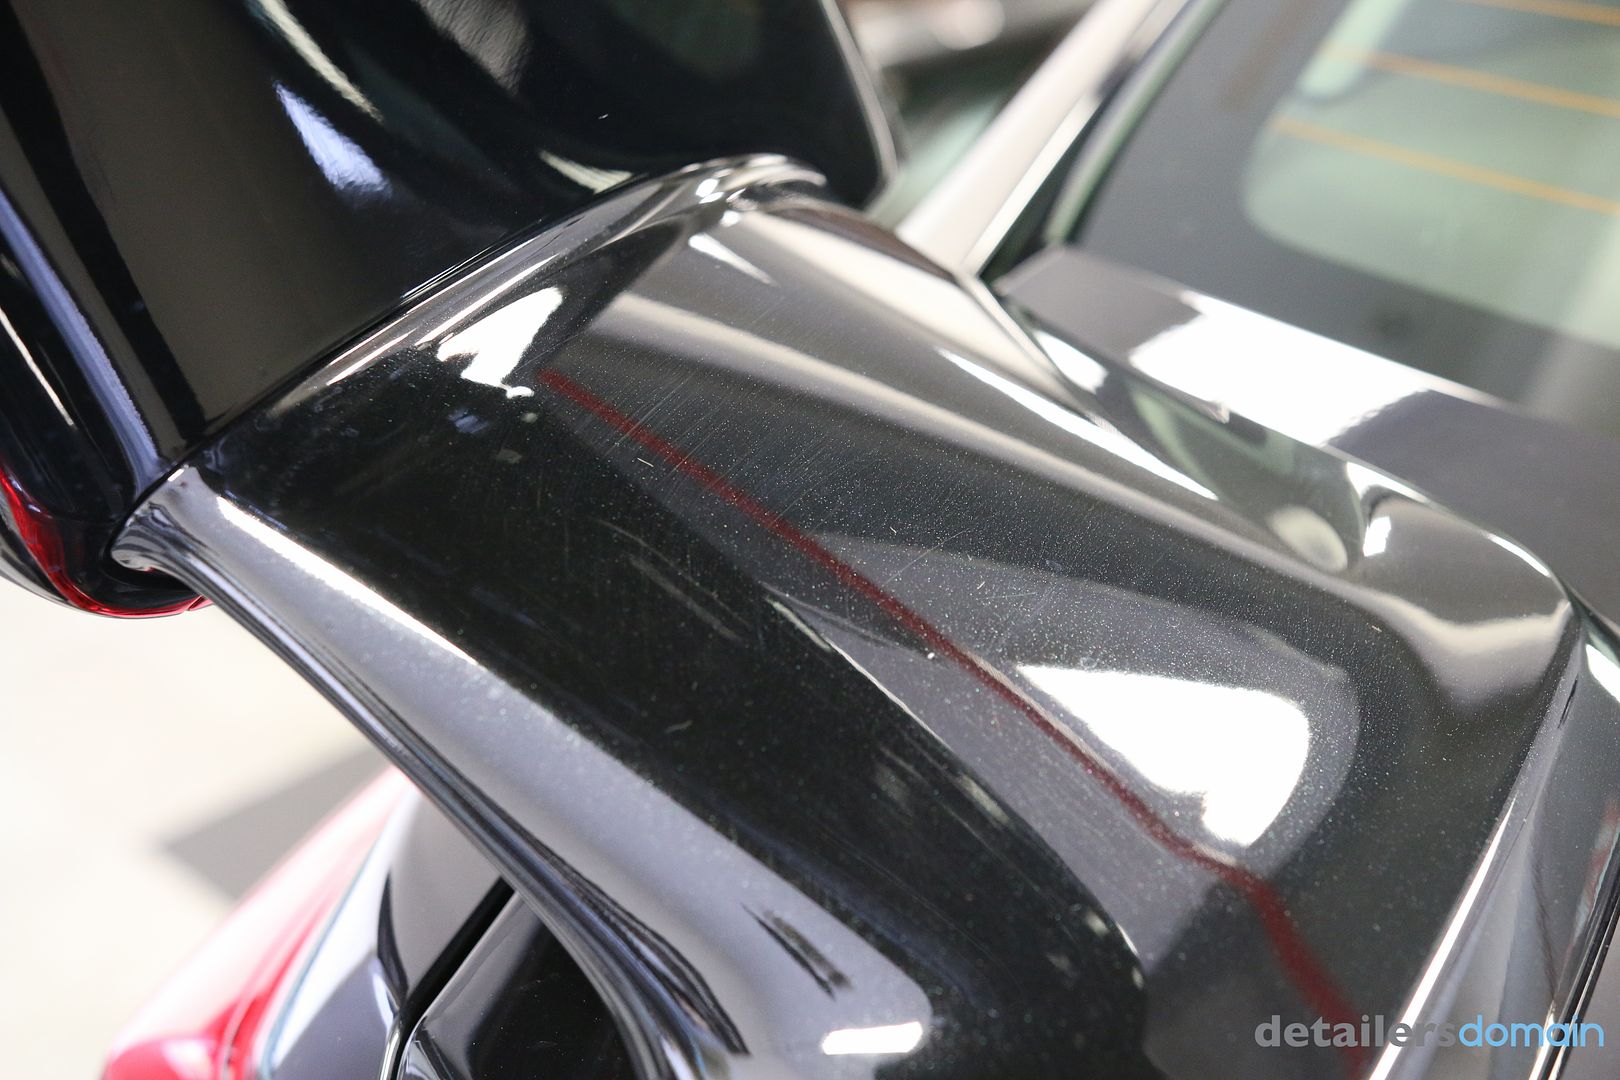
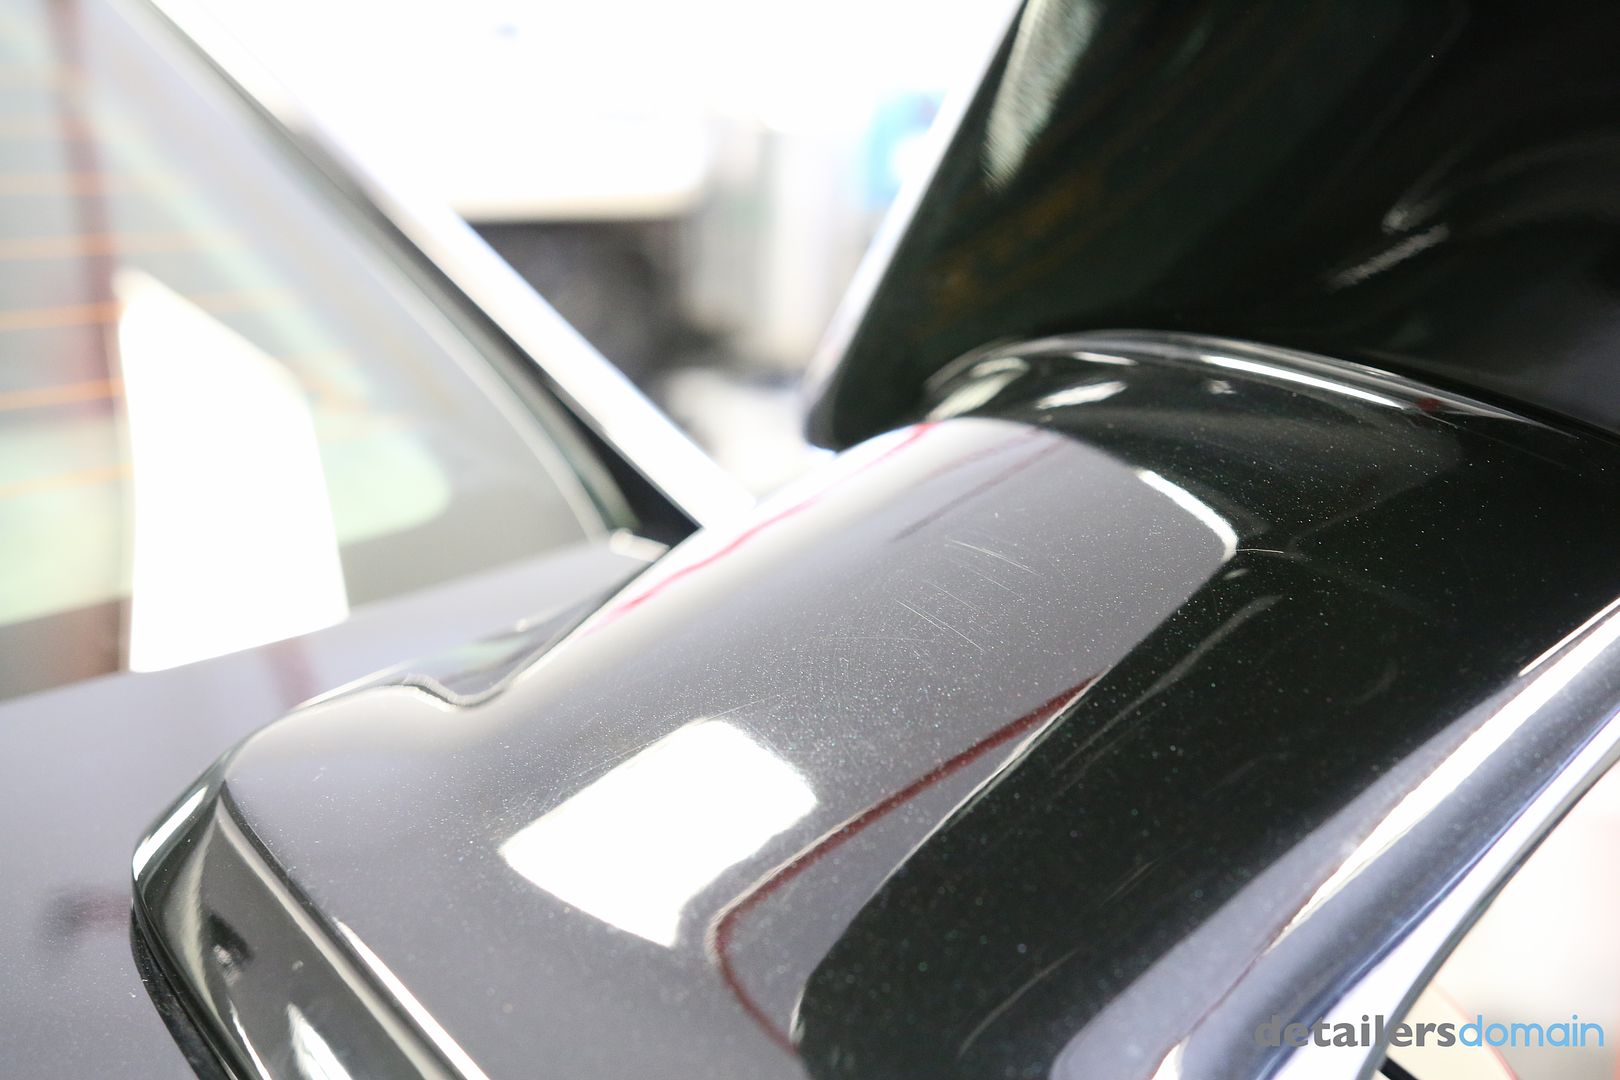
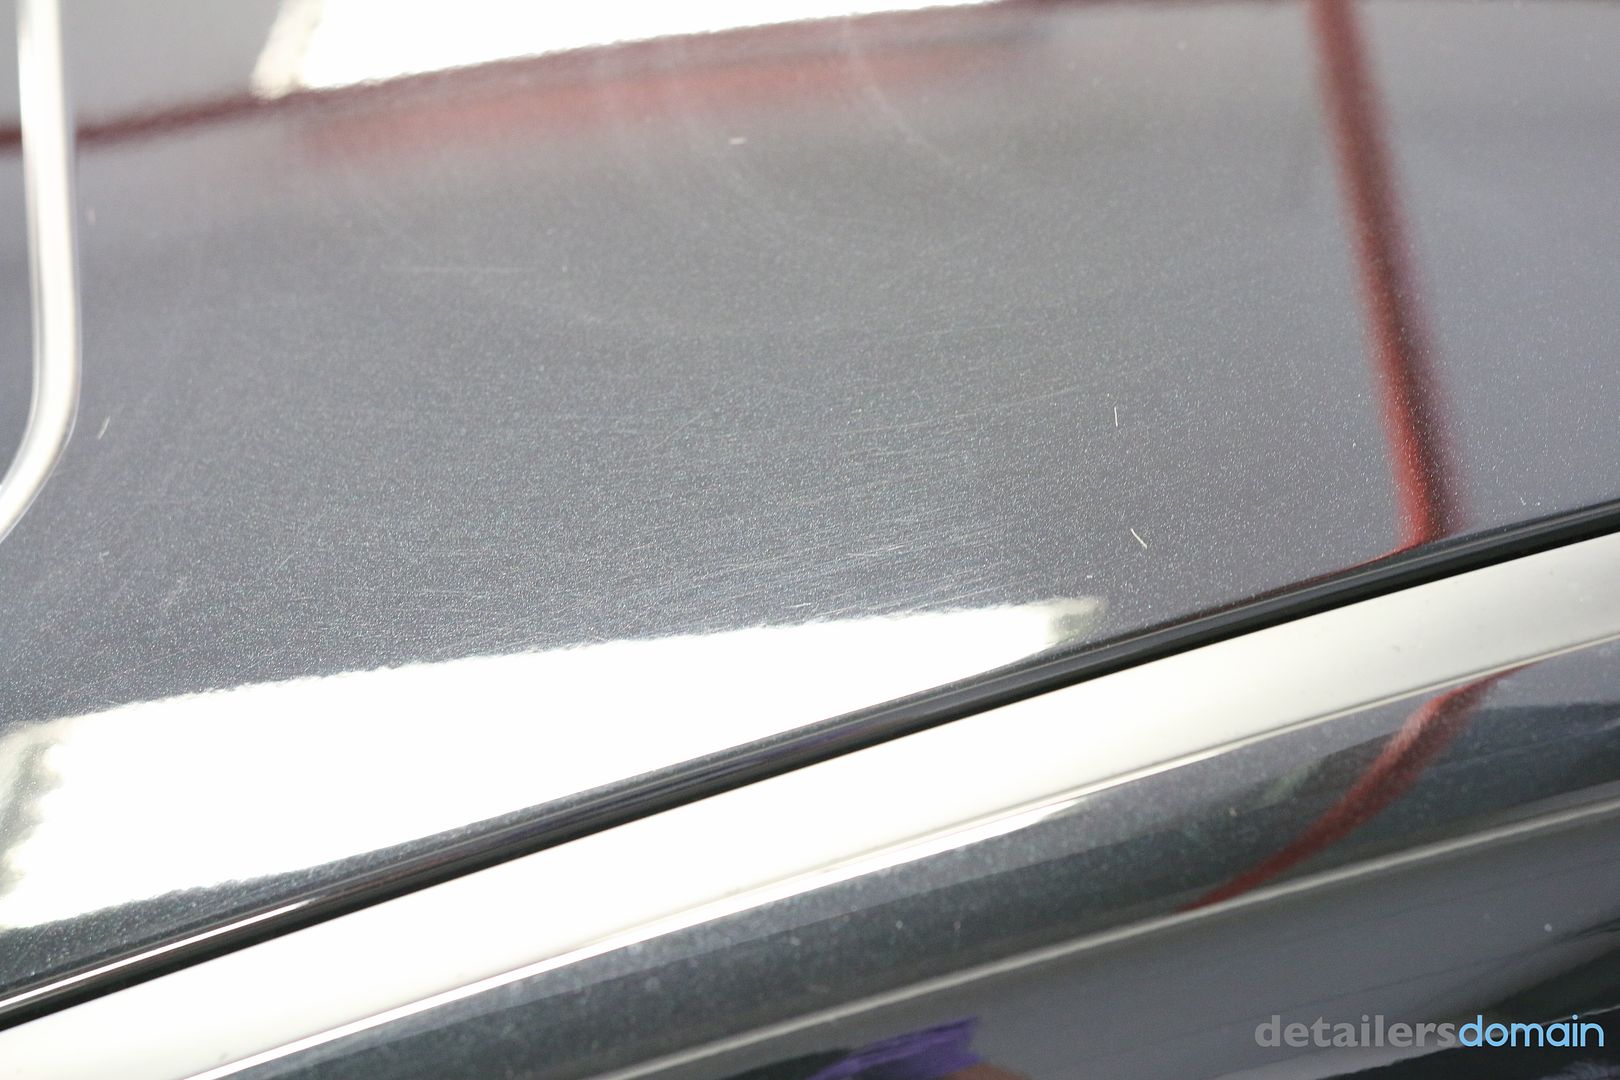
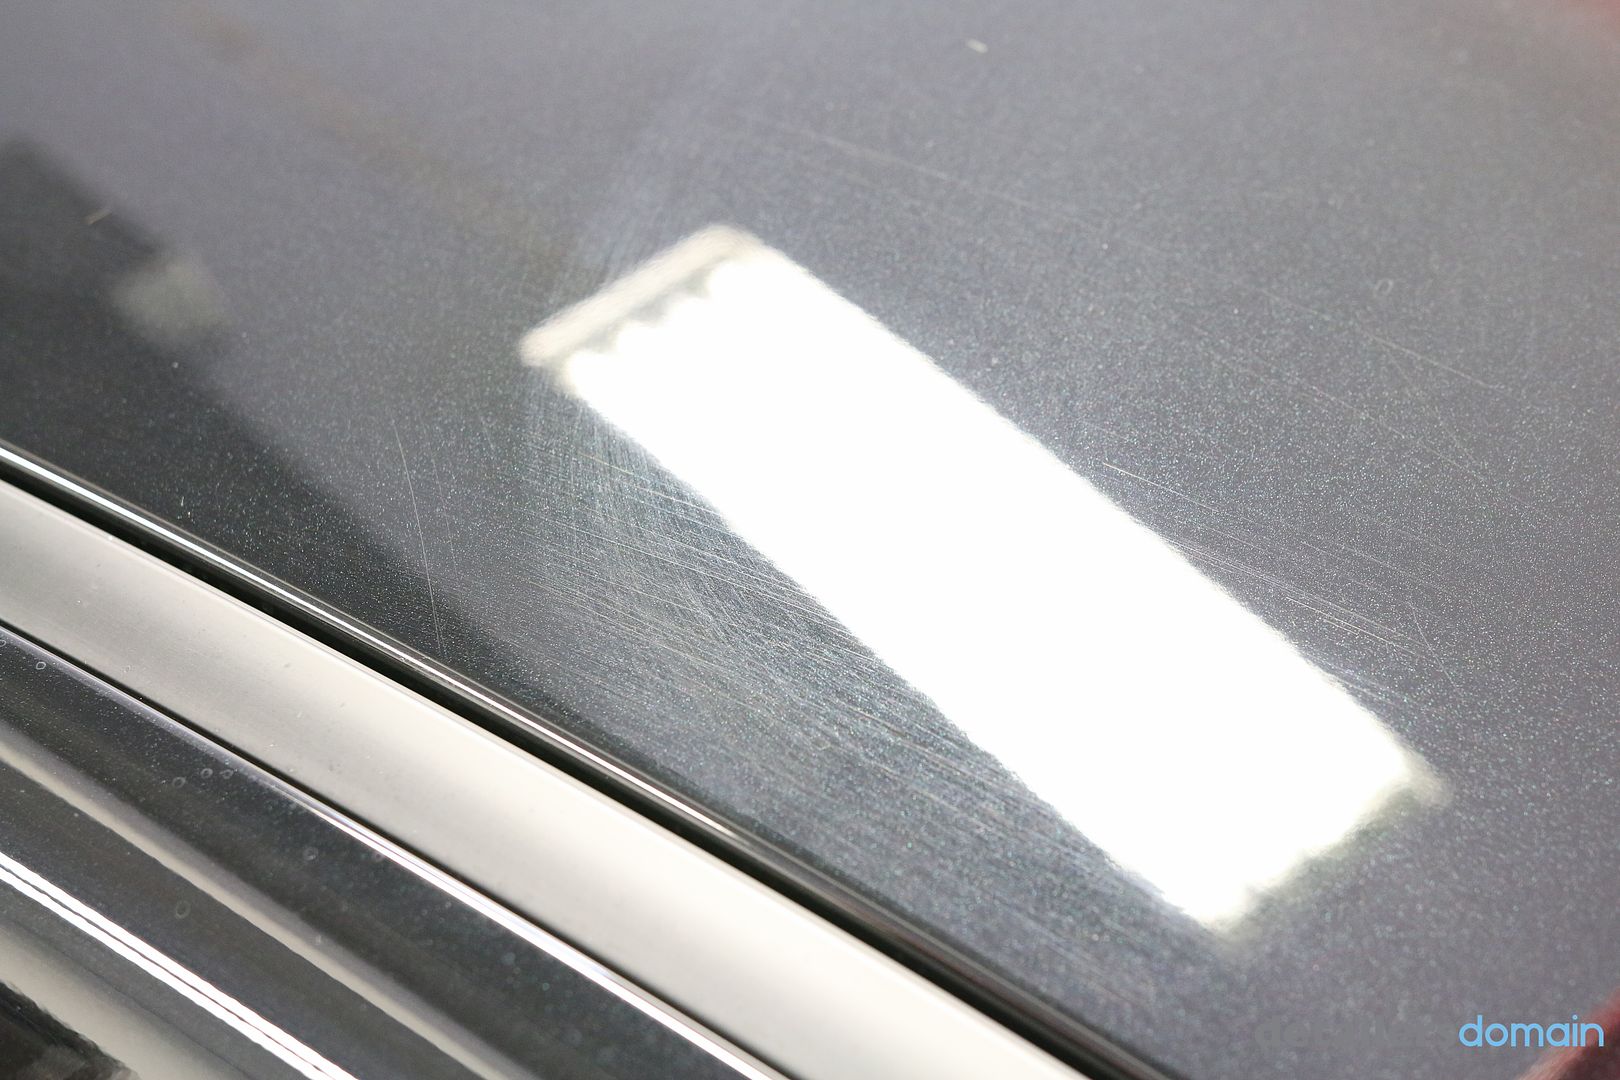
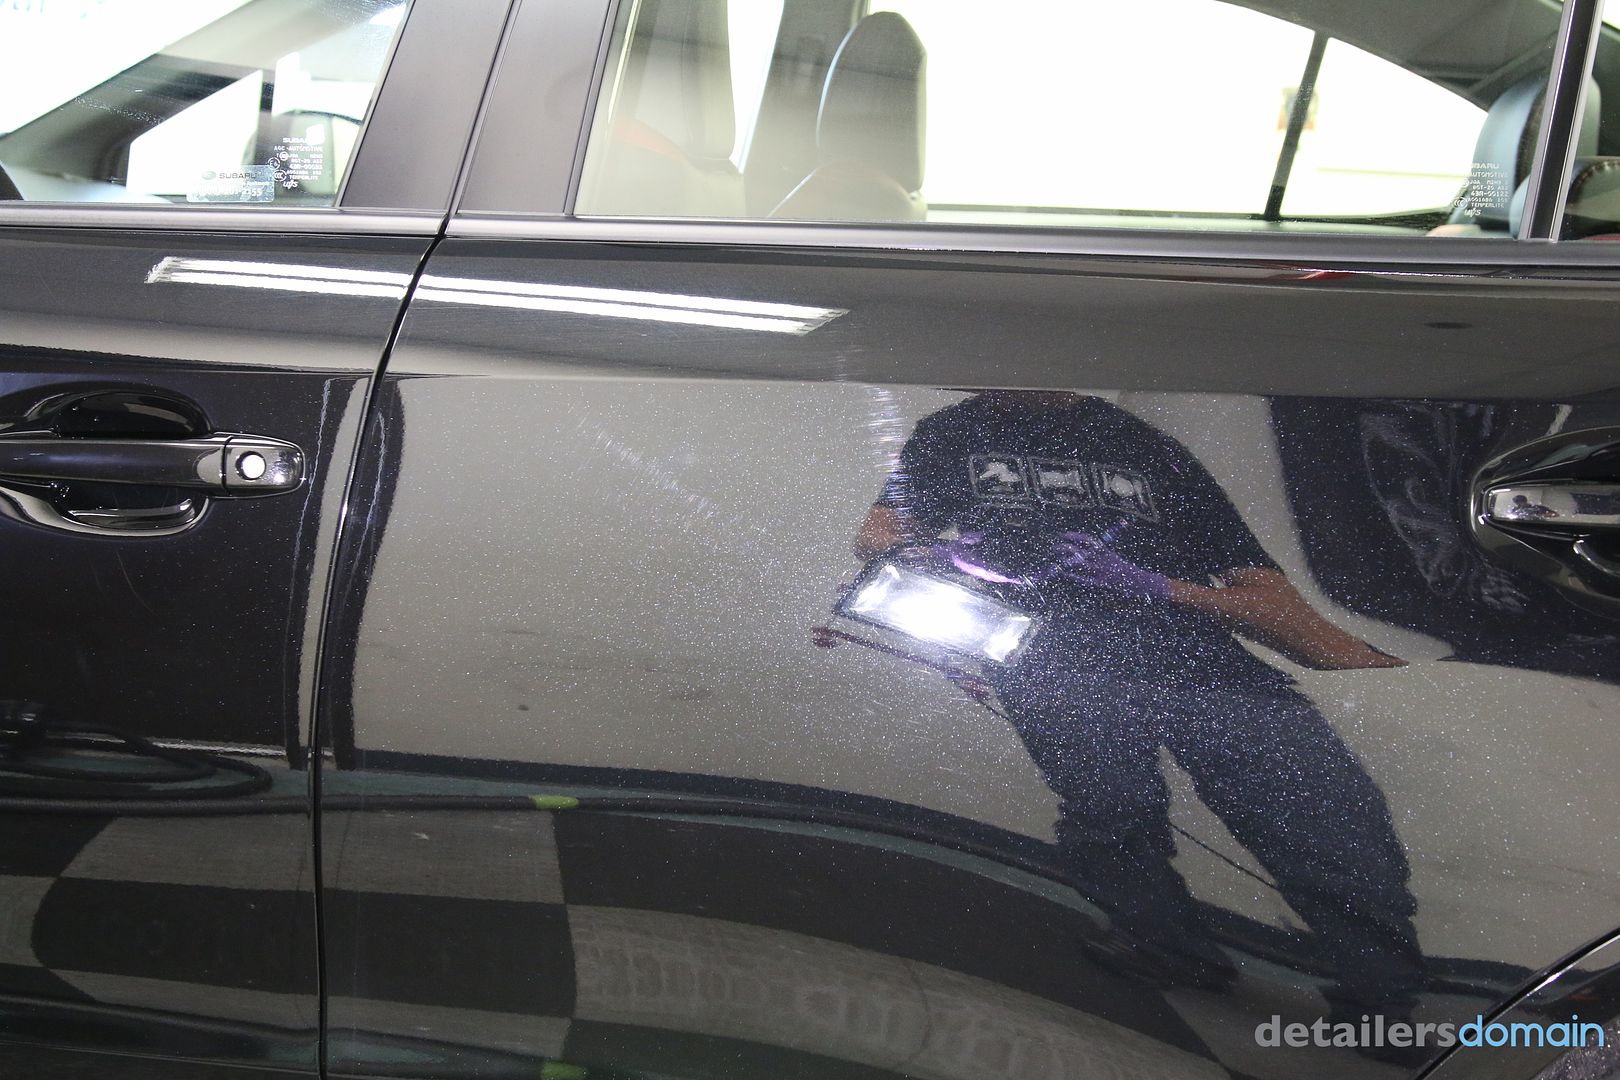
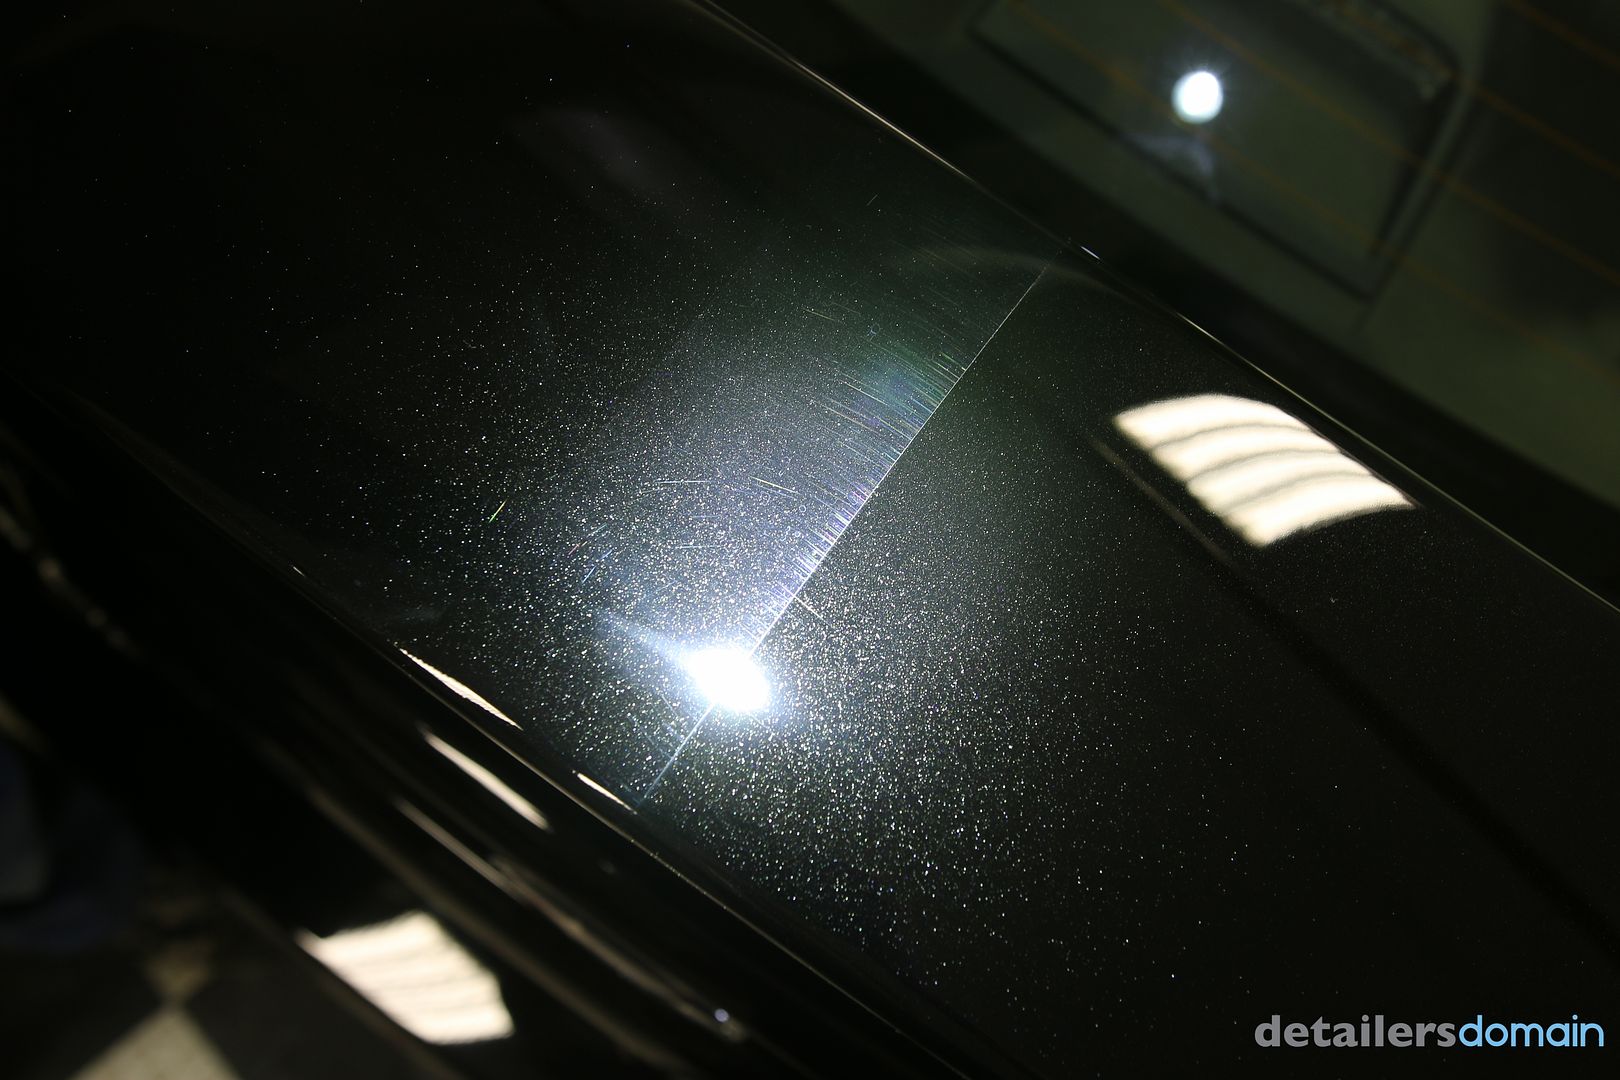
Using the Flex XC3401 to get linear scratches off the wing and rear deck lid.
Using an Adam’s Orange Pad and Adam’s Paint Correcting Polish.
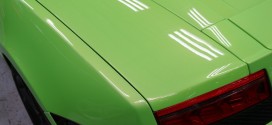
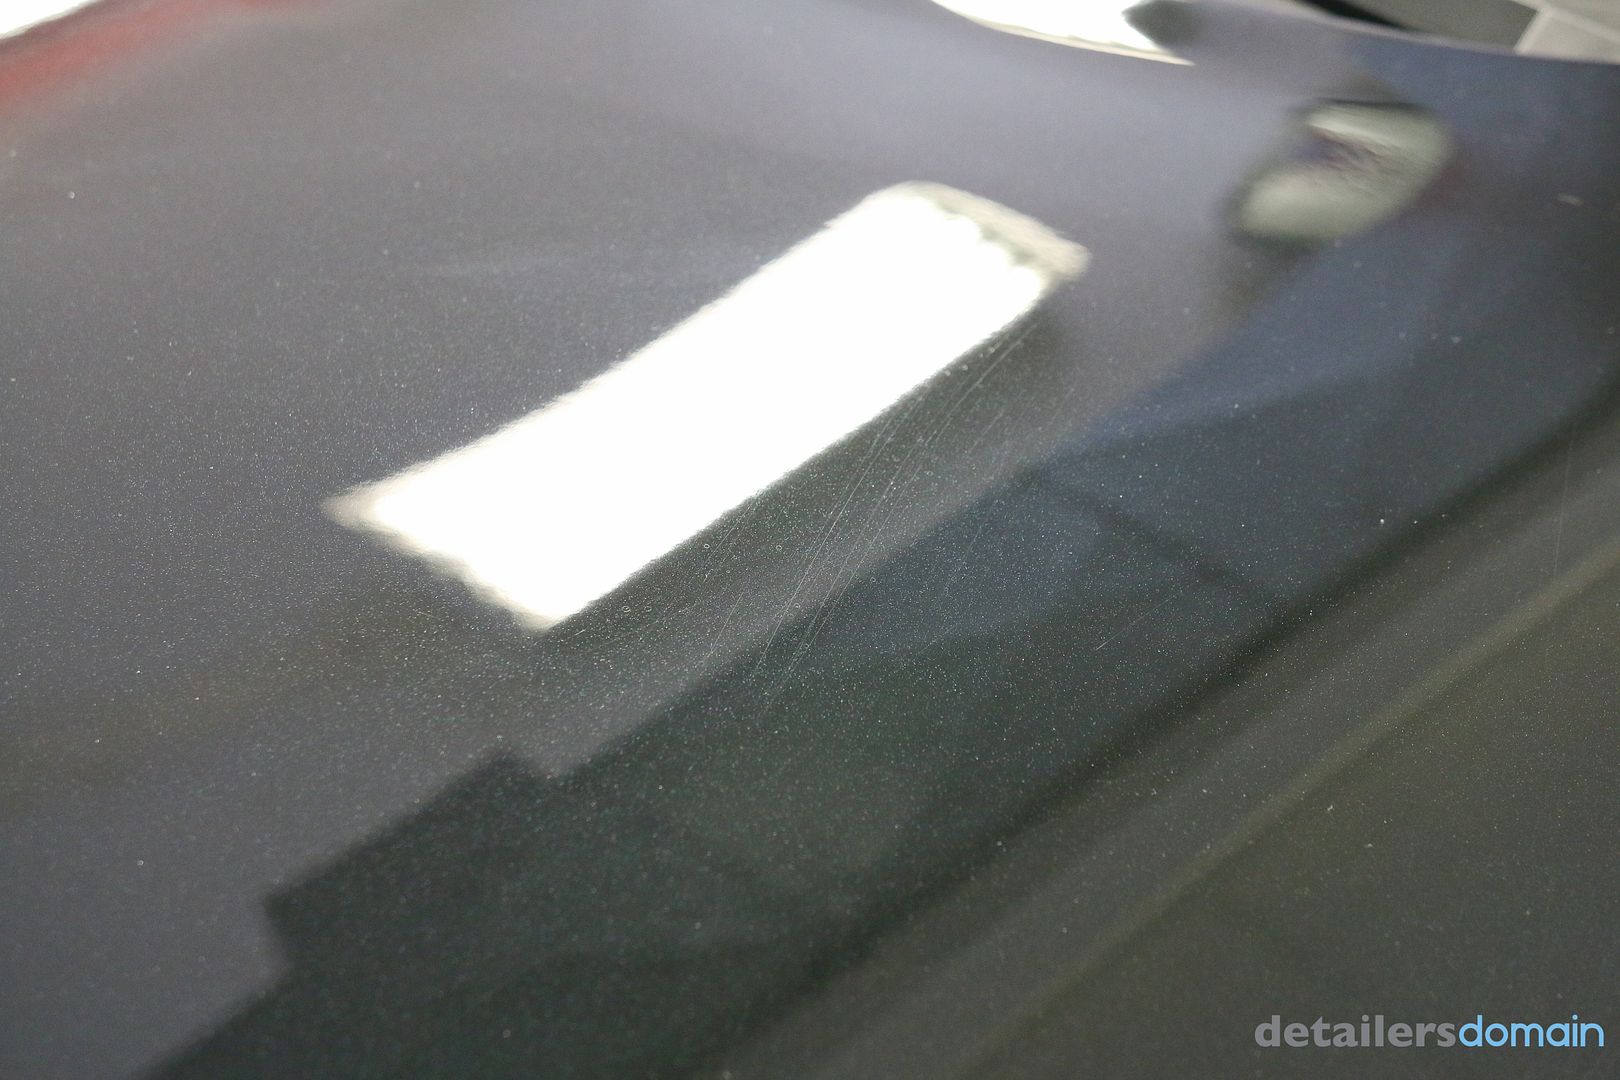
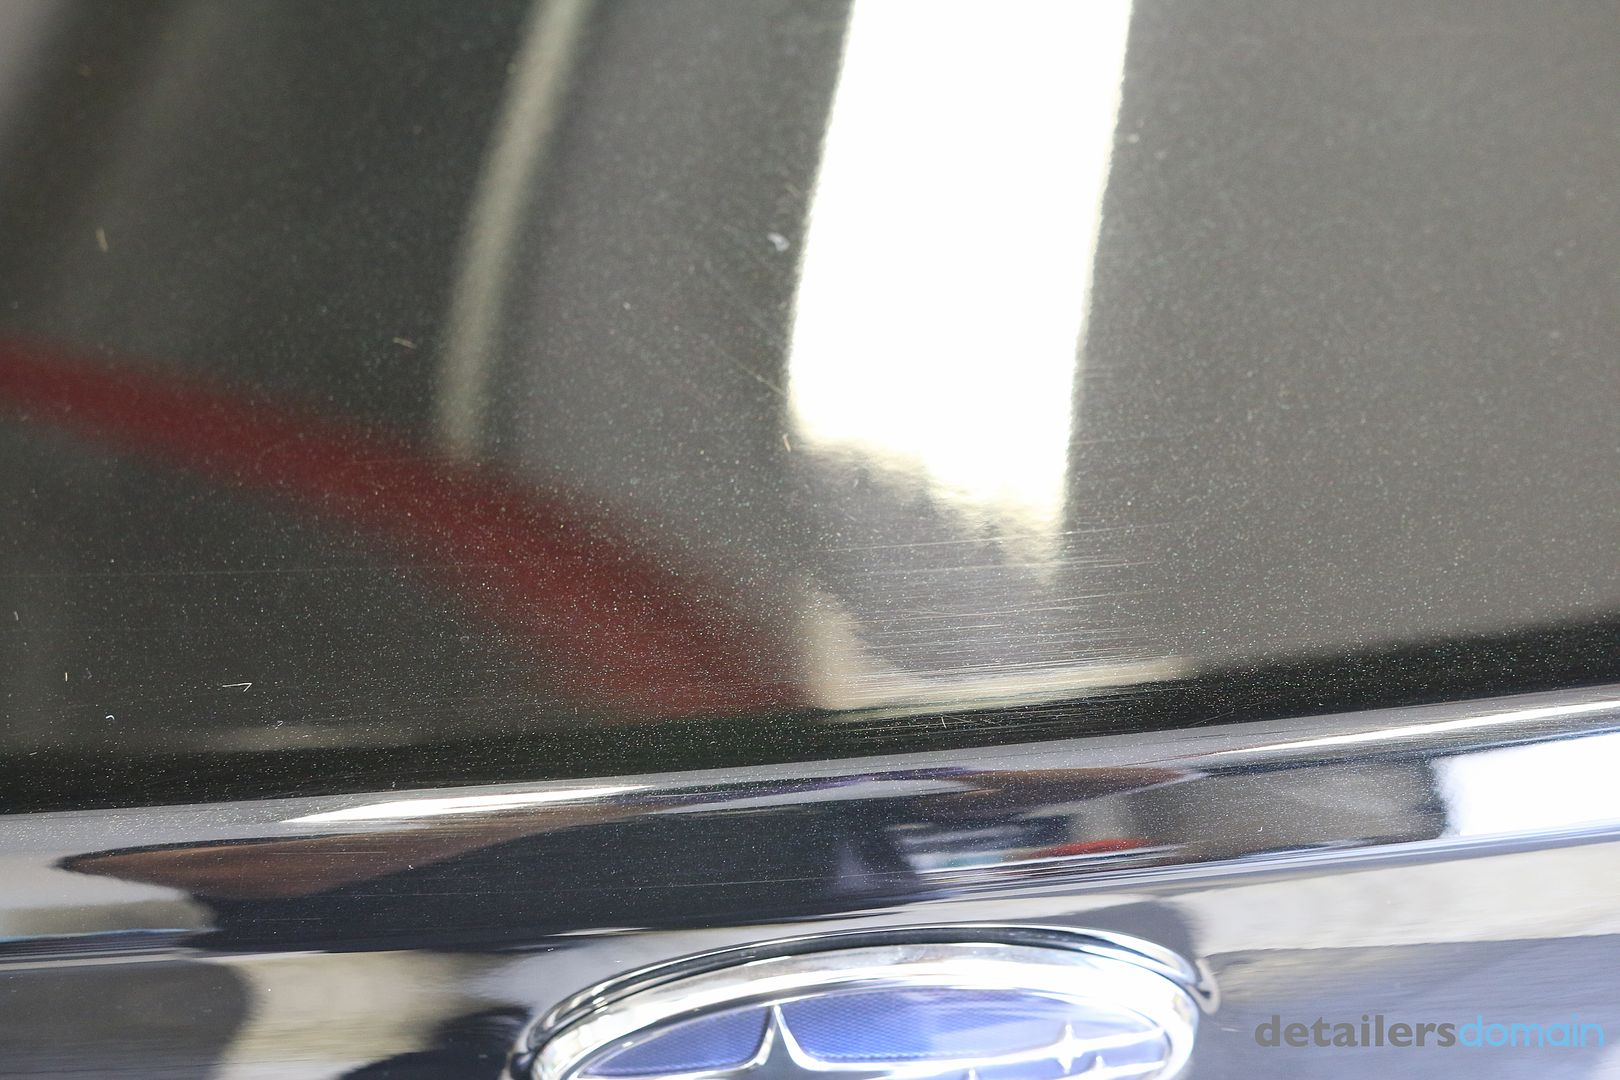
50/50 shots – left side before – right side after.
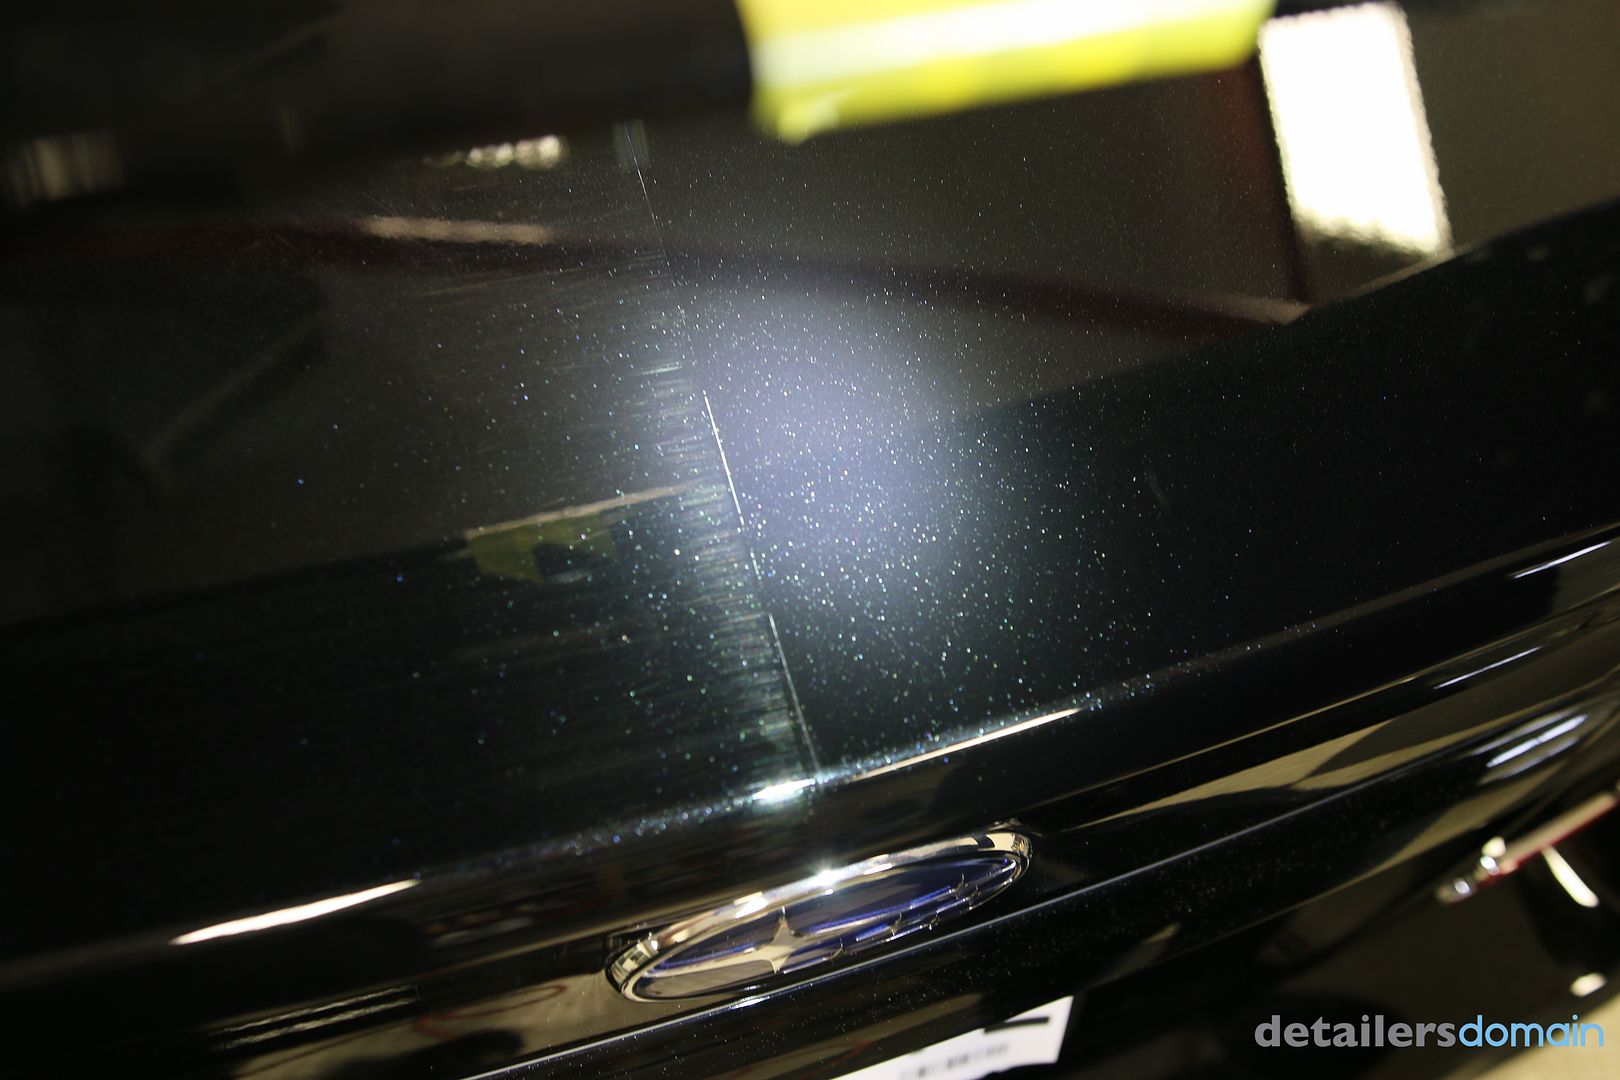
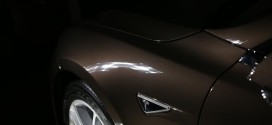
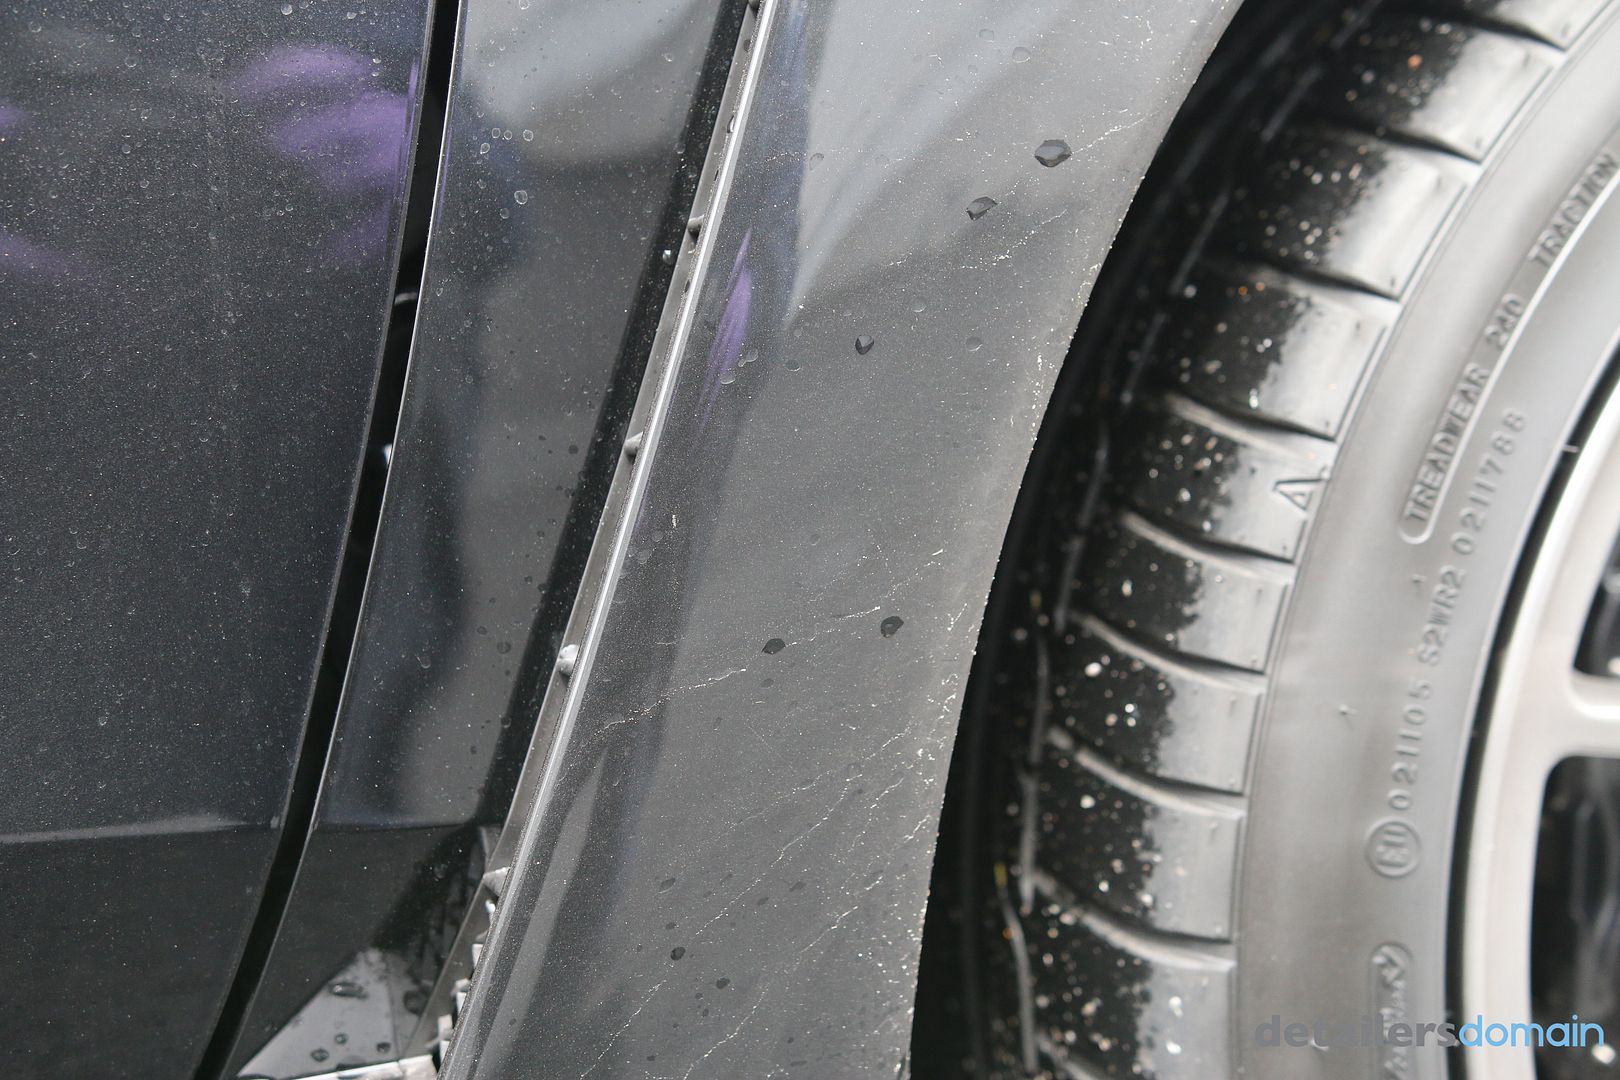
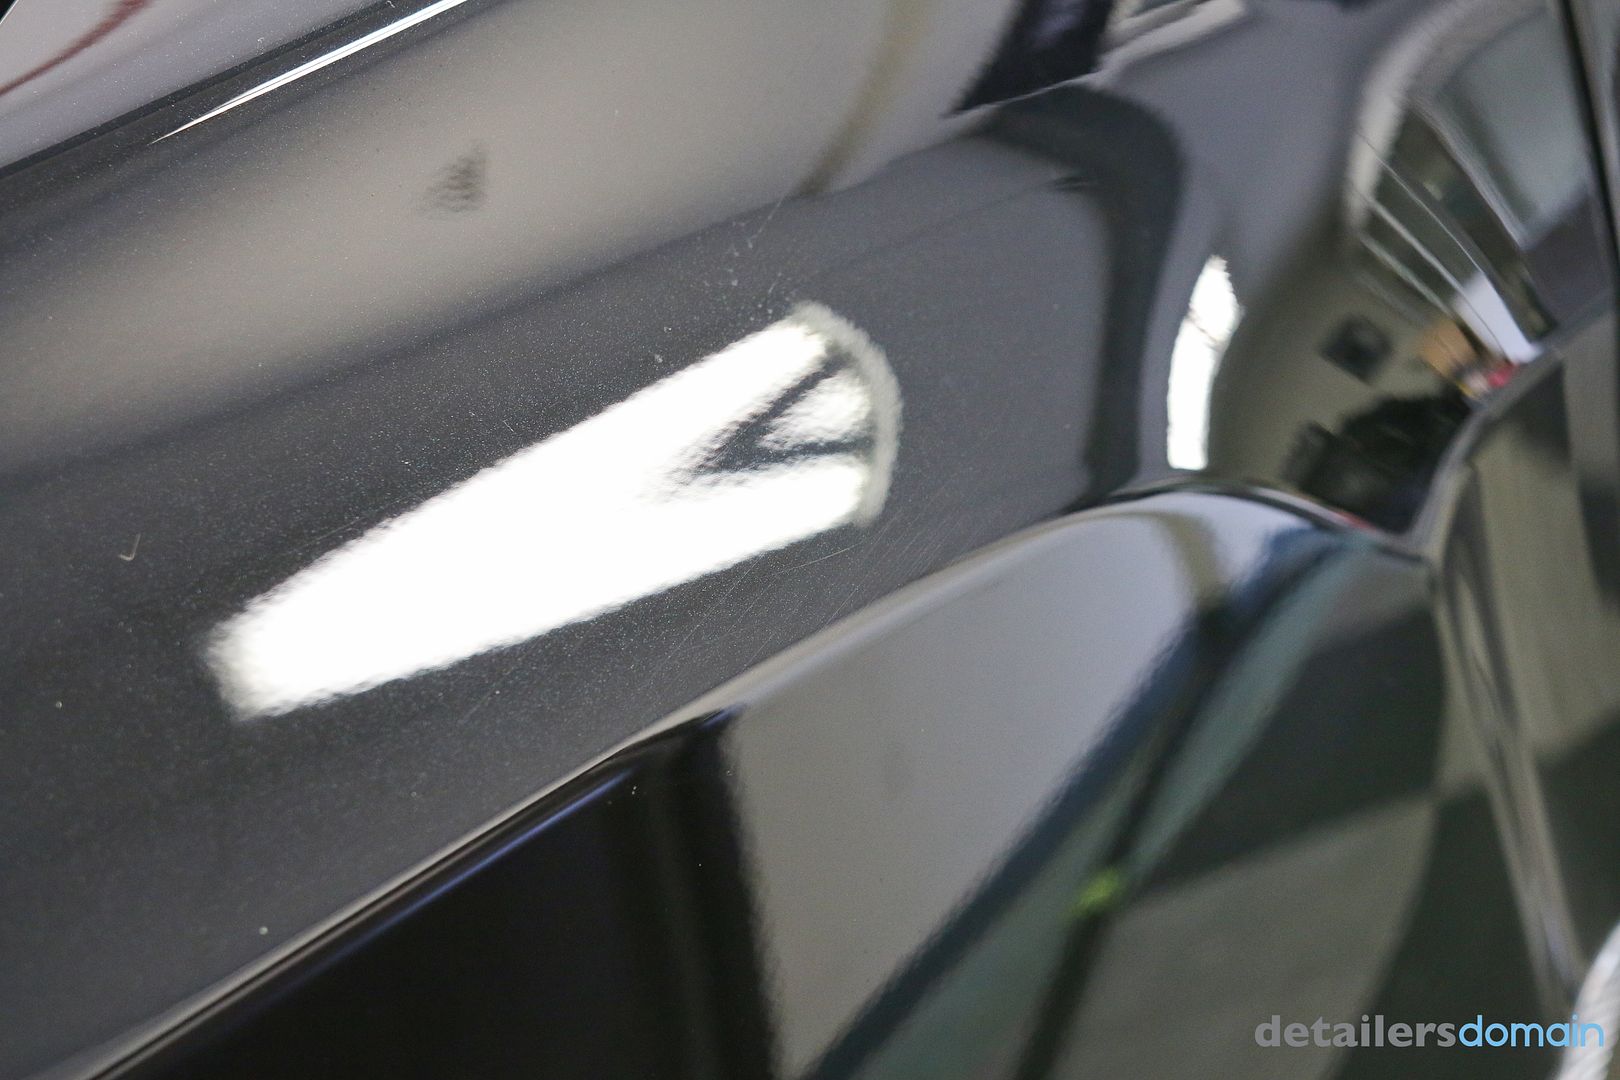
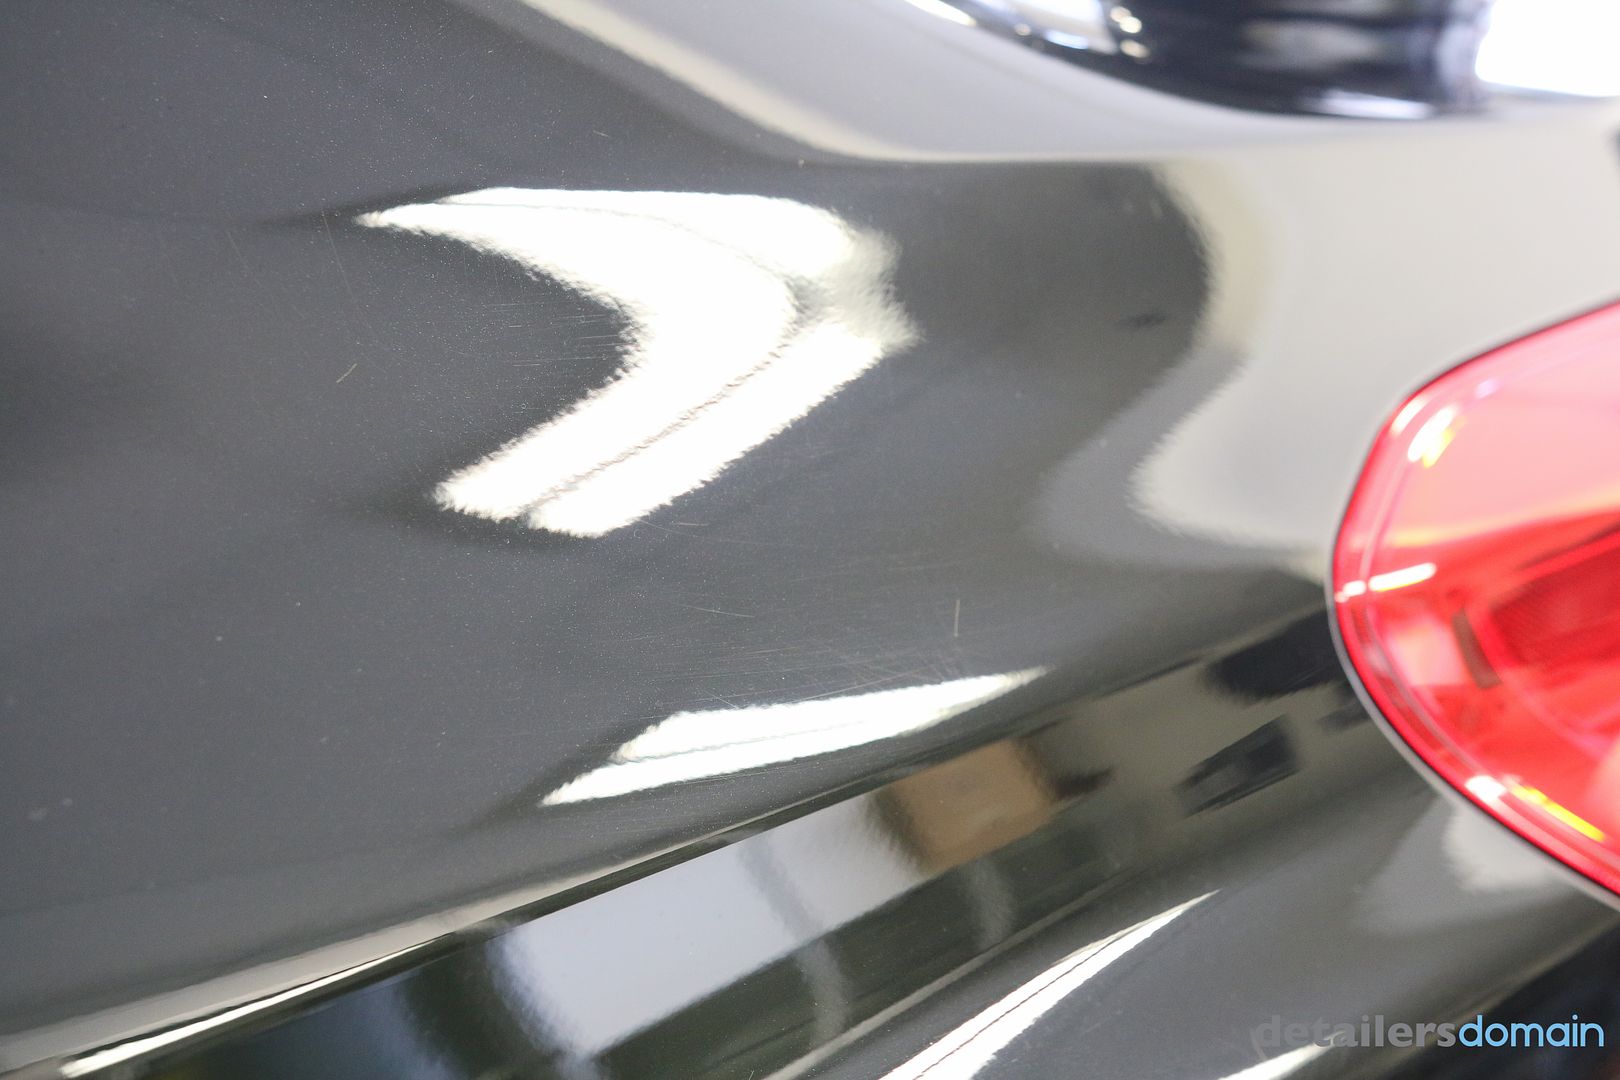
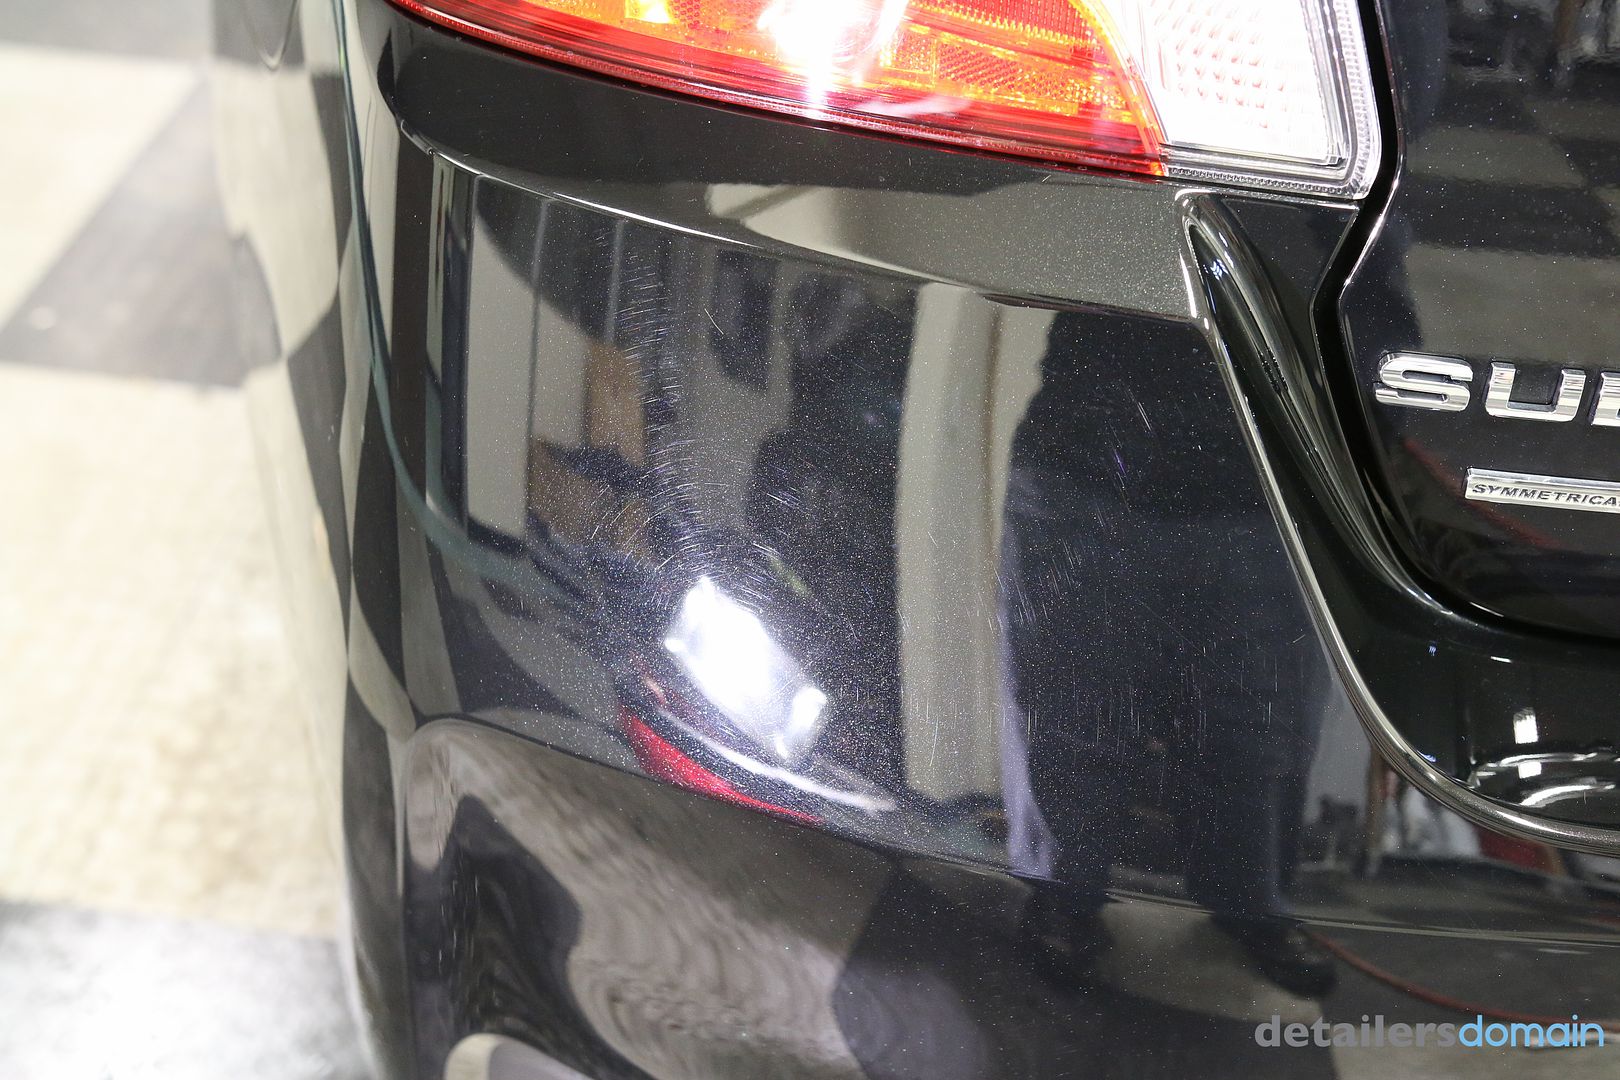
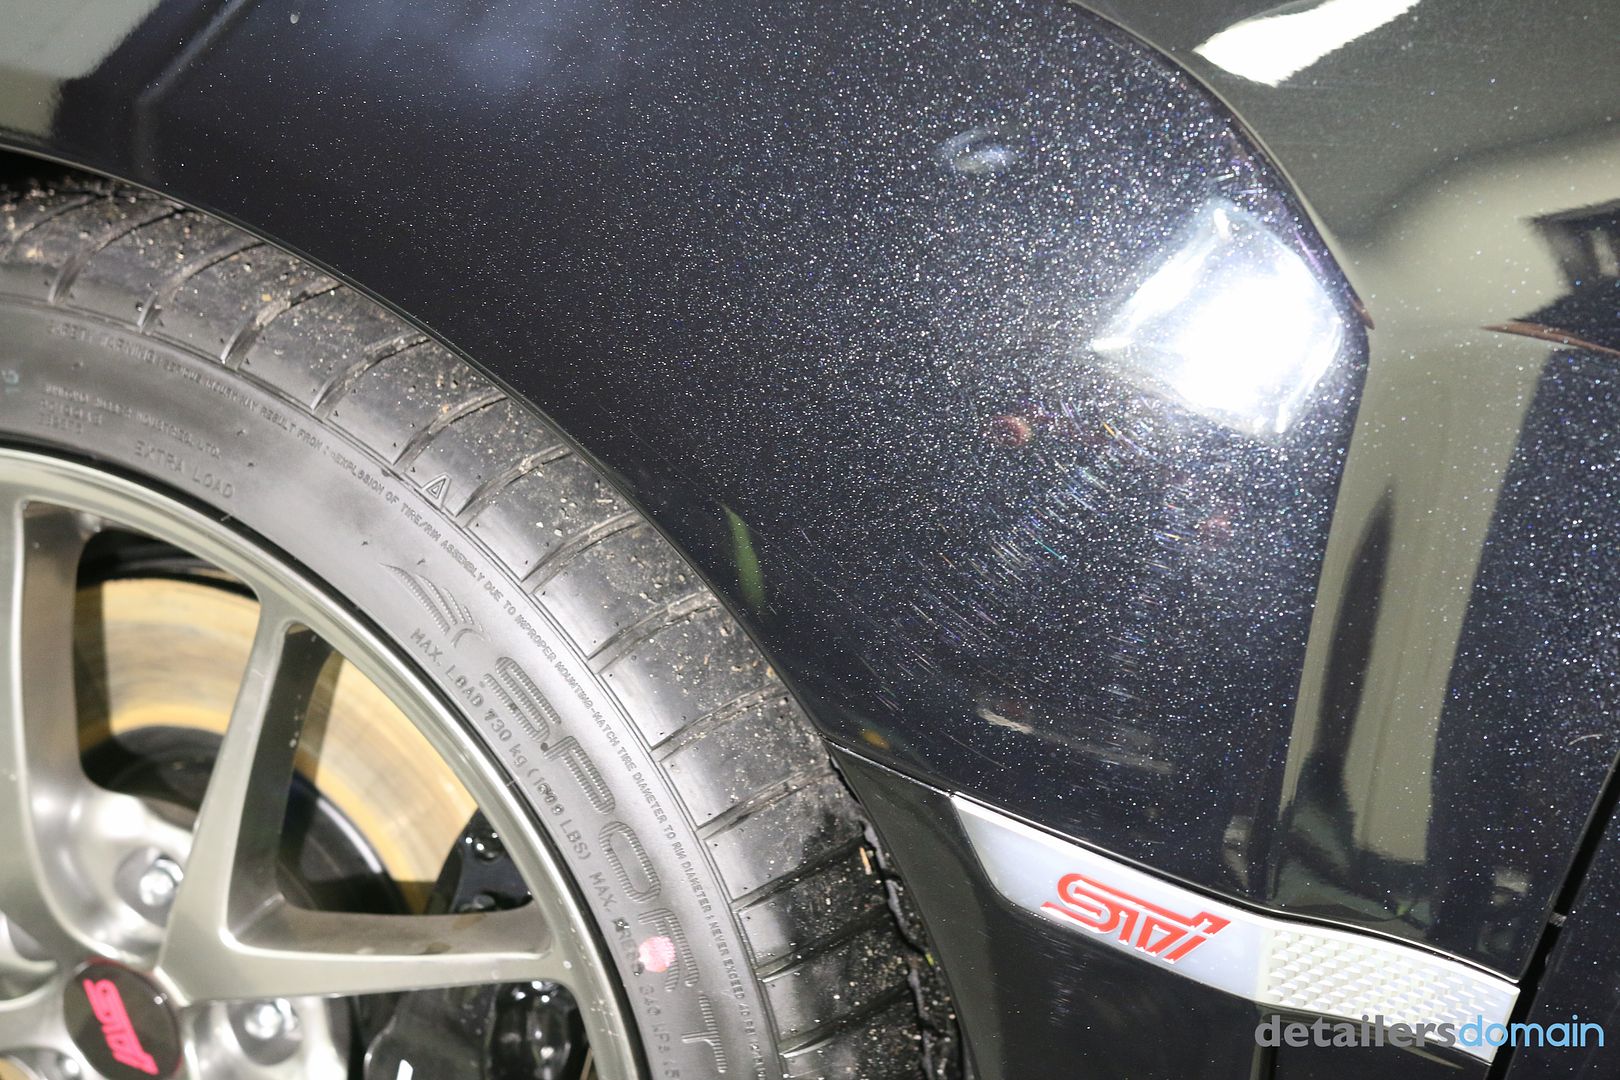
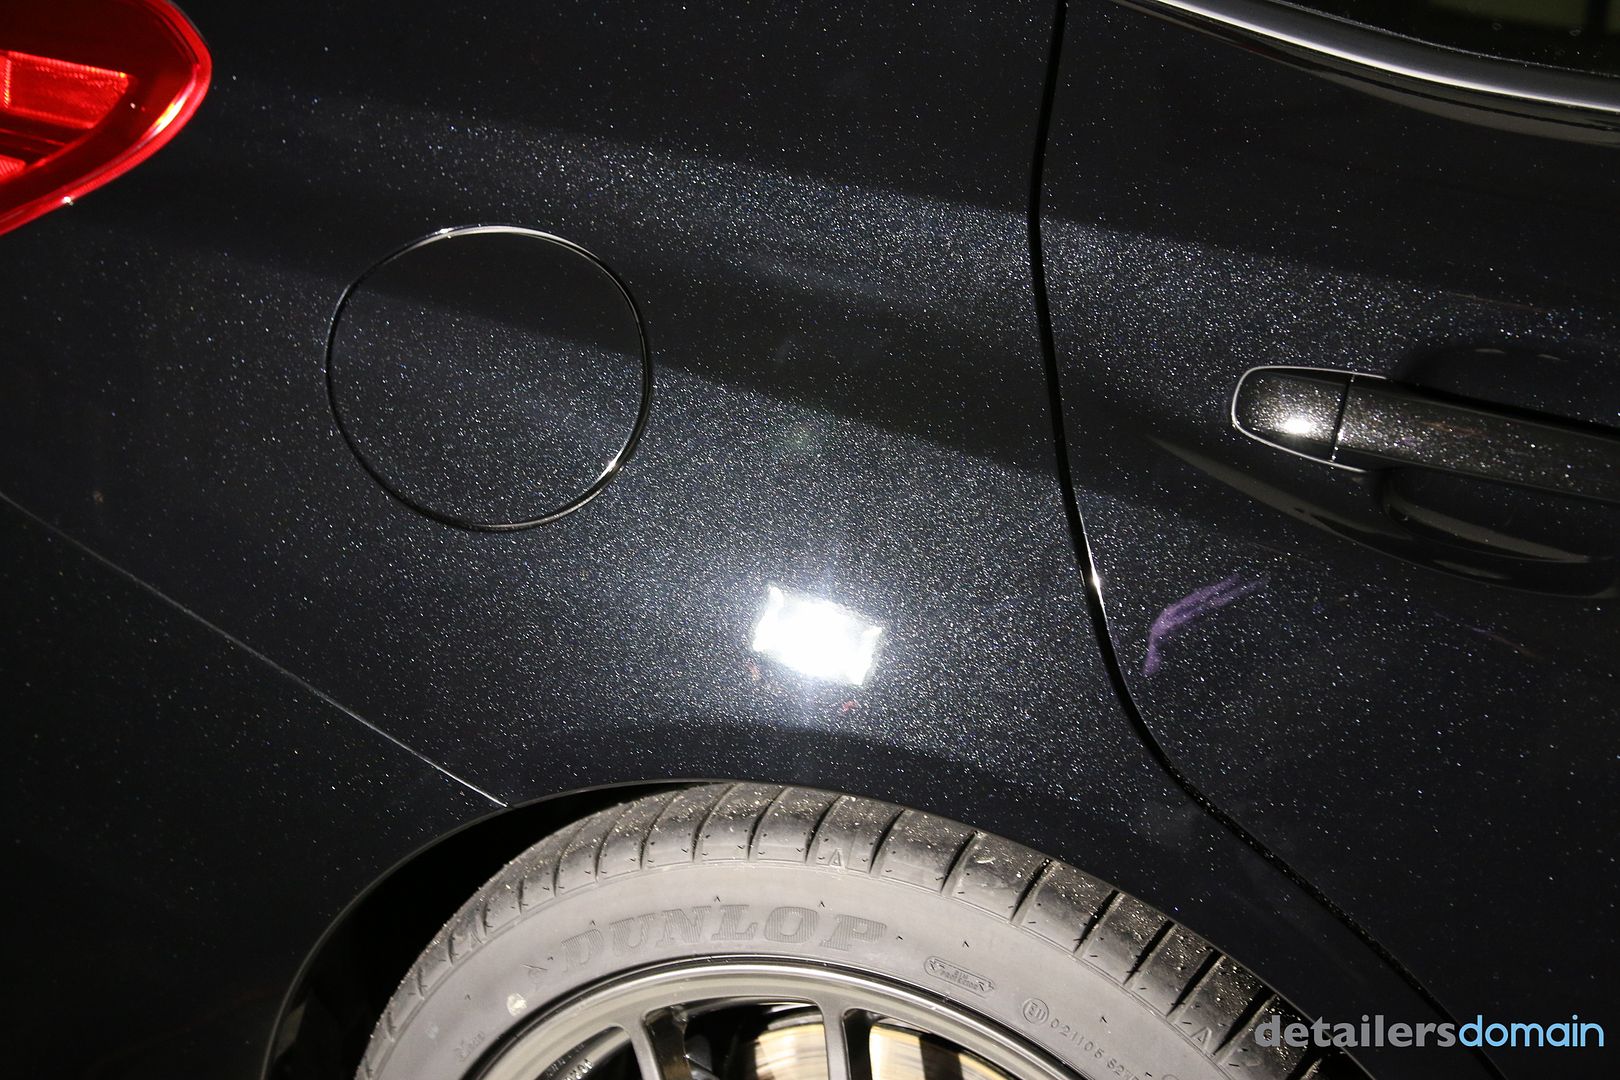
Surprising how dull the paint was on a brand new car.
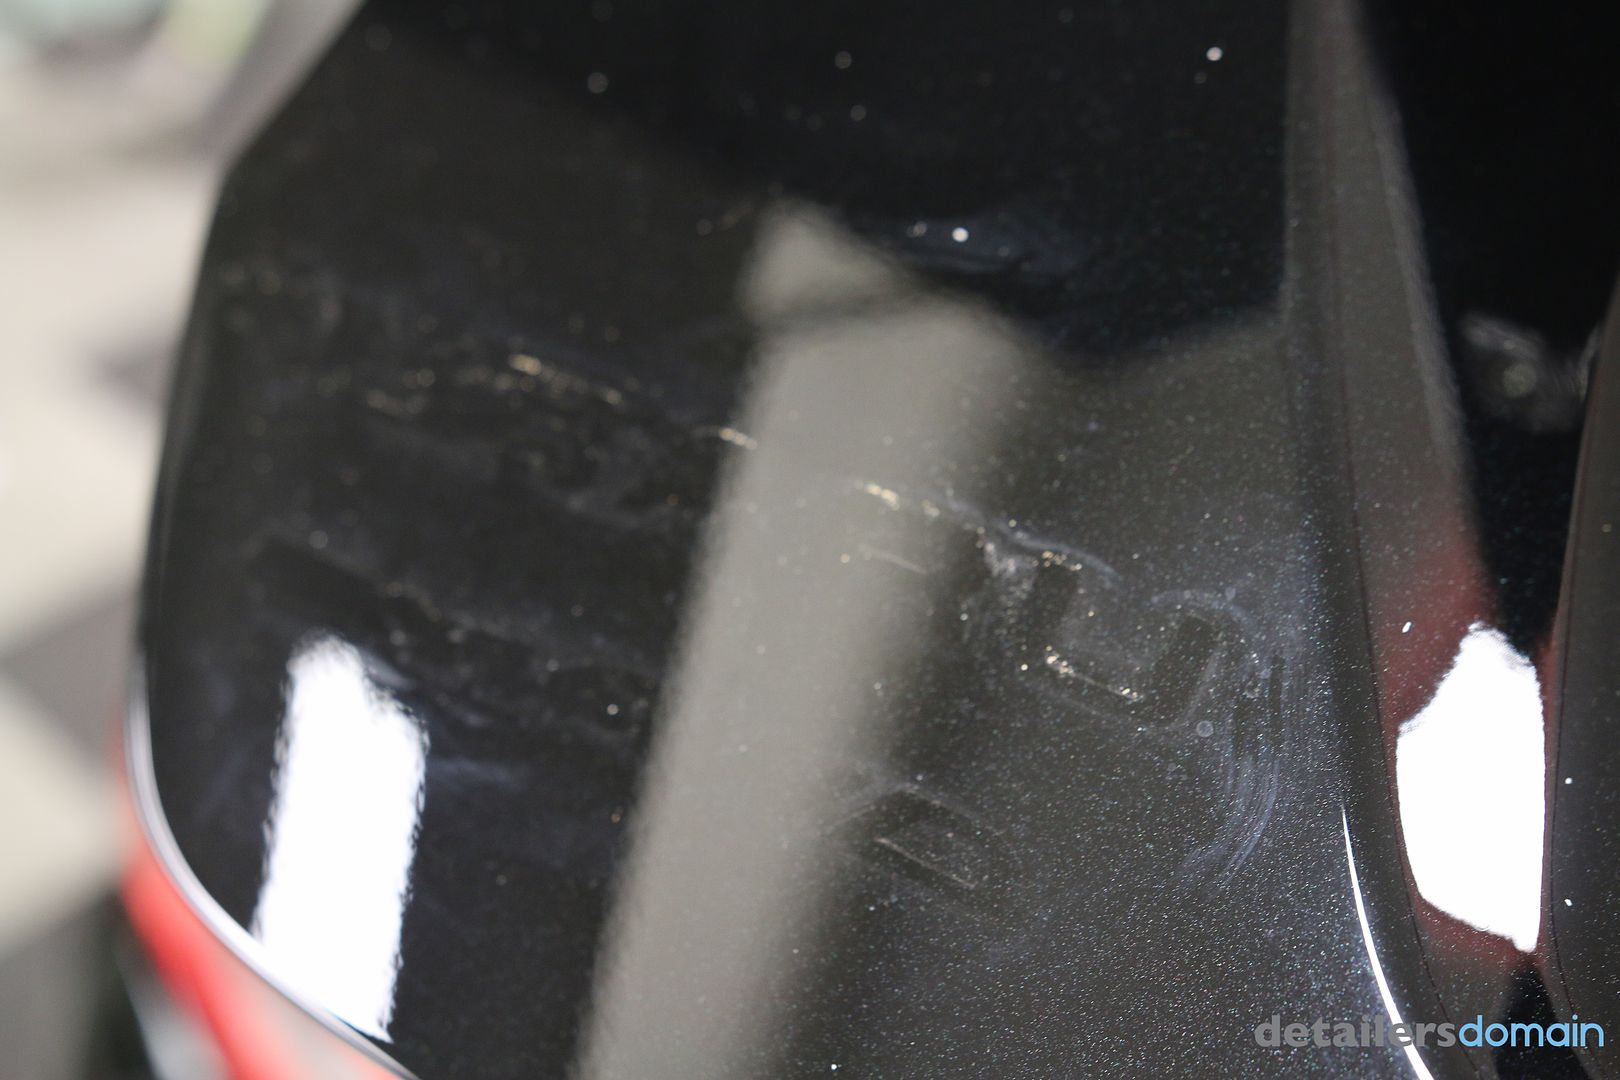
Customer requested to debadge, since the car was new it was quite easy to remove. We used dental floss and remove the emblems. We removed the leftover adhesive with Auto Finesse Obiltarate. Ghosting was remove with the Rupes LHR12 and Sonax Perfect Finish.
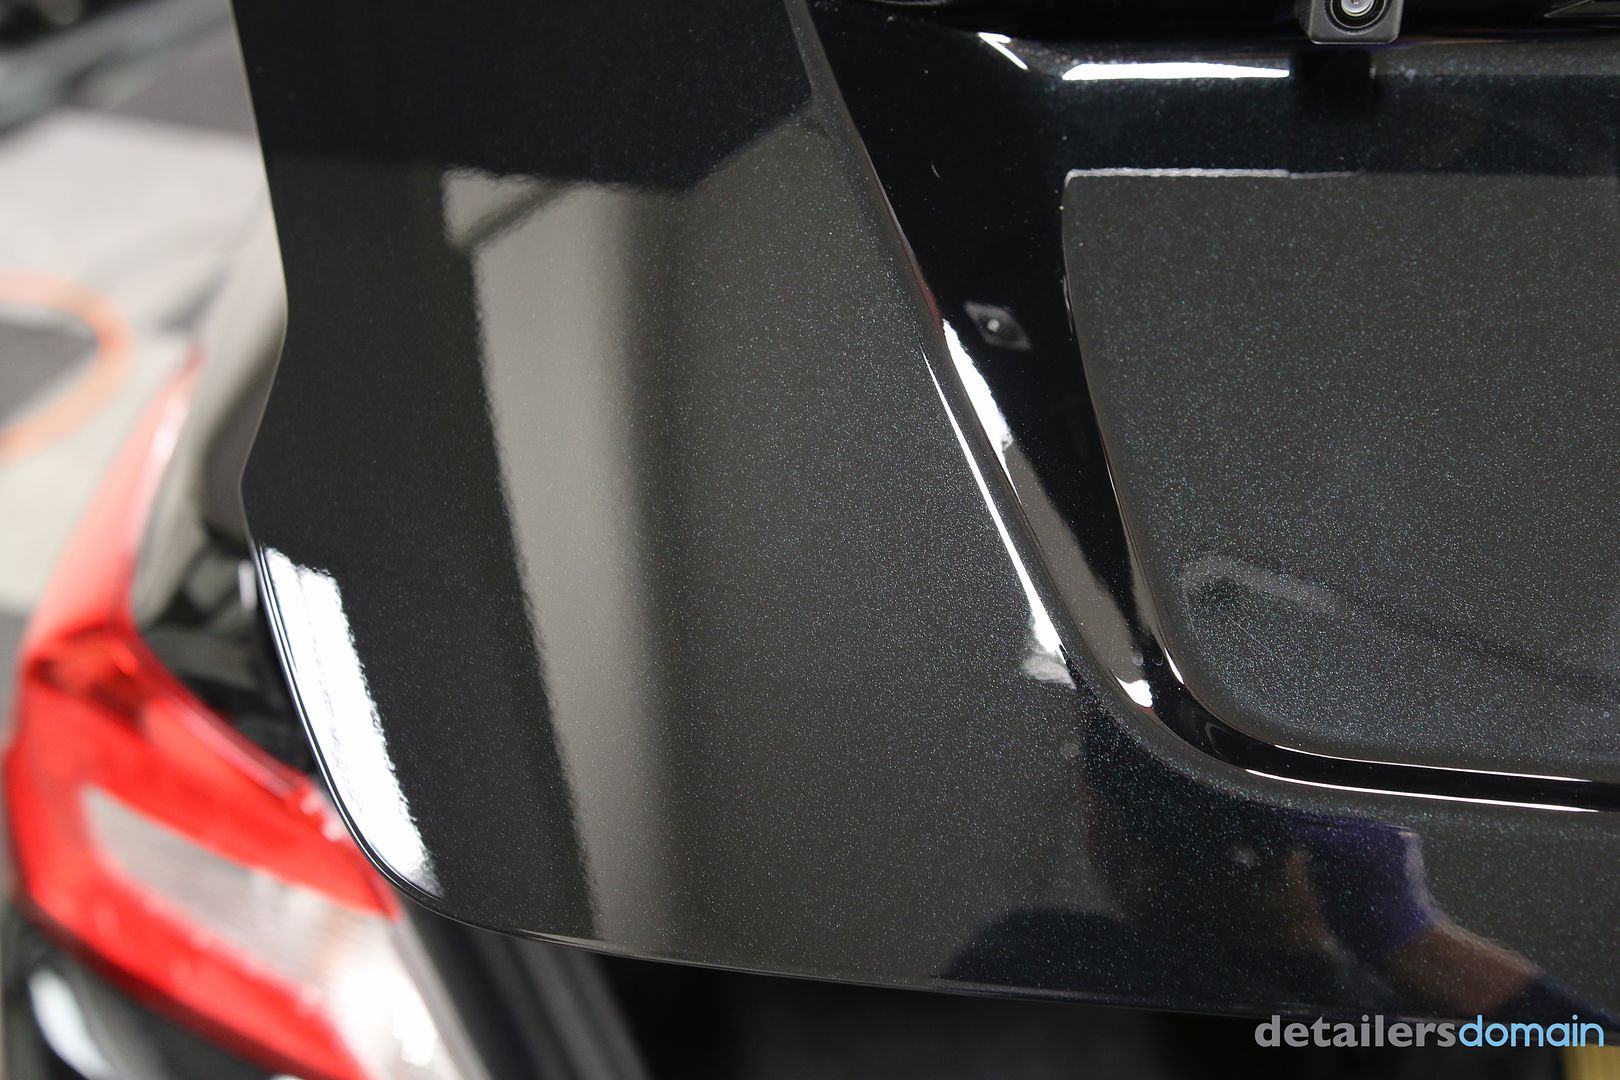
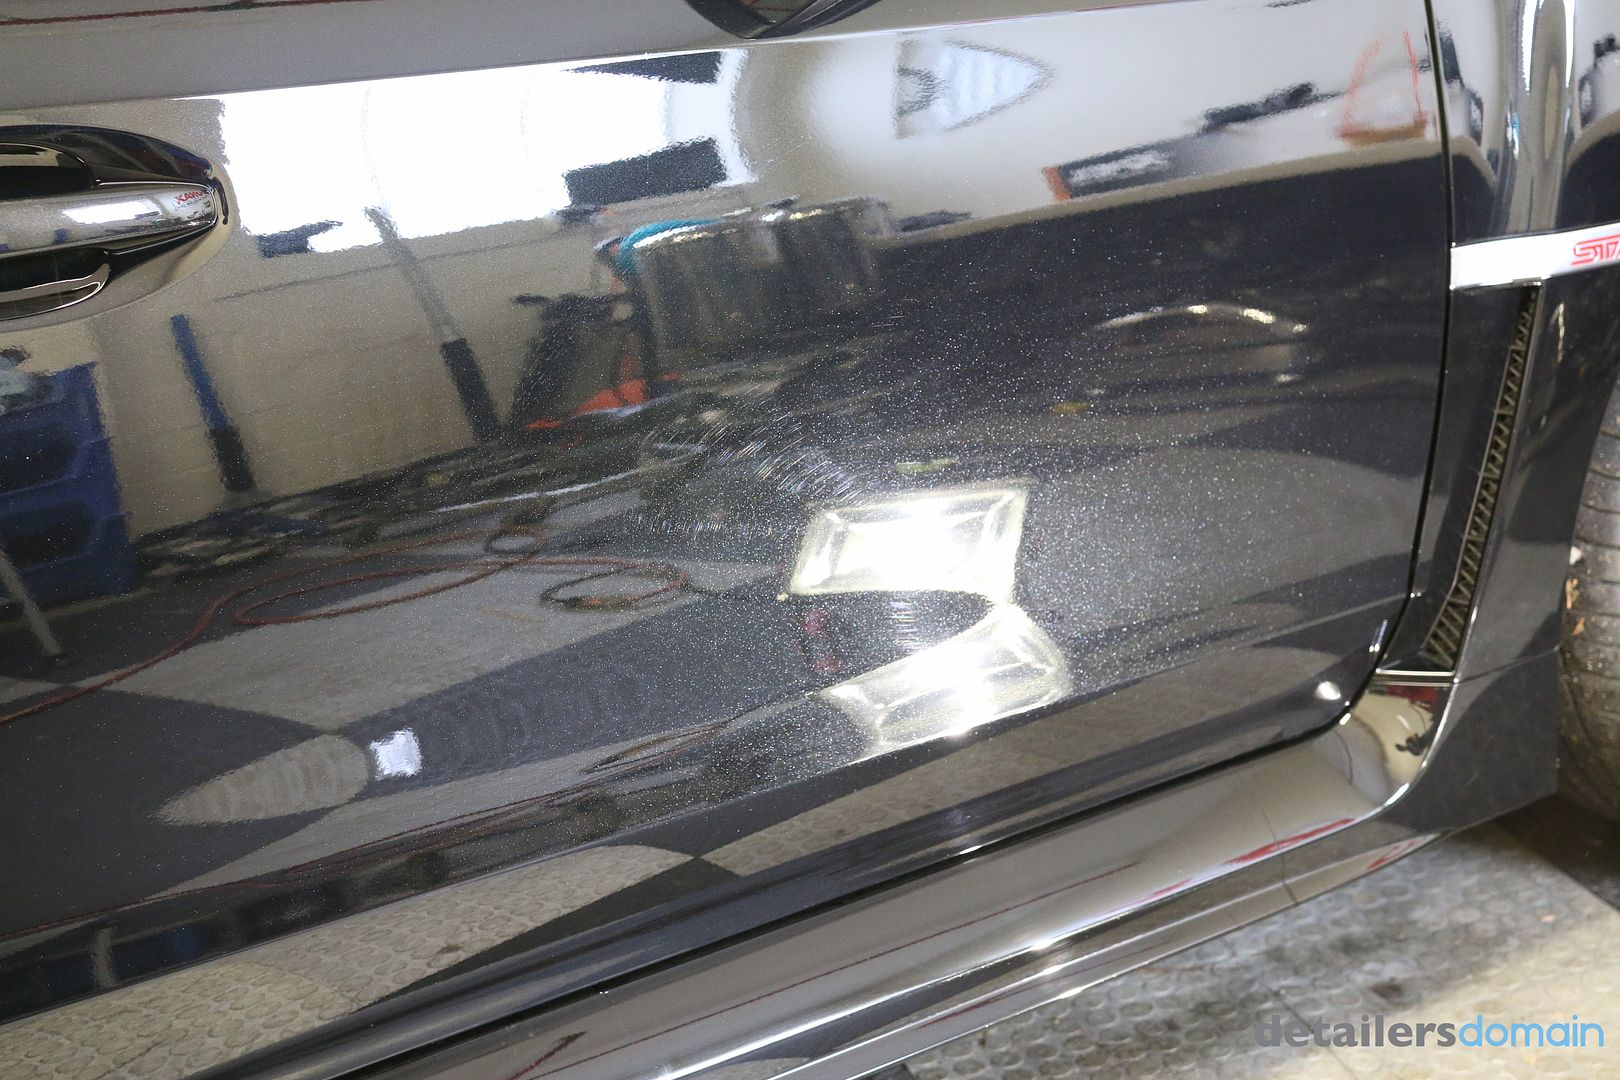
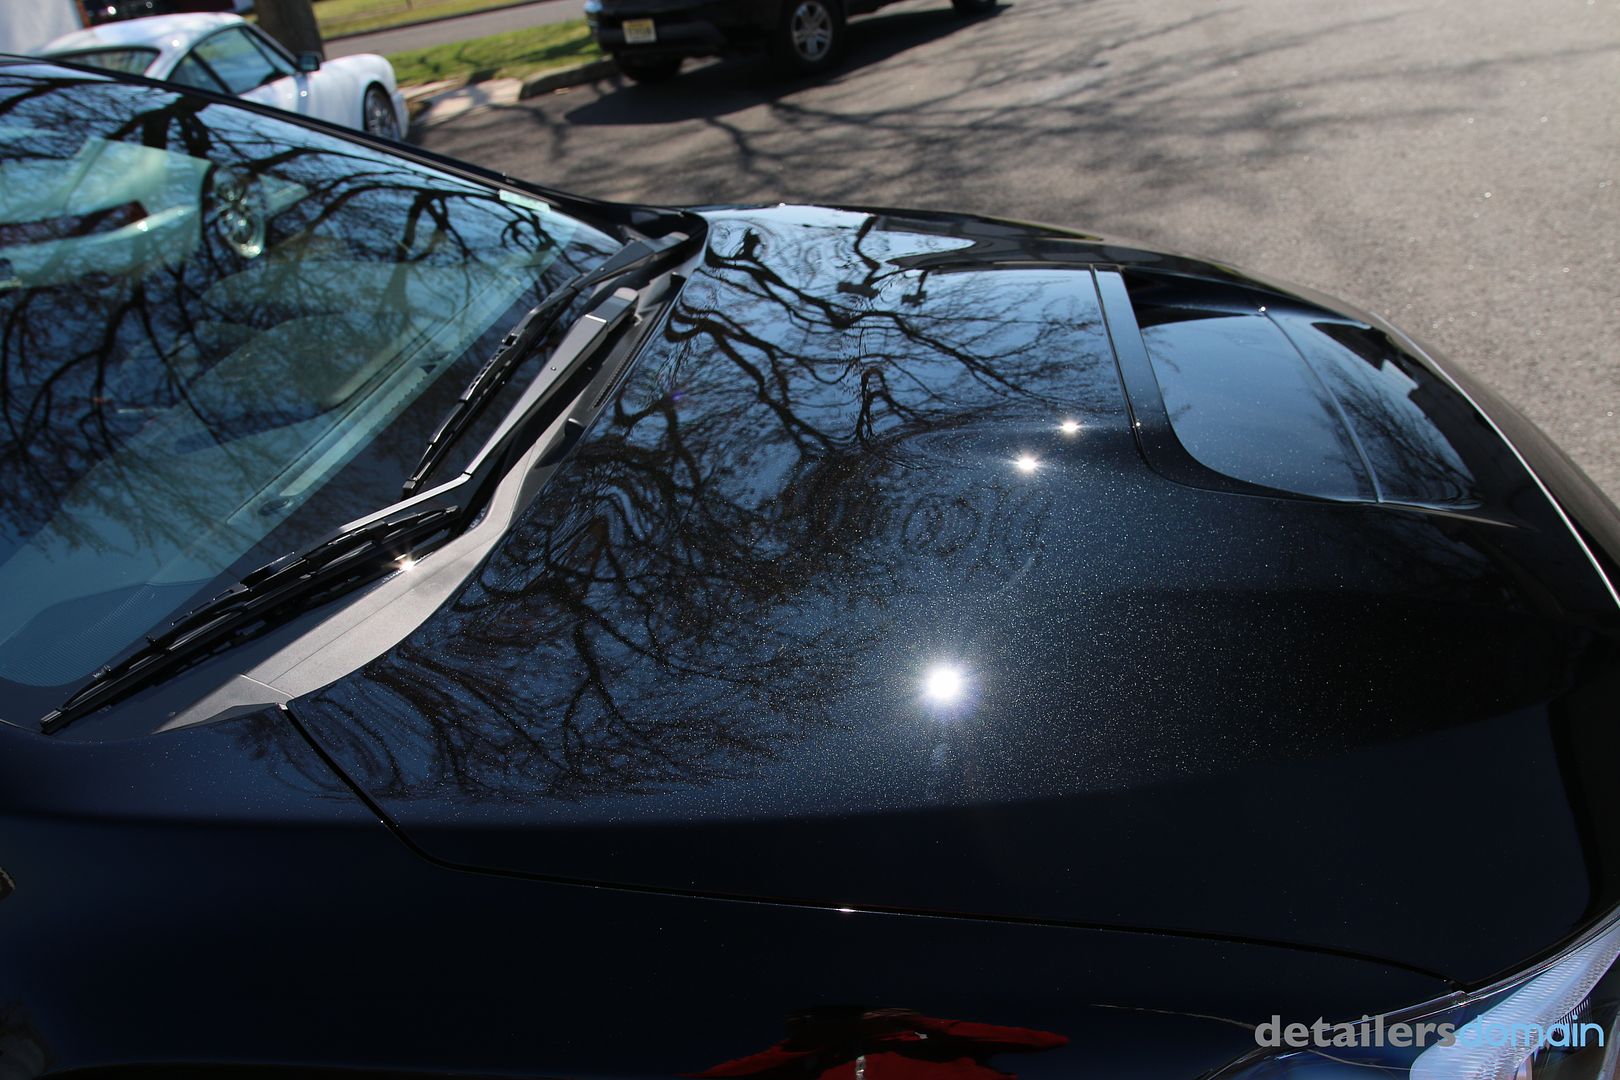
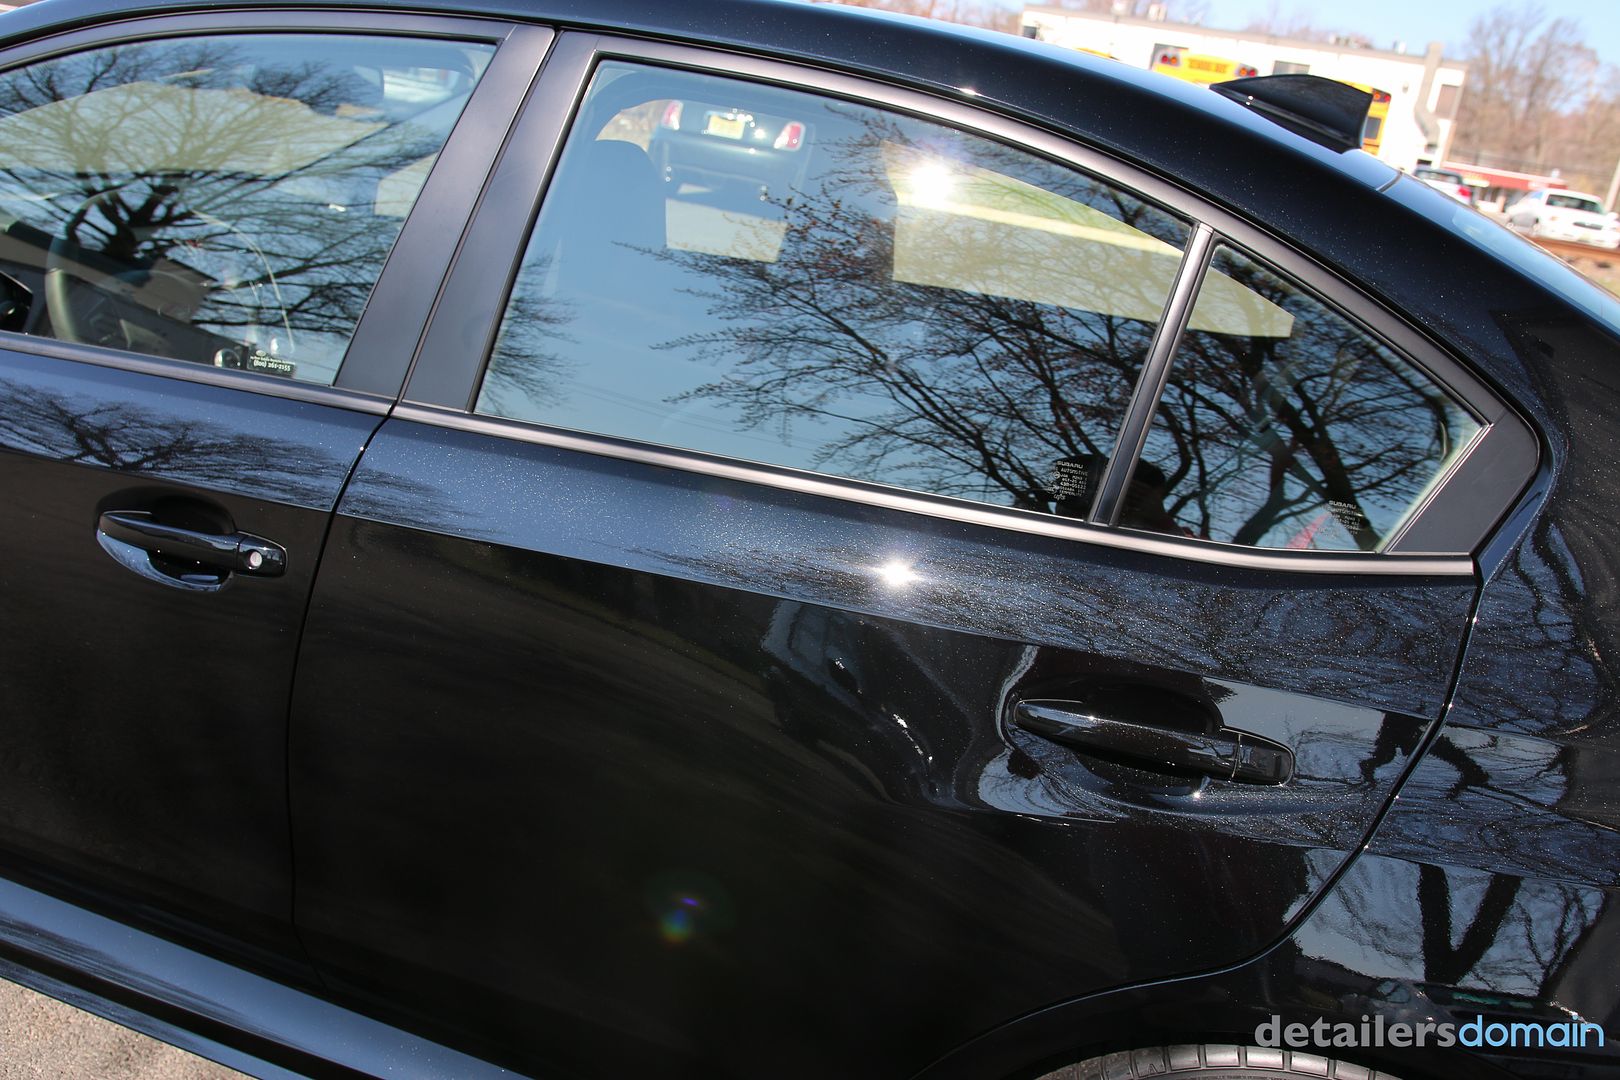
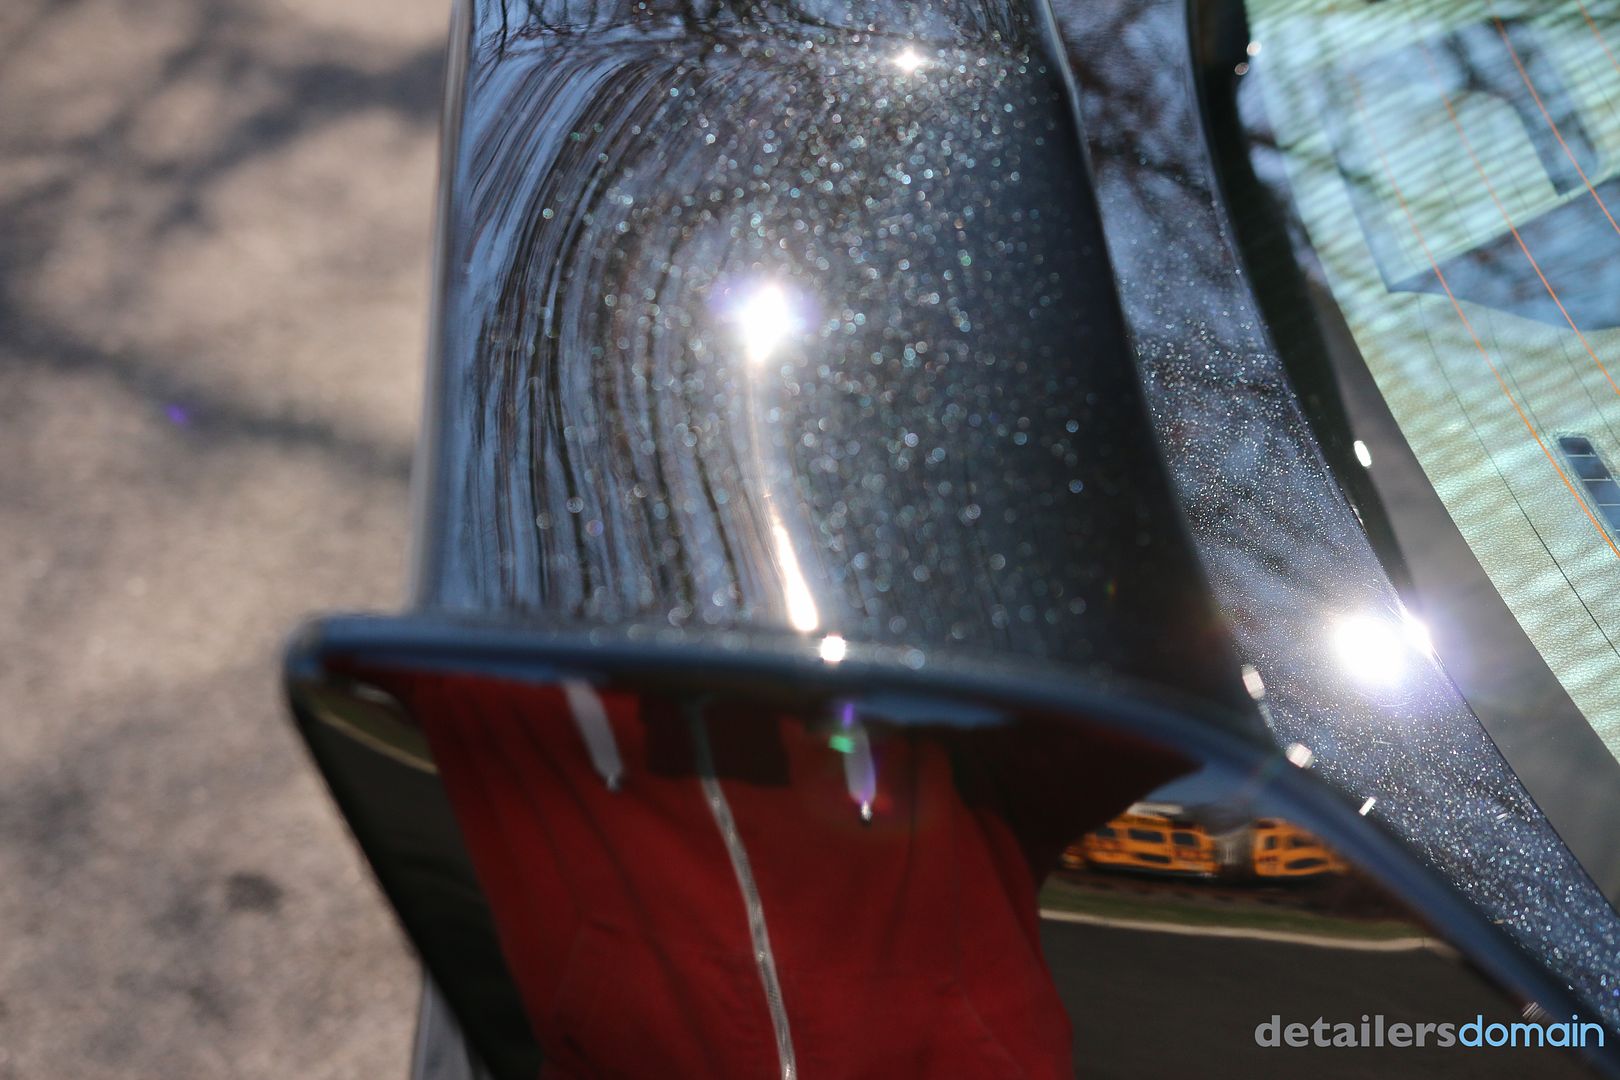
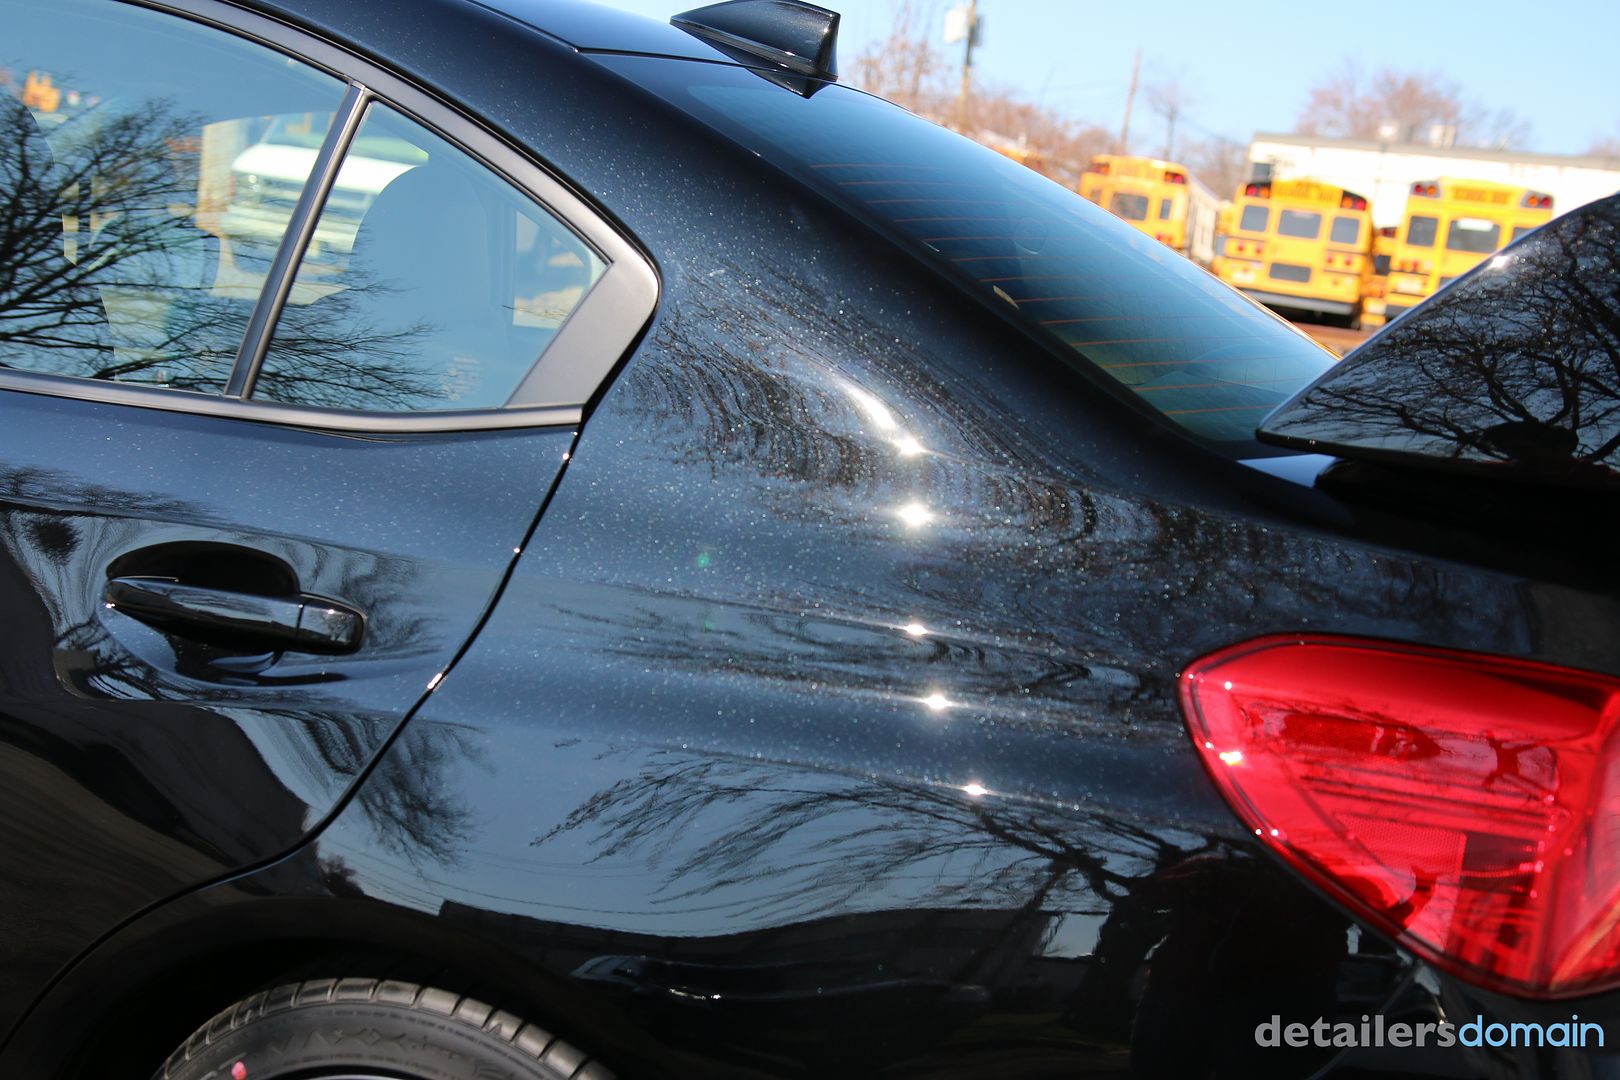
Results after compound and polishing

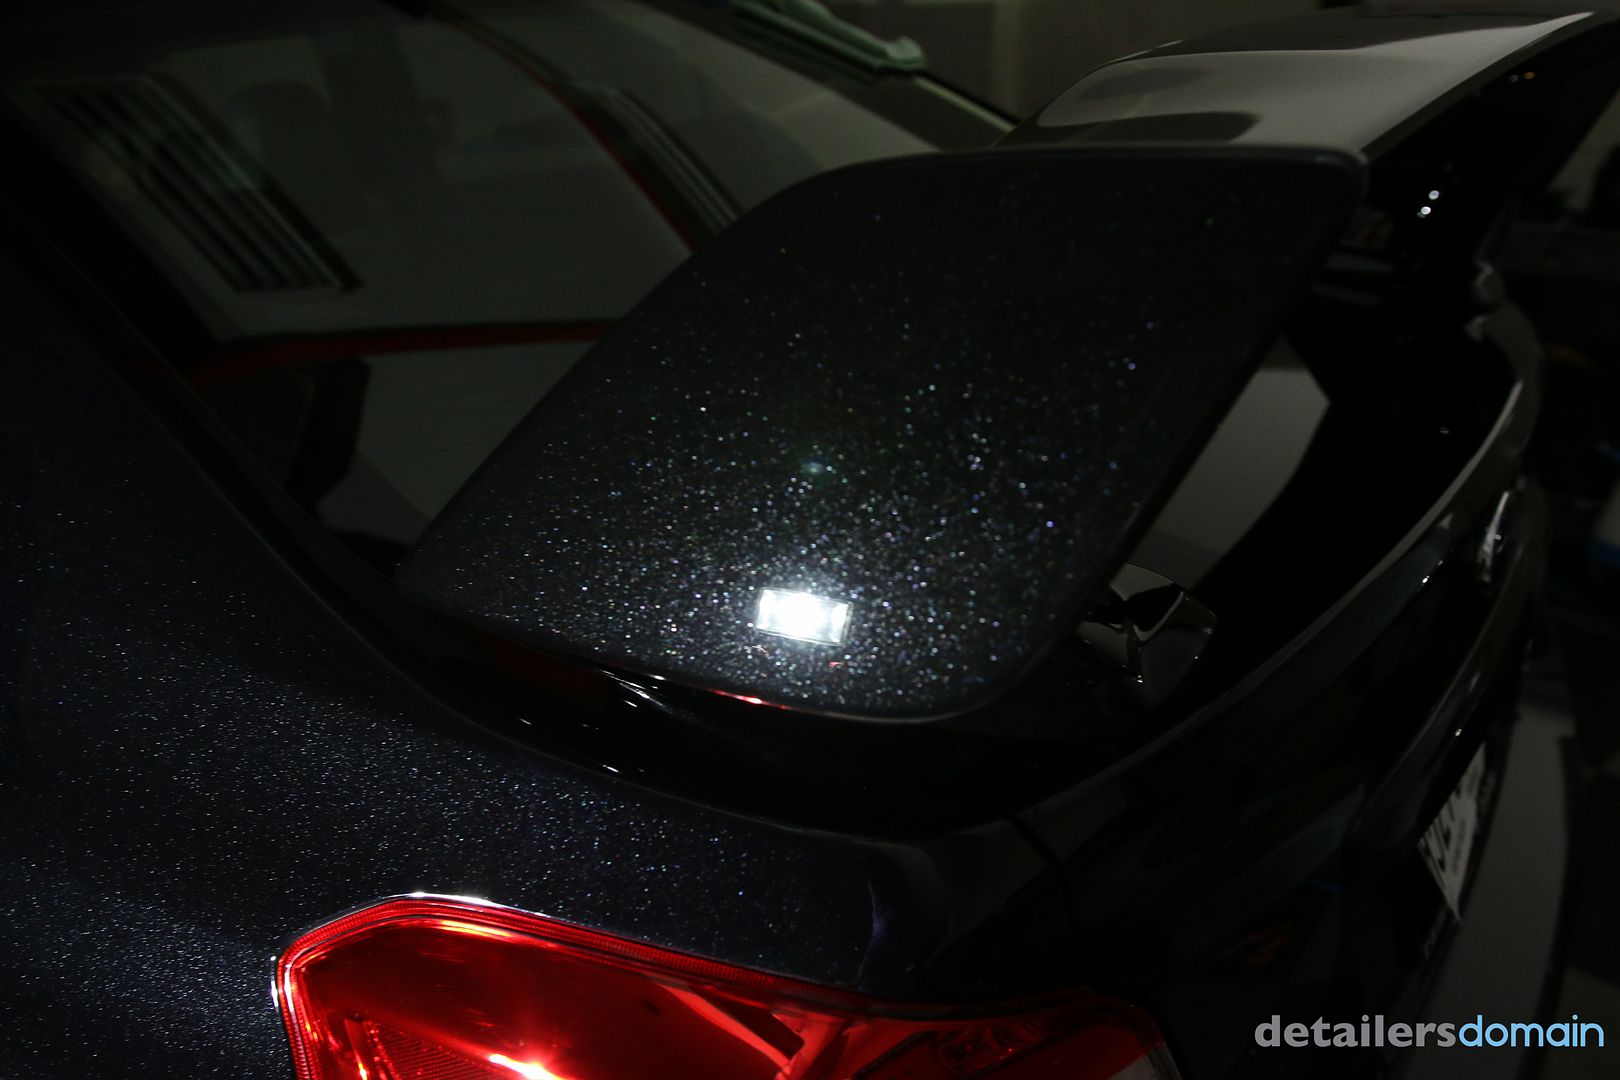
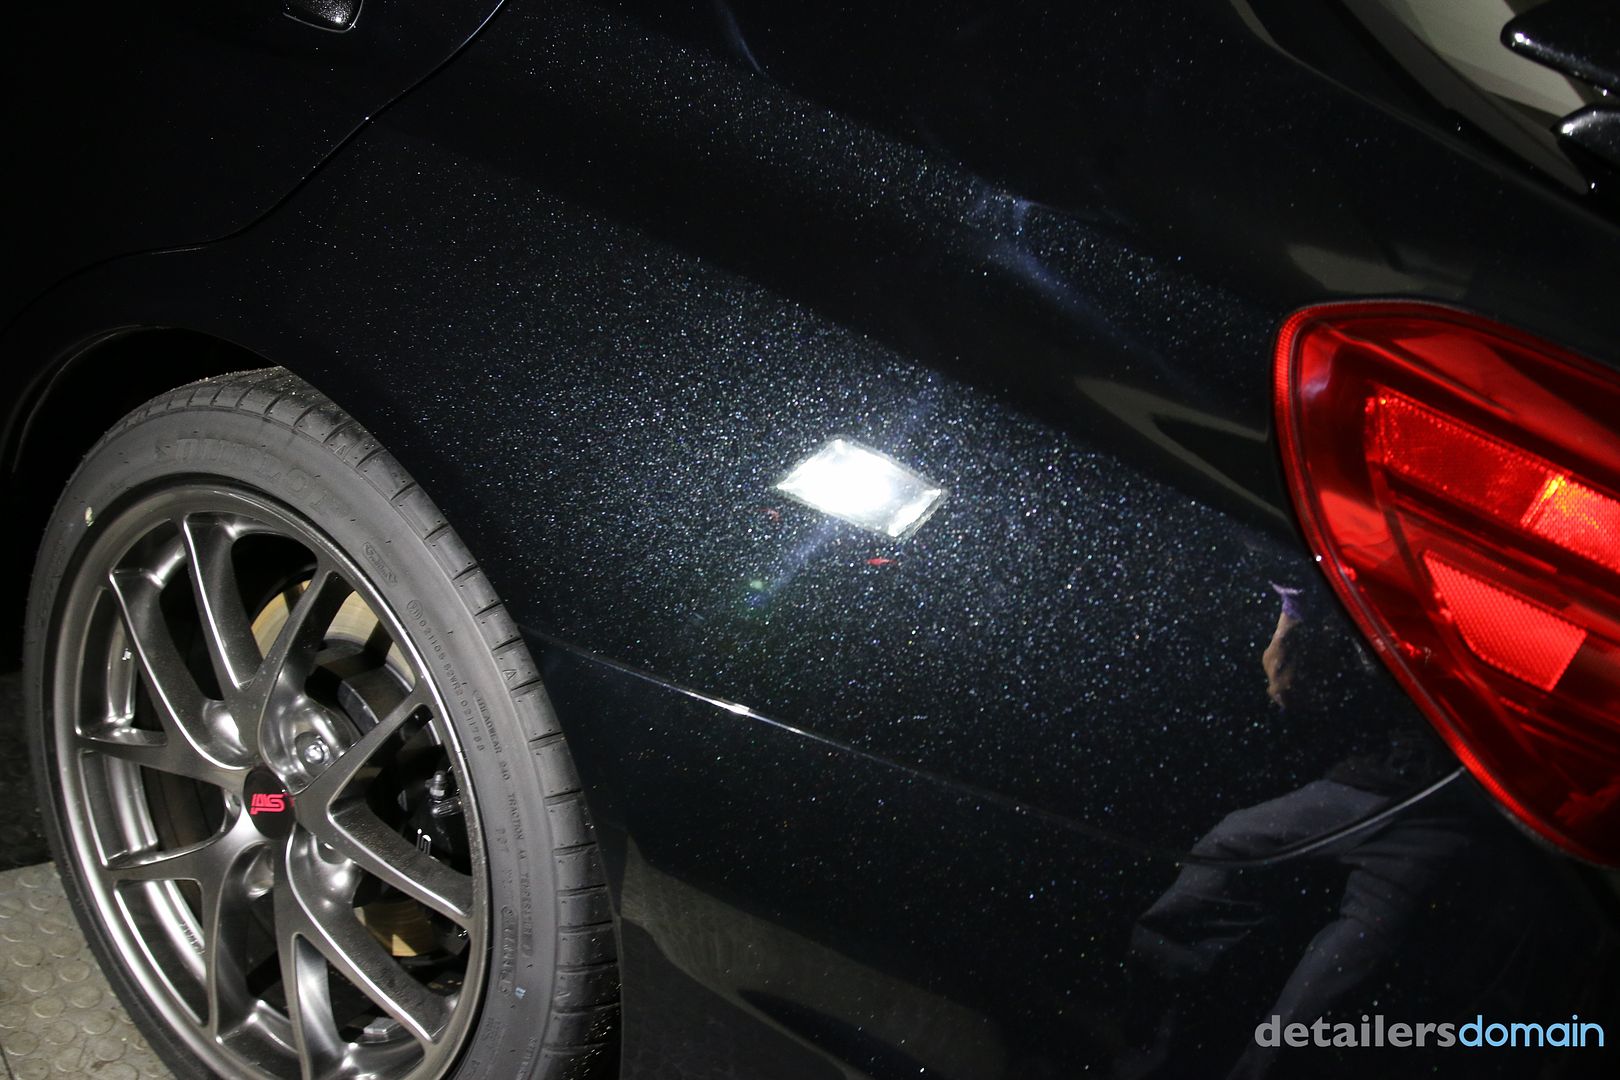
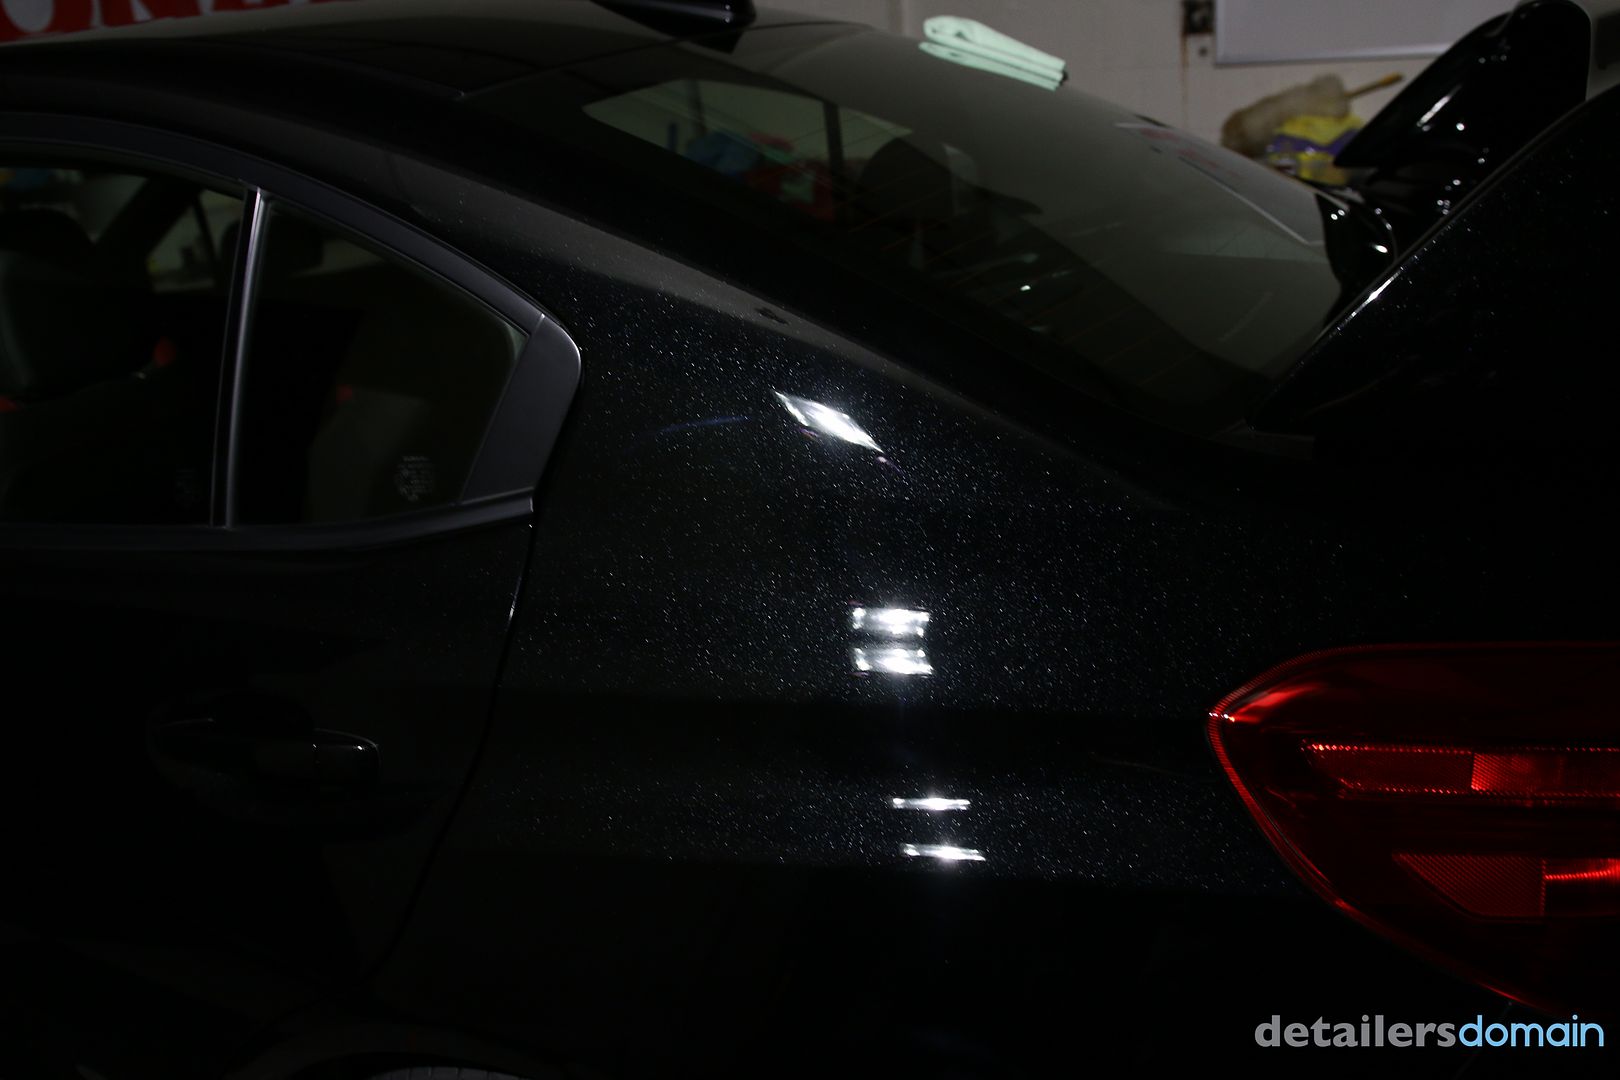
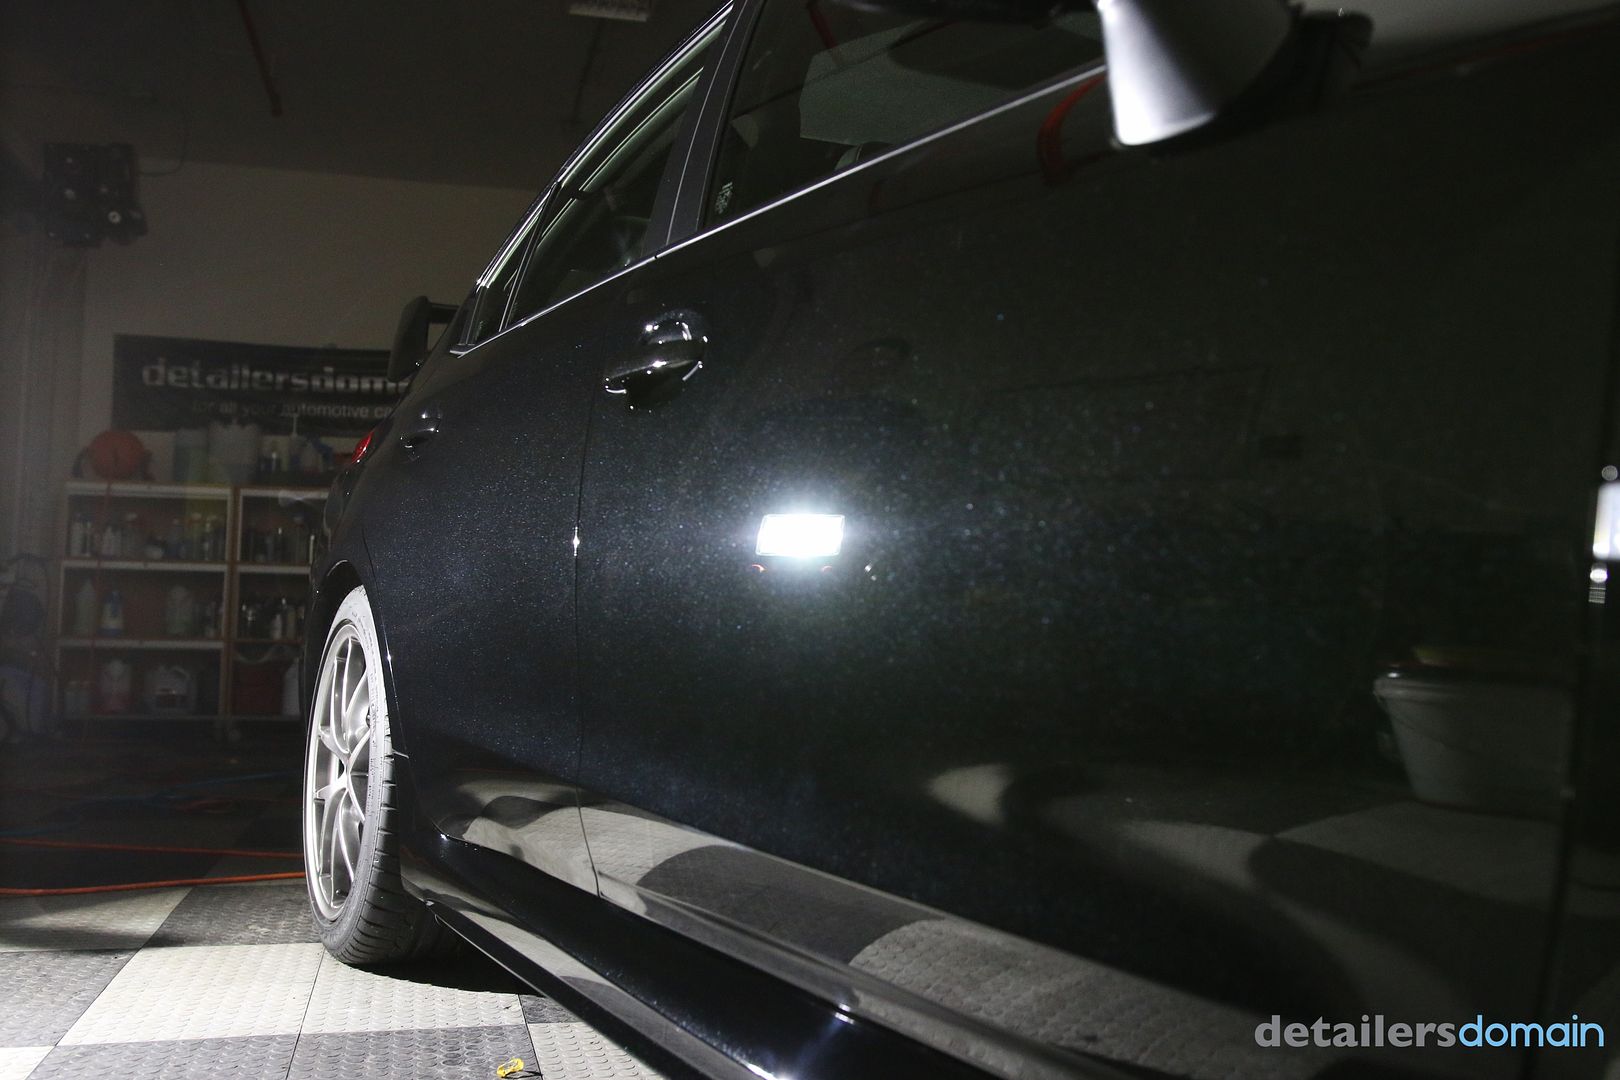
After prepping the paint we applied Opti Coat Pro
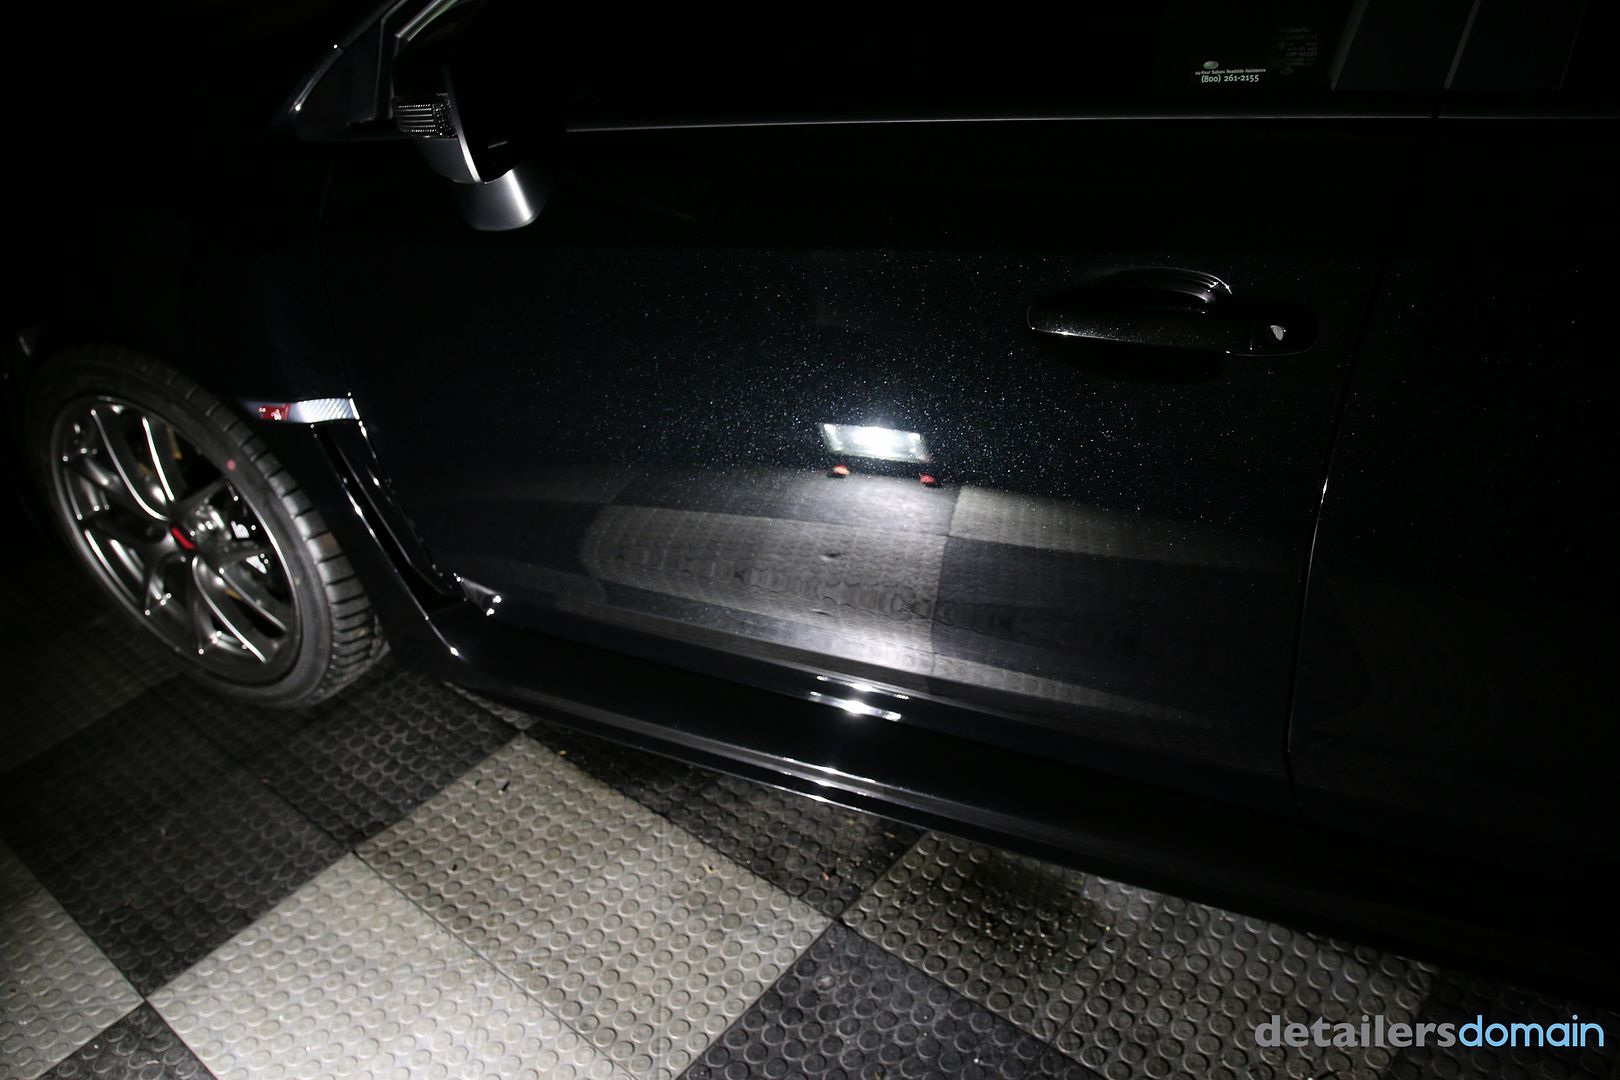
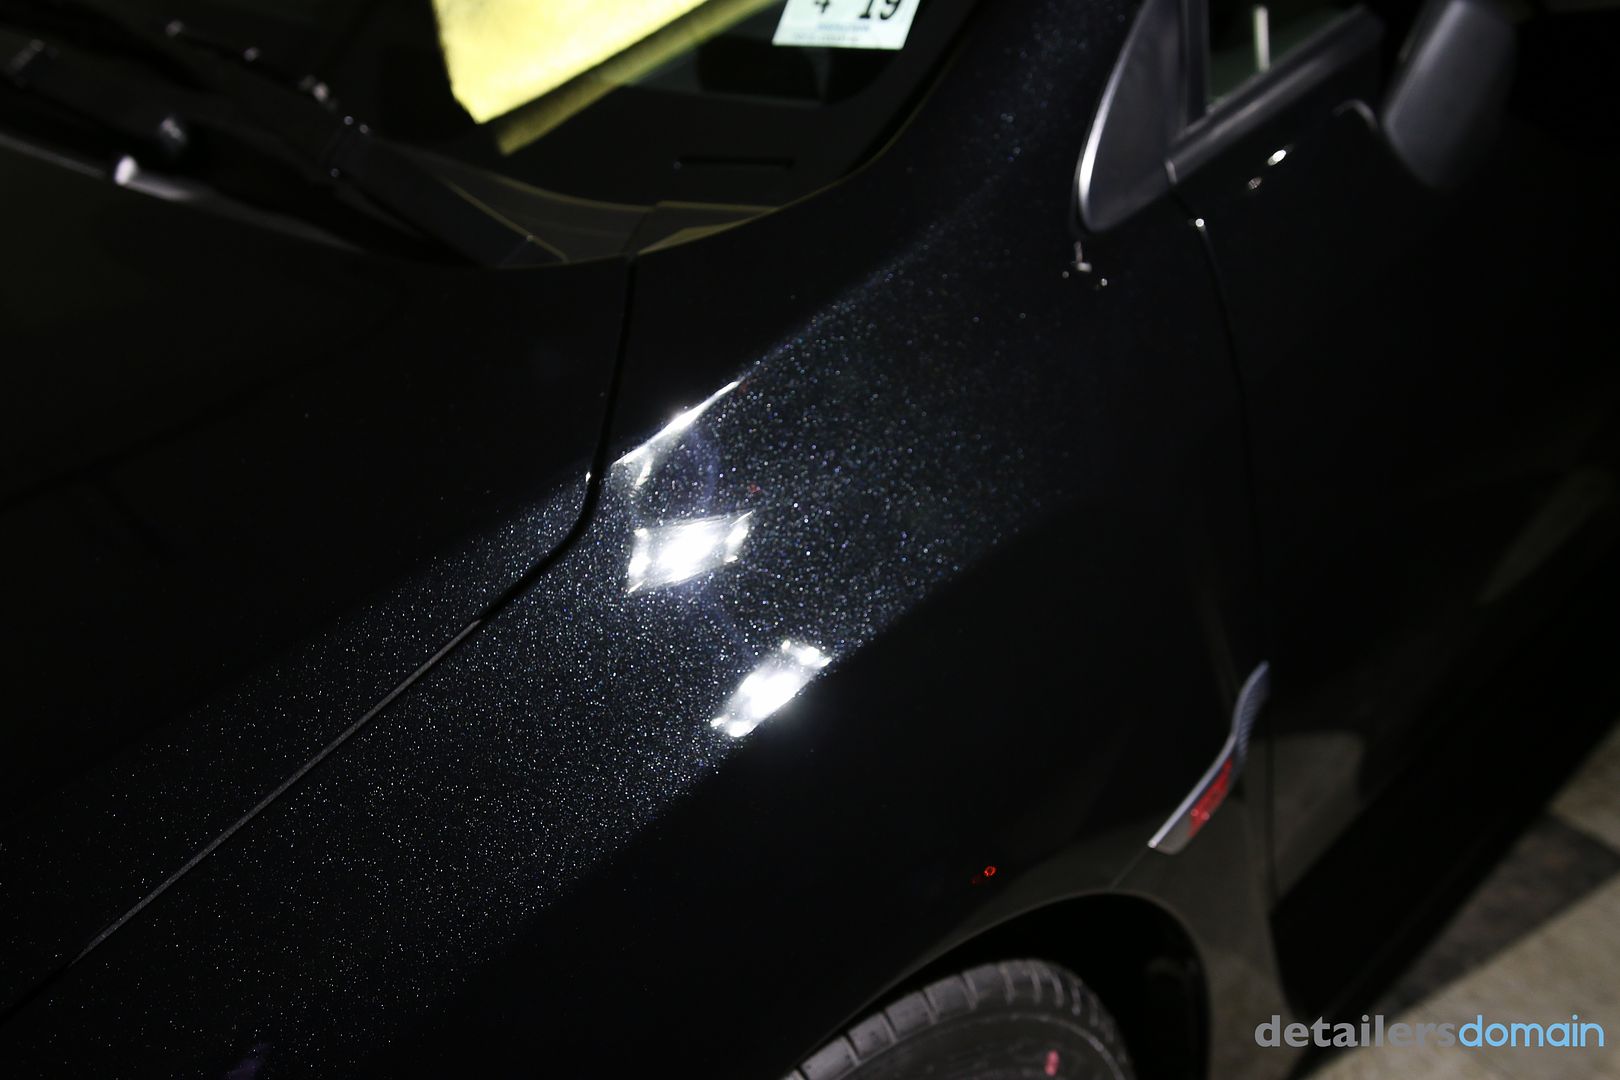
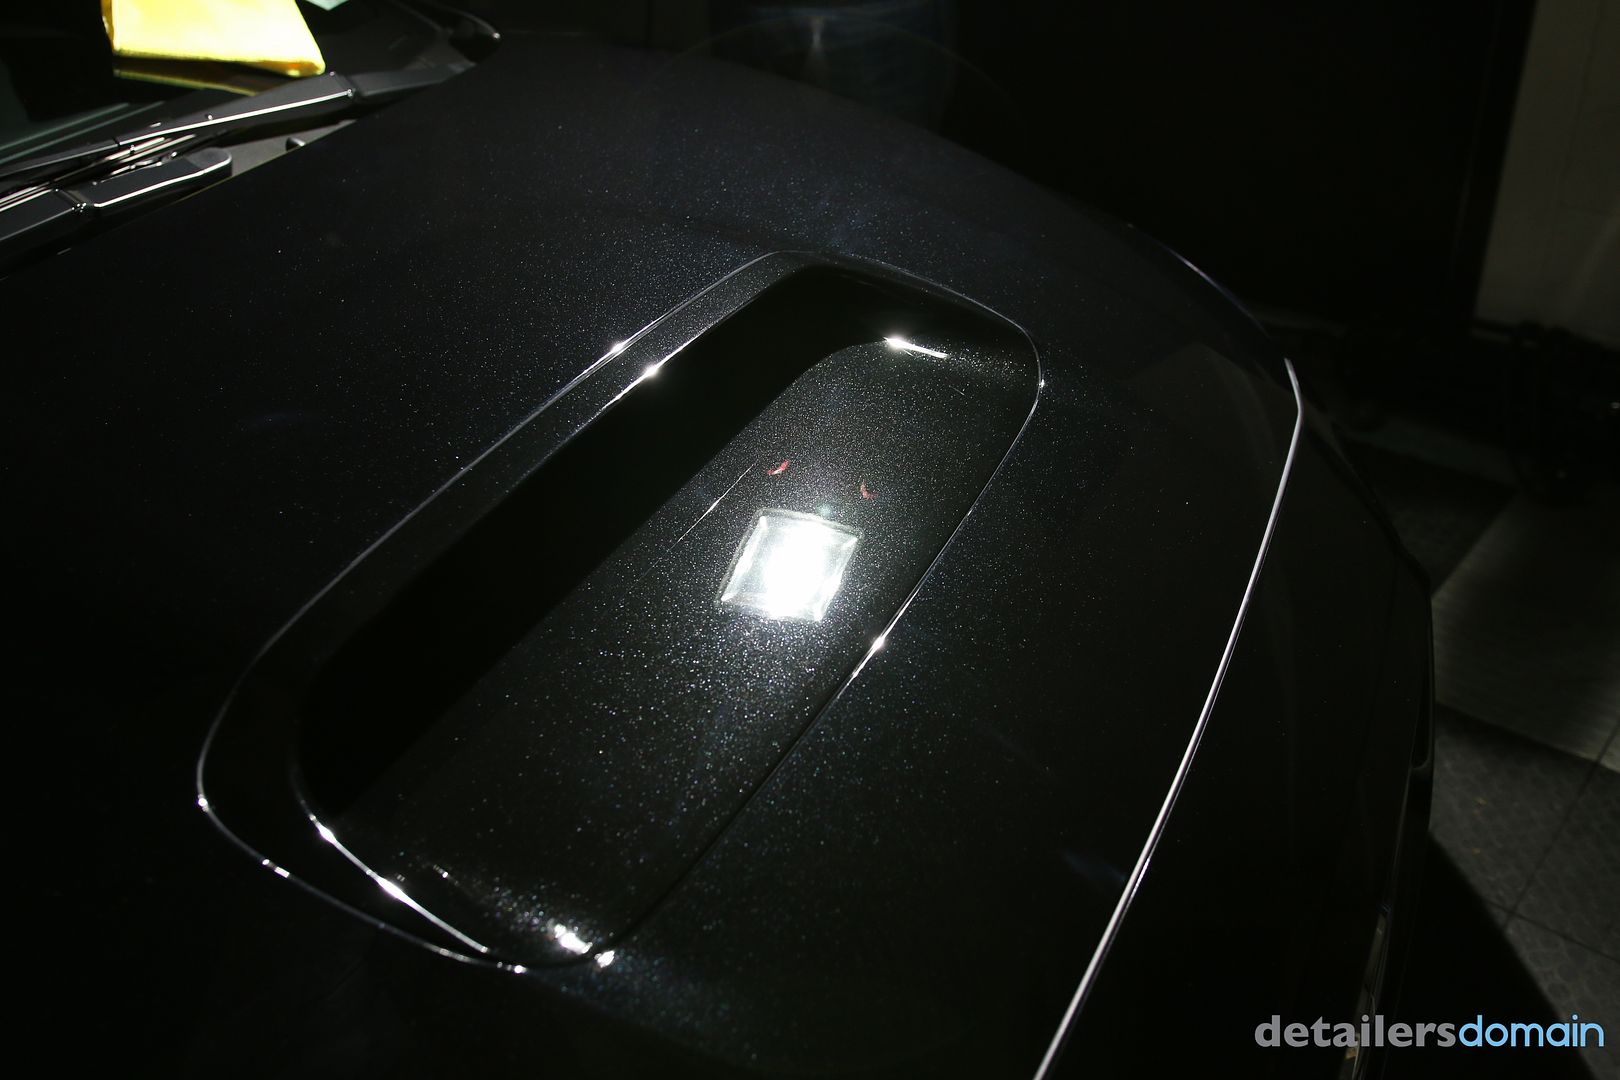
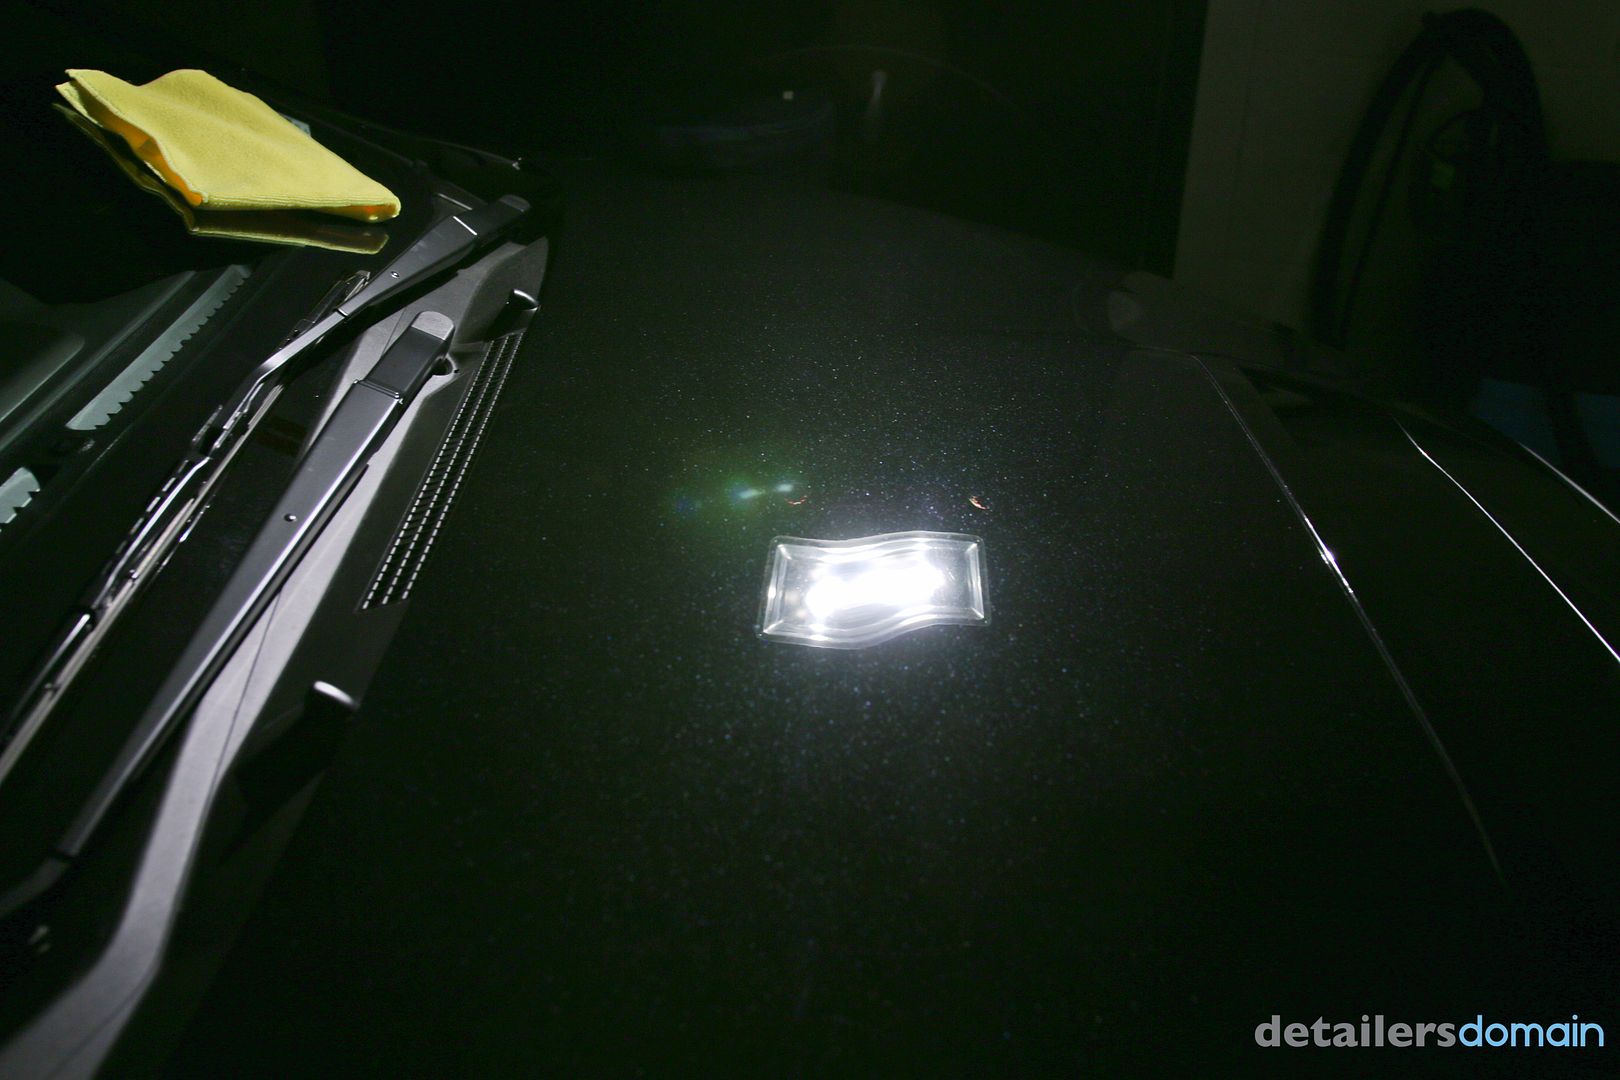
After


Hope you enjoyed this one.
If you have any questions please post below or feel free to email me at phil@detailersdomain.com